I’ve been making homemade buttermilk for about seven years now. It’s such an easy-to-make food item!
The beauty of homemade cultured dairy products, besides the fact that it saves you a lot of money to make them yourself, is that once you’ve made a batch, you can then use that batch to make more batches. In other words, once you have a jar of homemade buttermilk, you use the last cup of that batch of buttermilk to make another batch of buttermilk. Then you use the last cup of that buttermilk to make another batch of buttermilk. Then you use the last cup of that buttermilk to make another….
Well, you get the picture.
This system works very well. Until you go on a long trip across the country and come home to find that the buttermilk that has been untouched for several weeks in your fridge smells gross and you need to begin a fresh, new batch.
That would be the predicament that I found myself in this week. I found that the last little bit of buttermilk in my fridge had seen better days and needed to go. That’s okay though. Every once in a while, it’s a good idea to begin with fresh cultures and start a new batch of buttermilk.
Why do I like having buttermilk on hand? I use it often for pancakes and baked goods. And I really love using it in Creamy Orange Coolers. It tastes delicious and refreshing in that recipe, and gives our tummies some great, live cultures. It’s awesome for digestion!
I’ve shared it before, but I’ll share it again – just to reinforce to you how easy it is to make buttermilk.
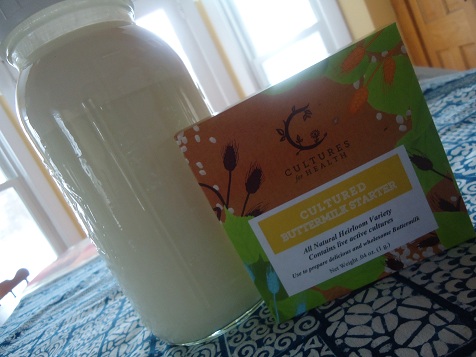
First, you get a starter culture. My favorite comes from Cultures for Health. Also, you need milk. I prefer raw milk, but this does work with store-bought milk as well.
Next, you pour the starter culture into a cup of milk. I use a pint sized jar for this.

Put the lid on and shake it up.
Once you’ve done this, place your jar in a “warmish” spot in your house for about 24 hours. (In the winter, I find that it often takes longer than 24 hours.) I usually put mine in the cabinet above my refrigerator because it tends to be a little warmer there. Don’t put it on your fireplace – that’s too hot and it will kill the live culture. Not that you were thinking about doing that. But just in case, I thought it was worth mentioning. We’re going for warm here, not hot. (About 70°)
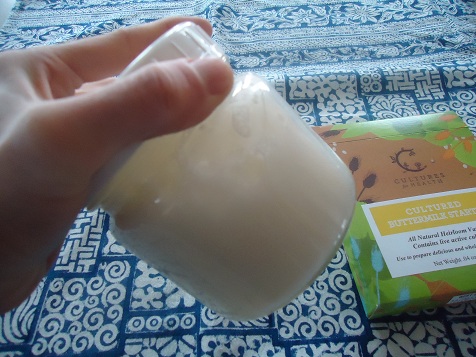
In about 24 hours, the milk will have turned into buttermilk. You’ll know that the process is complete when you turn the jar over and instead of being liquid, the buttermilk will kind of “plop” away from the side of the jar in a single mass. It’s pretty cool.
No need to fear leaving this dairy product out in the open for 24 hours. Live cultures are healthy and will not spoil your milk. Leaving it out in a warm place is all a part of the culturing process. I promise.
Once my buttermilk is finished culturing, I can then use the last cup of that buttermilk to make another batch of buttermilk.
Pour your one cup of cultured buttermilk into a quart or even half gallon of fresh milk to make larger batches once you’ve activated your starter. Allow the buttermilk/milk combination to culture in a warm place for 24 hours or until it has become buttermilk. Then refrigerate it and use as needed, saving the last 1 cup for a future batch.
Then you can use the last cup of that buttermilk to make another batch of buttermilk. Then you can use the last cup of that buttermilk to make another….
Oh wait. I think I told you that part already. But yay for saving money and eating healthy at the same time!
Ever tried making buttermilk? If not, what is holding you back?