Well, the joke was on me this time. Several of you emailed or left comments asking where you buy cheese cloth for making sourdough starter. I had ordered mine from Frontier a long time ago…so I really didn’t KNOW where to tell you to go buy some. I googled it and found that hardware stores carry it…and usually Walmart. In the paint department (weird).
Anyway…I was getting my supplies out last night so that I could start my starter in the morning…and guess what I was out of? CHEESE CLOTH. :)
I ran to my hardware store and grabbed some this morning (thanks to all of you who made me google it so that I would know where to get it!!). Oh and I asked the guy why it’s in the paint department and he said it is because some people strain their paint with it. I guess more people strain paint than make their own cheese or sourdough.
Okay…enough cheese cloth trivia. Let’s make sourdough.
For the first day you’ll need:
1 large jar or glass bowl (not metal…glass only)
2 cups whole wheat or rye flour (freshly ground if possible)
2 cups cold water (filtered is best)
Long spoon for stirring
Cheesecloth (of course)
rubberband
First, pour 2 cups of flour into the jar or bowl.
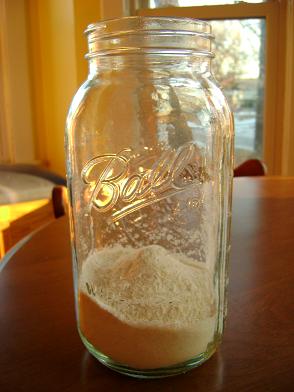
It doesn’t get much more exciting than looking at flour in a jar.
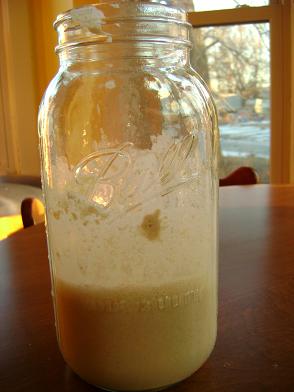
Next, stir in 2 cups of water. It should be mixed well and look soupy.
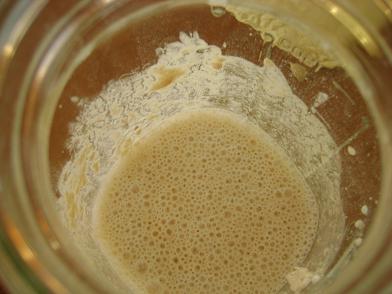
This is just a view from the top of the jar after I stirred the flour and water together. It’s pretty liquid-y. That’s just the way it’s supposed to be the first day.
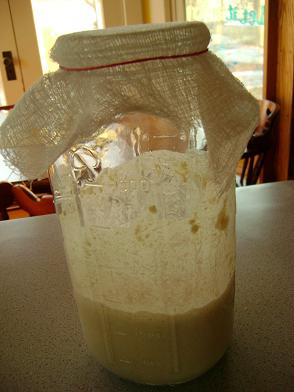
Cover the top of your jar or lid with cheesecloth. This will keep dust and bugs from getting in…but it will allow the yeast and bacteria from the air to get in and do it’s thing. Isn’t it COOL that there is natural yeast in the air?! And bacteria. Bacteria has a bad reputation. Not all bacteria is bad. There’s LOTS of GOOD bacteria hanging around. Poor bacteria. So misunderstood…
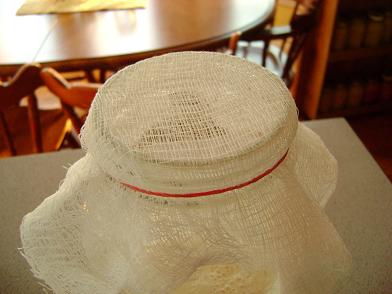
I usually attach my cheese cloth to the rim of my jar with a rubberband. If you’re using a large glass bowl, you might need to tie a string around it instead. Unless you have a gigantic rubberband hanging around. If you do, I’d like to see it.
Sourdough does best in a warm place. Unfortunately we’re starting this in January. There are no warm places in Nebraska in January. (Maybe there are warm places where you live?) If you do live in a warm place, you can put yours in a sunny spot or on your patio. I’m putting mine in the most consistently warm spot in my kitchen…the cabinet above my refrigerator.
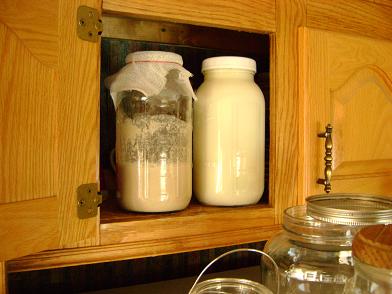
See, there it is hanging out with my culturing buttermilk.
That’s all you do on day one.
For tomorrow you’ll need: a clean jar or glass bowl, 1 more cup of whole wheat or rye flour and one cup of water.
See you then!
—————————————————-
Visit Tammy’s Recipes for more kitchen know how!
