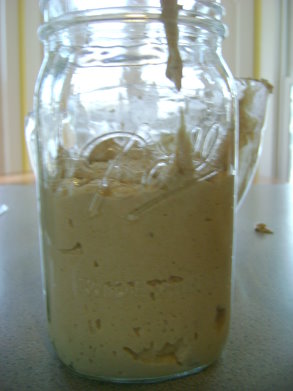
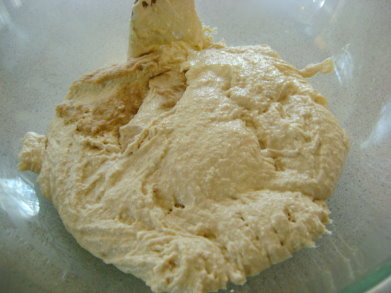
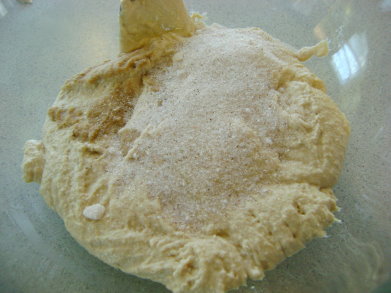
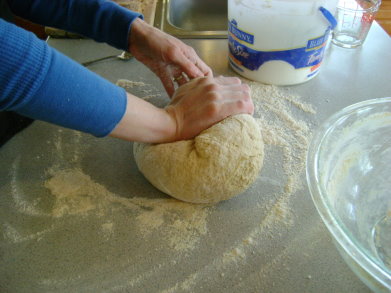
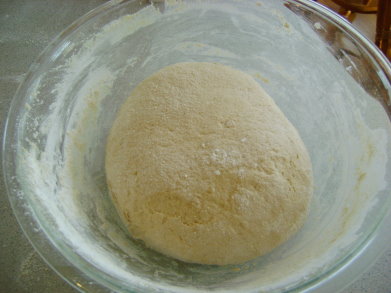
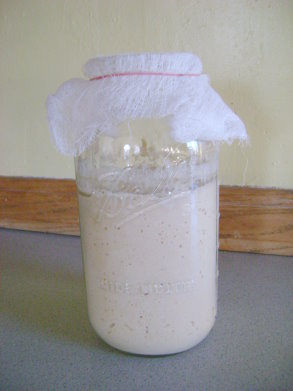
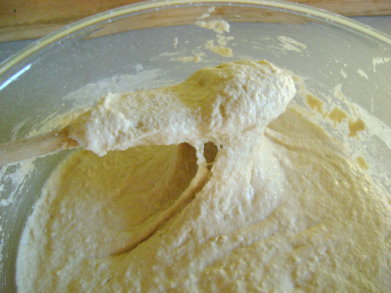
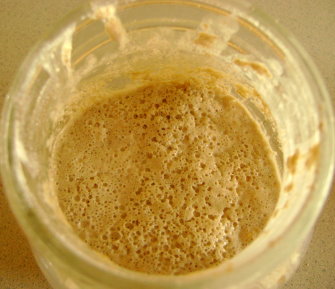
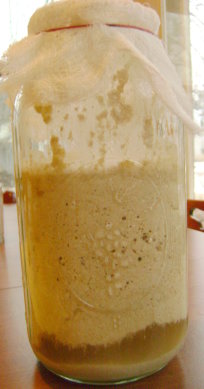
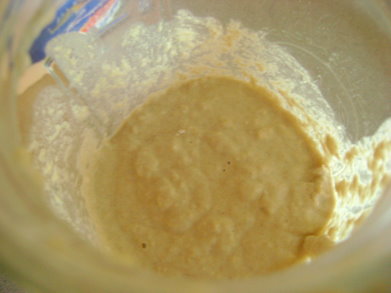
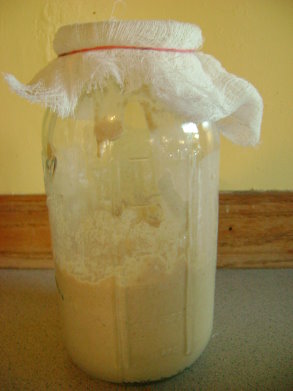
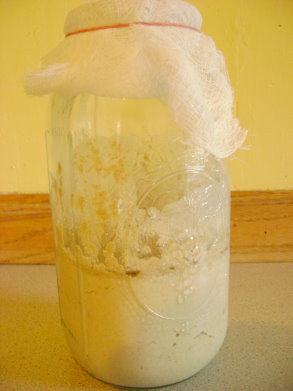
Well…I did it. I followed along in my Sourdough A to Z eBook and here is the bread I got. Never mind that it took my chilly kitchen twelve hours to raise my dough. That’s all a part of the sourdough bread making process – waiting. Just in case you were wondering, waiting for bread to rise is not very labor intensive. I just started my bread first thing in the morning, did a bunch of other work all day while I left my bread dough alone, and finished it last thing at night. The next day we ate bread. Easy!

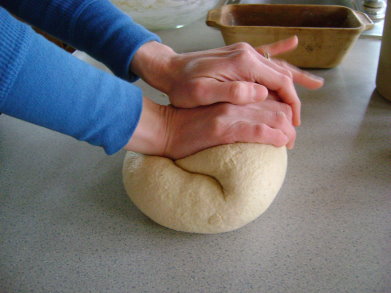
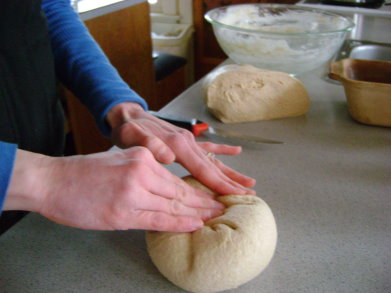
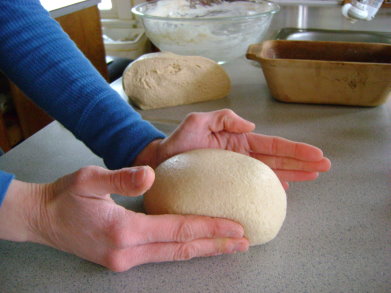
I was very pleased with how well the bread sliced. It was a little more dense than we prefer. I think that as I get more used to making this bread, I’ll get a better feel for working with it and I’ll be able to get it to the consistency that we like. Still, within two days, these two loaves were gone. :)

What I’m even more excited about are the Sourdough English Muffins I made from the Sourdough A to Z eBook!!! These could NOT have been any easier to make and my family devoured them! I made enough that we now have some in the freezer for this week, which is an added bonus. I’ll for sure be making these English Muffins on a regular basis. They are fantastic!

I know I already showed you the sourdough muffins I made last week, but they wanted me to show you again so they wouldn’t feel left out of this sourdough posting experience. These muffins were also super easy to make, and my family loved them!

Here is our menu for this week (which, not surprisingly, does include some sourdough items):
Sunday, May 8
Coconut flour muffins, home canned peaches
Dad and the boys grilling for Mama :)
Whatever leftovers the boys find :)
Monday, May 9
Whole wheat waffles, blueberries
Taco corn fritters, carrot sticks with ranch dip, applesauce
Cheesy beef and rice, green beans
Tuesday, May 10
Fried eggs on toast, pears
Chicken chef salad with peas, boiled eggs, cheese and homemade dressing
Teriyaki chicken and veggies over rice
Wednesday, May 11
Sourdough muffins, bananas
Homemade pizza pockets, fruit-kefir smoothies
Chicken veggie quesadillas, tossed salad
Thursday, May 12
Sourdough English muffins, scrambled eggs, oranges
Cheeseburger macaroni, steamed broccoli and carrots
Sloppy joes on homemade whole wheat buns, ranch potato wedges, peas
Friday, May 13
Peanut butter honey toast, applesauce
Black bean salsa with organic corn chips, clementines
Italian roast wraps, tossed salad
Saturday, May 14
Whole wheat donuts
Leftovers
OAMM’s BBQ Chicken Pizza, fruit salad
———————————————————
Say Mmm is a great, free resource to help you with menu planning!
———————————————————
Only one day left to sign up for the $50 Gift Certificate from FBS Books!
———————————————————
No More Bricks! with help from BreadClass.com
———————————————————


 A couple of years ago, I wrote


