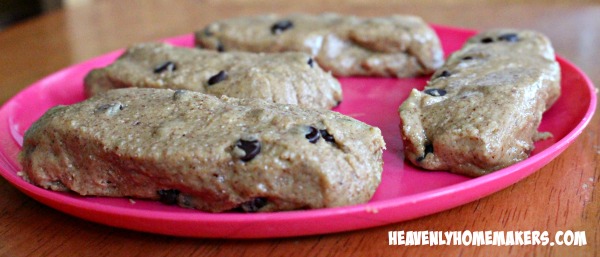
Is it too soon to start talking about Pumpkin Spice Cookie Dough Bites? I figured we needed to get a jump start on fall.

I’ve kept a supply of Cookie Dough Bites in my fridge since school started. Why? Because they are a perfect snack to grab when we need something fast and filling. They are filled with protein and fiber, and are sweetened with honey, so I don’t mind if my kids grab two or three at a time to hold them over until the next meal.
Up until now, we’ve enjoyed these fun Cookie Dough Bite varieties:
- No-Bake Chocolate Fudge Cookie Bites
- No-Bake Snickerdoodle Bites
- No-Bake Peanut Butter Cookie Bites
- No-Bake Chocolate Chip Cookie Dough Bites
Recently, I decided it was necessary to experiment with Pumpkin Spice Cookie Dough Bites.
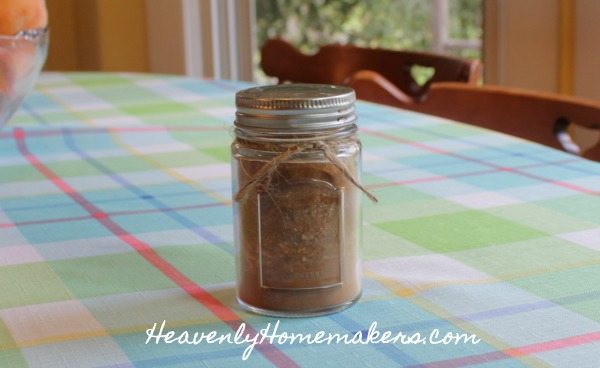
I usually make my own Pumpkin Spice to use from now through all the holidays. It’s fun, easy, and tasty. Now we can use it in these cookie dough bites!
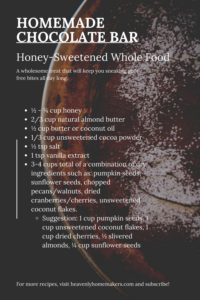
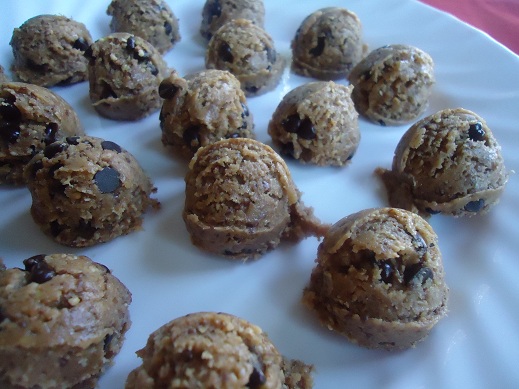
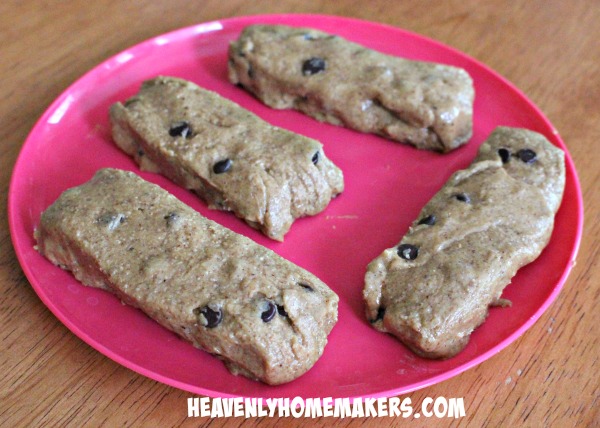
Pumpkin Spice Cookie Dough Bites
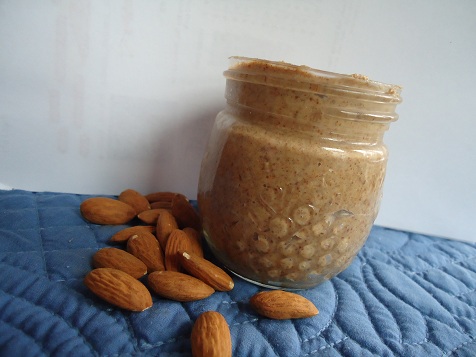
- 1 cup natural almond butter
- ¼ cup honey
- 1 Tablespoon Pumpkin Spice*
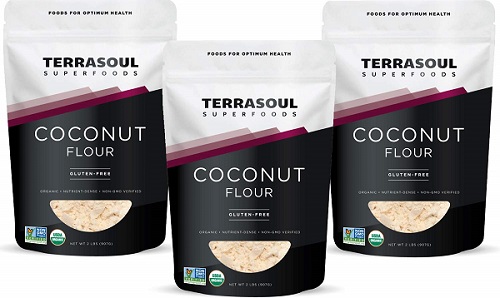
- ½ cup coconut flour
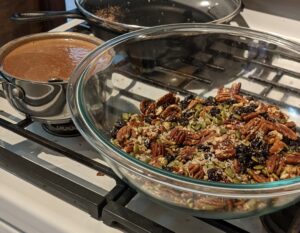
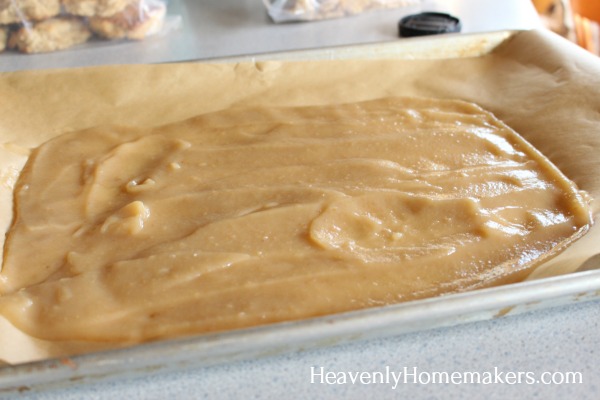
- Mix the ingredients together in a bowl until well combined.
- Roll the mixture into teaspoon-sized balls.
- Refrigerate for about one hour before serving.
*Find the recipe for our Pumpkin Spice mix here. Or substitute 1 teaspoon ground cloves, 1 teaspoon cinnamon, and 1/2 teaspoon nutmeg in this recipe.

If you want to get fancy, roll your bites in coconut flakes, cinnamon, or crushed nuts. :)