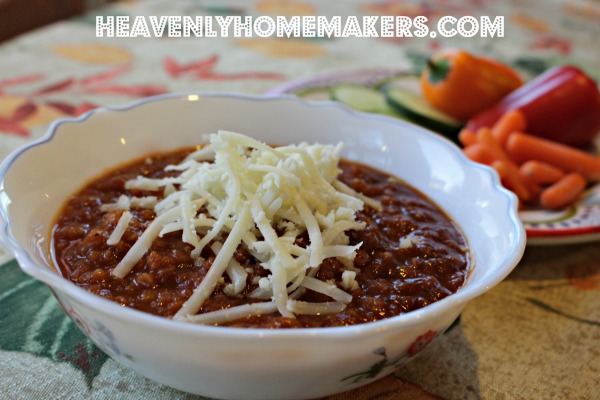
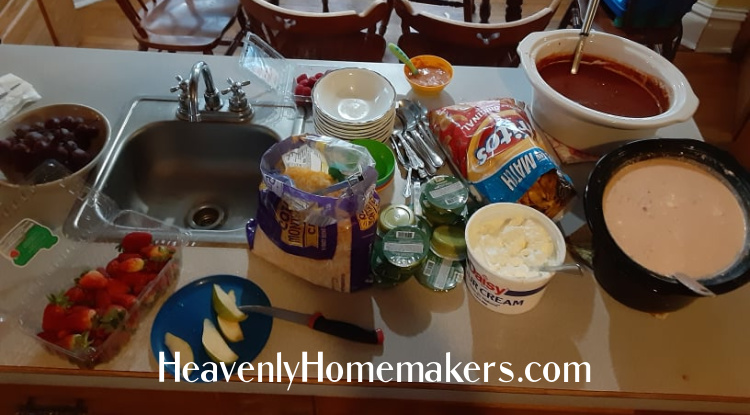
Have leftover chili? Make Easy Chili Cheese Dip!

One of my favorite things to do in the kitchen is to clear out leftovers by making something new with them. This Easy Chili Cheese Dip is a perfect example of how to do this.
On the other hand, this dip is delicious enough that you might want to make chili just so you can have leftovers to make this dip. Or make the chili, skip eating the chili, and make lots of dip. OR, cheat as needed and simply buy a can of chili to use in this recipe!
Easy Chili Cheese Dip
- 2 cups leftover chili
- 8-ounces softened cream cheese
- 1 cup salsa
- Blend all ingredients together until smooth.
- Serve hot or cold with tortilla chips.

What’s great about this recipe is that it’s more than a snack. This can be your entire meal along with fruits and veggies on the side.
Serve it hot or cold, whichever you like!
This recipe works great for my family because I blend everything up which makes a smooth dip without chunks. If you prefer a chunky dip, just stir ingredients together instead of blending.
Need some chili recipes? Use one of these:
- You can keep your costs for this dip to a minimum when you make this Lentil Chili.
- This Hearty Chili is meatless, but feel free to cook hamburger or ground turkey to add more protein.
Here are more dip recipes to look through and enjoy!
- Easy White Queso
- Simple Bean and Cheese Salsa Dip
- Creamy Chocolate Fruit Dip
- Creamy Italian Veggie Dip
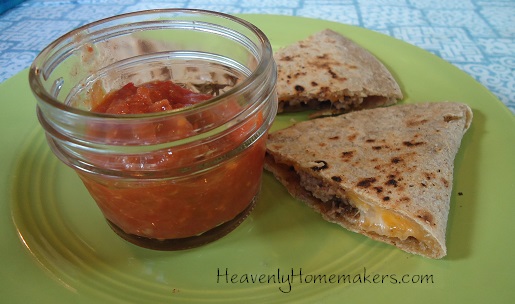
- Cream Cheese Salsa Dip
- Bacon Ranch Chip Dip
- French Onion Dip
- Bacon Tomato Dip
- Black Bean Salsa
- Easy Veggie Dip
- Healthier Cheese Dip
- Hot Spinach and Artichoke Dip
- Nacho Cheese Pretzel Dip
- Easy Guacomole
- Easy Cheesy Bean Dip
- Hamburber Sauerkraut Dip
- Cream Cheese Fruit Dip


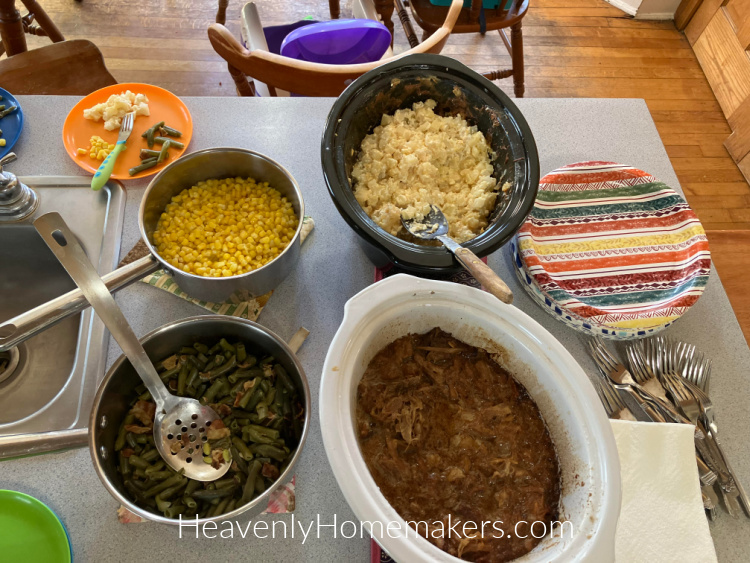


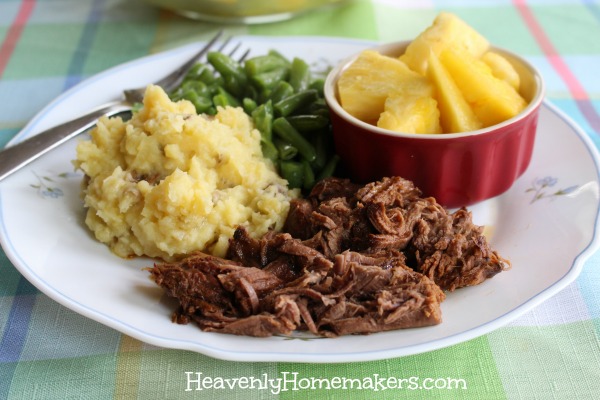 Is there anything better than coming home to a roast in the crock pot?