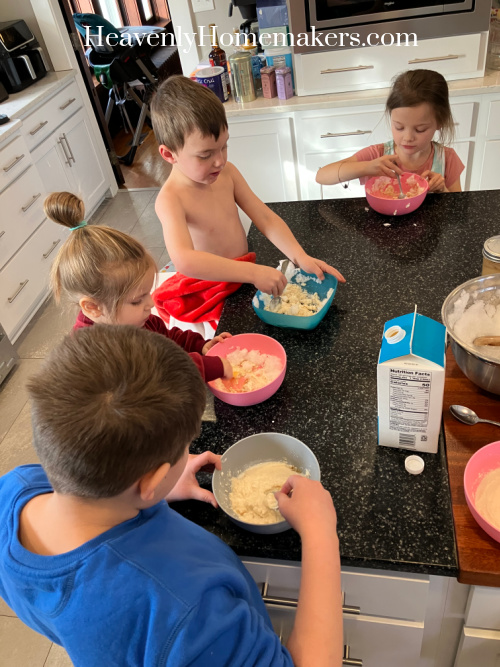
Want to help your kids become independent in the kitchen this summer? ME TOO.
Hey there, Parents!
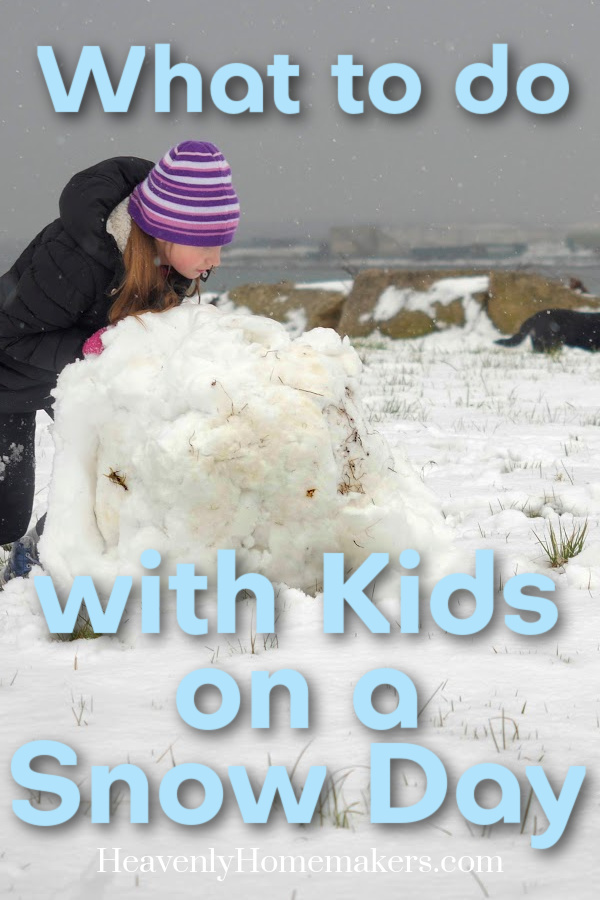
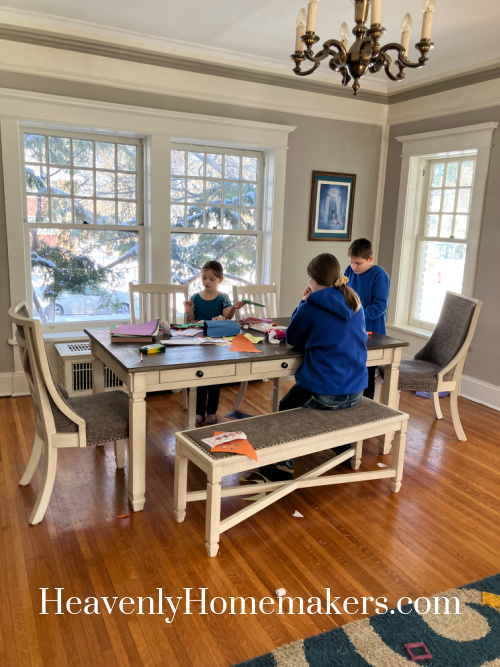
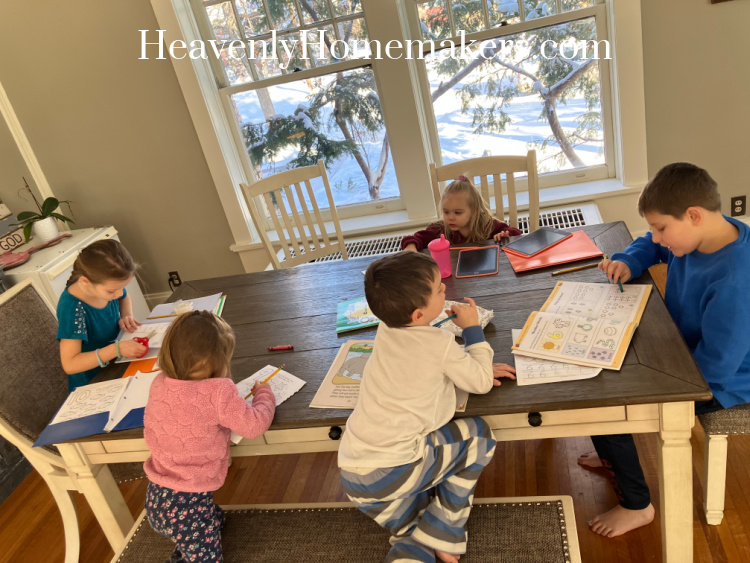
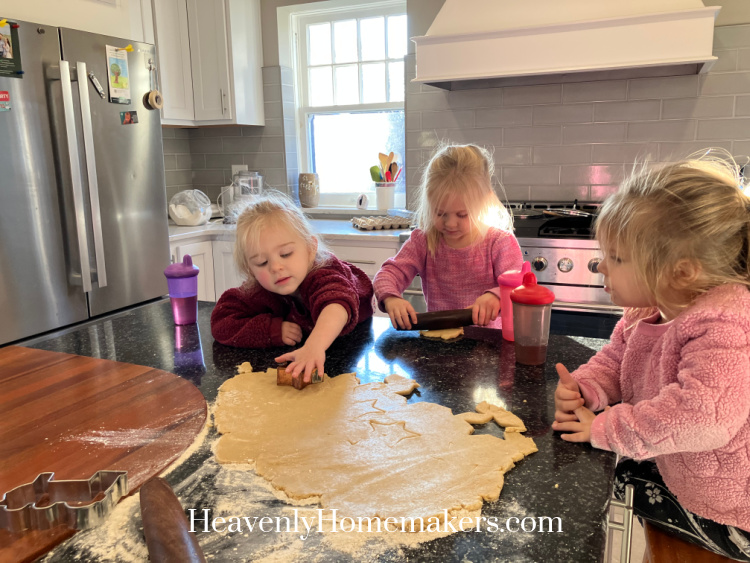
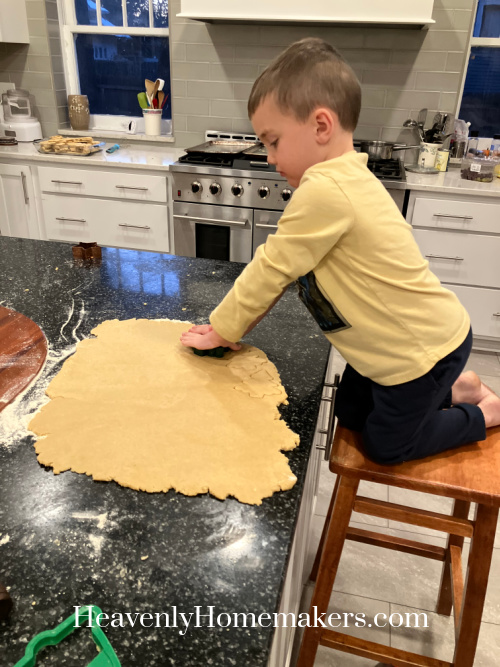
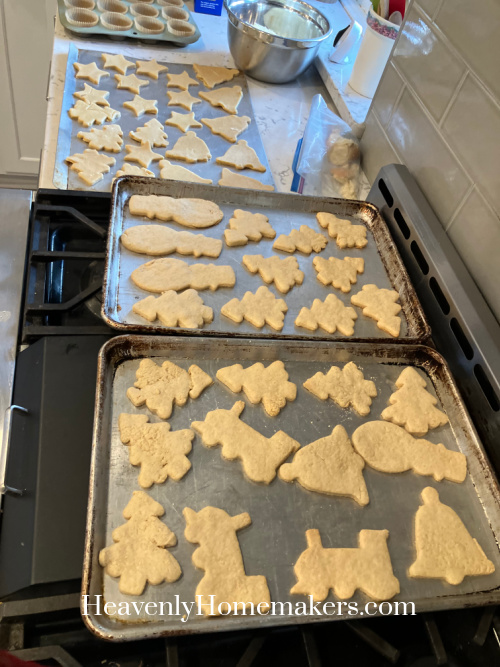
It happens every single summer. School ends. Break starts. Kids want to eat all day.

I’ve been a mom for a long time (28 years) to a lot of kids (11). I know how this summer-break-food-crazy-life works.
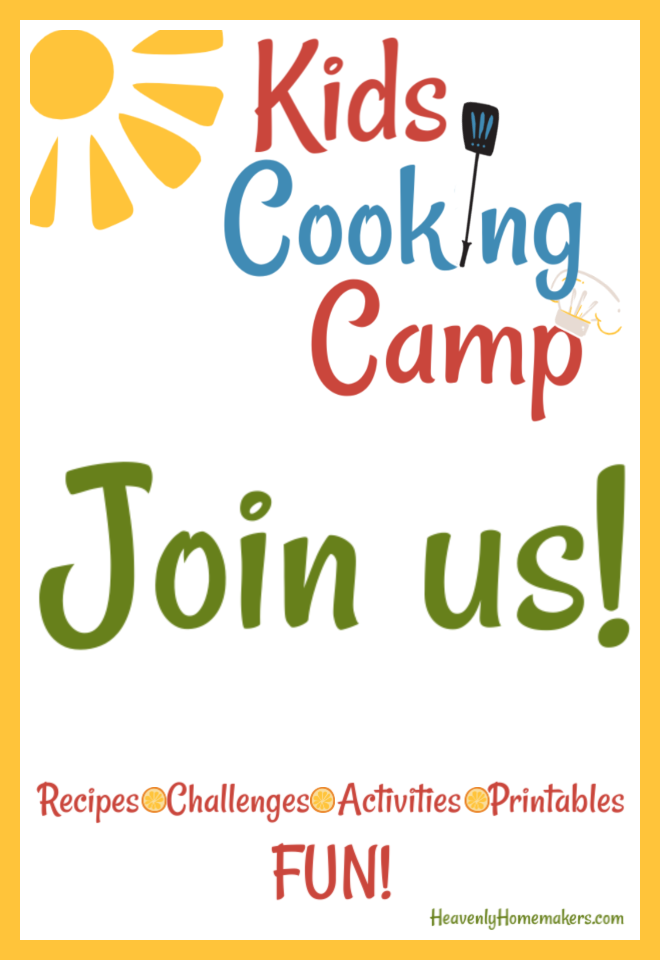
That’s why we created this Kids CAN Kit – to help make our summer a little bit easier and a lot more fun!
And guess what? IT’S ALL FREE.
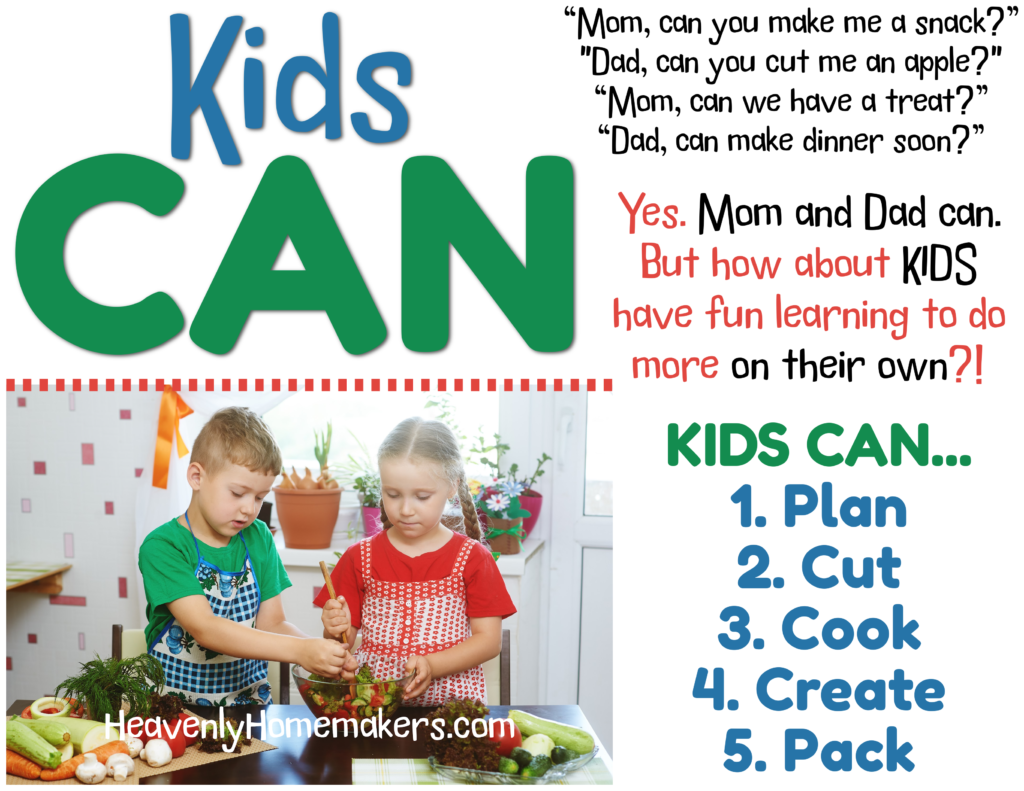
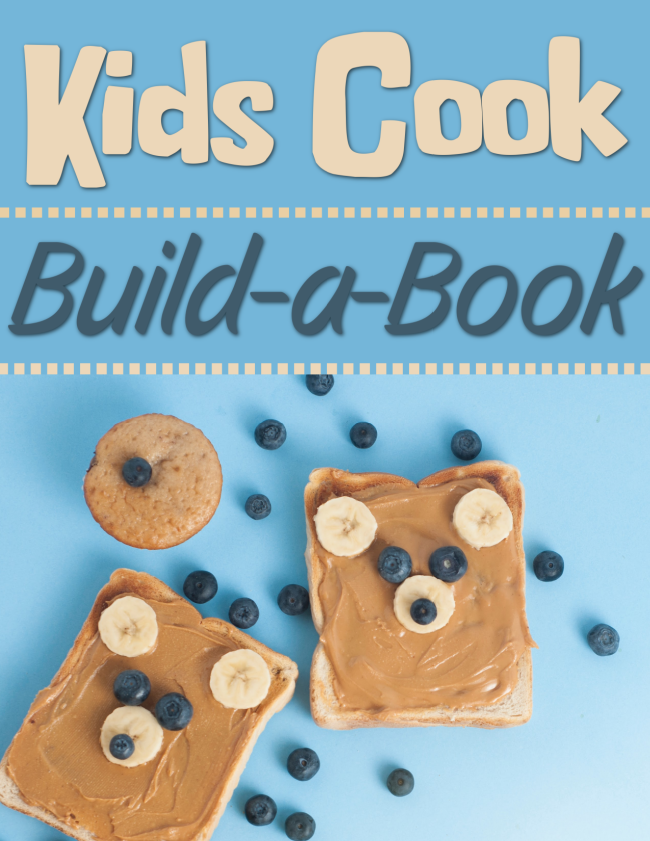
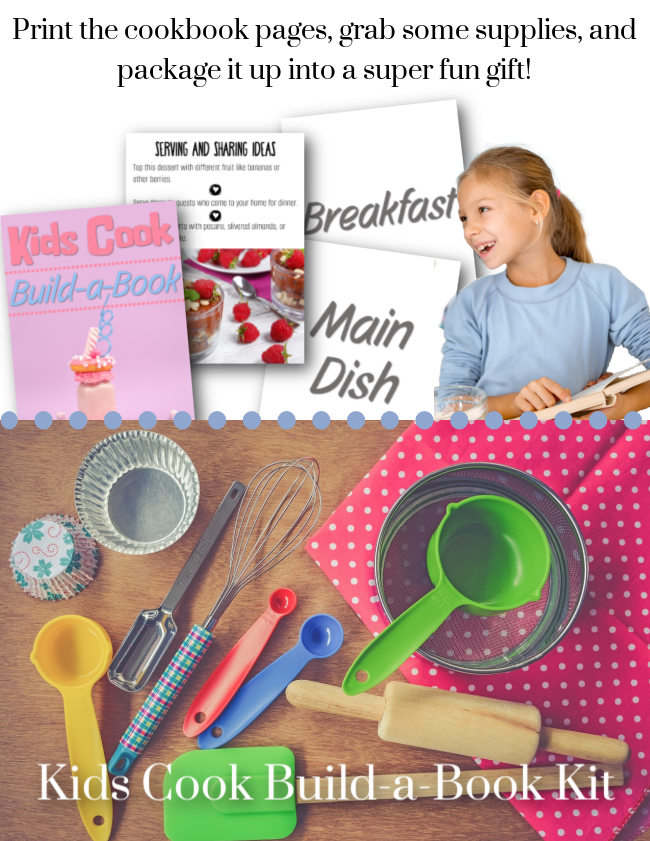
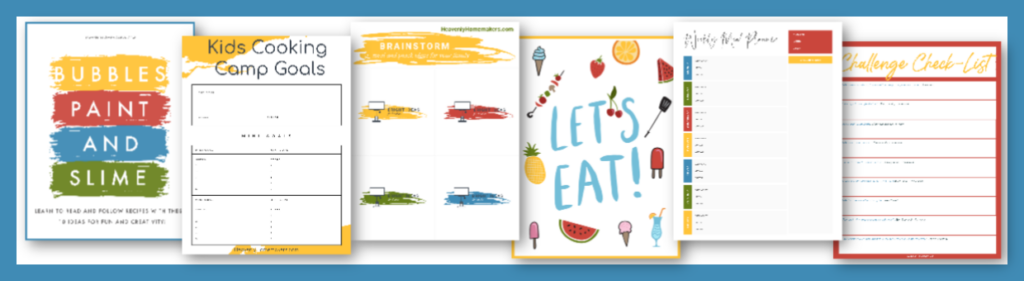
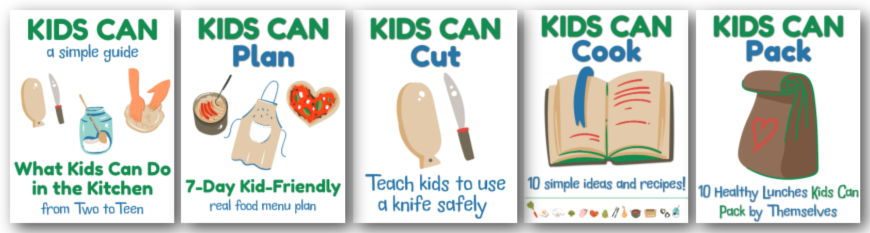
The Kids CAN Kit includes five simple, printable guides and books:
- Kids Can: The Simple Guide – What Kids CAN do in the kitchen, ages Two-Teen
- Kids Can Plan – Explore what foods go together well so that Kids CAN create tasty, balanced meals and snacks
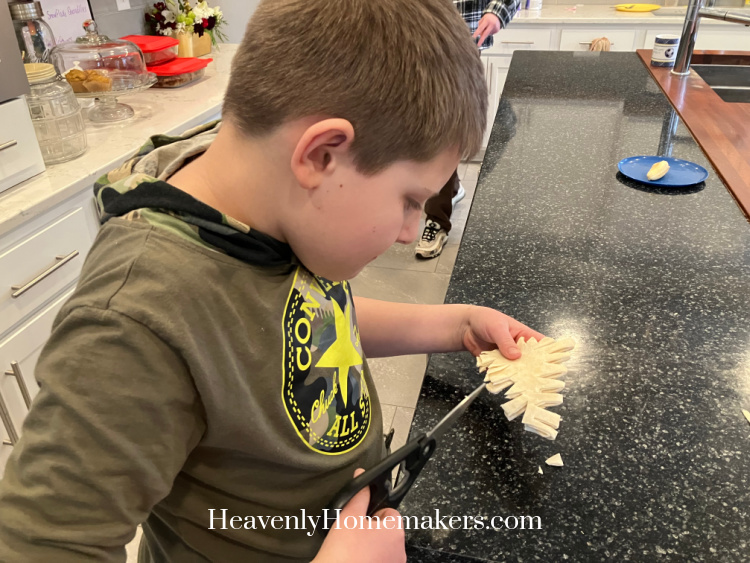
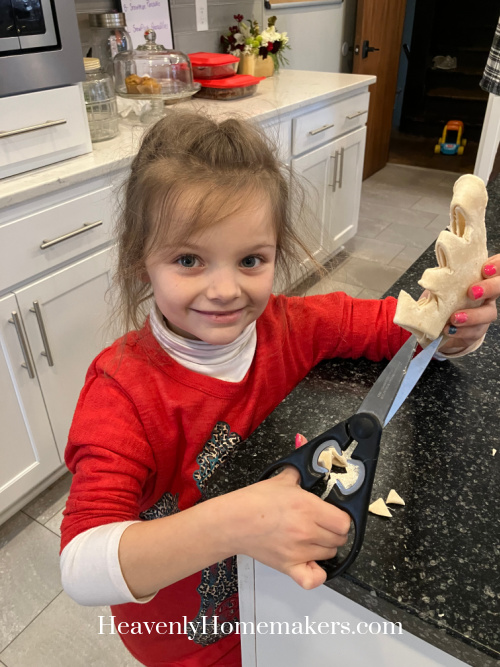
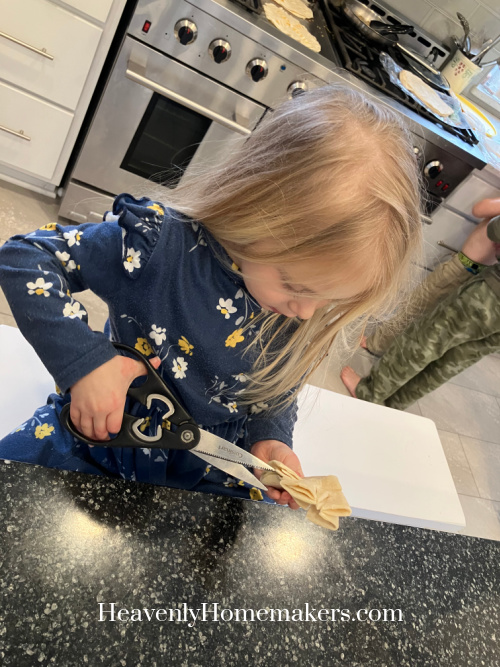
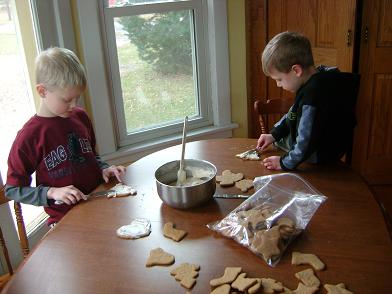
- Kids Can Cut – Teach kids to use a knife safely according to age and ability
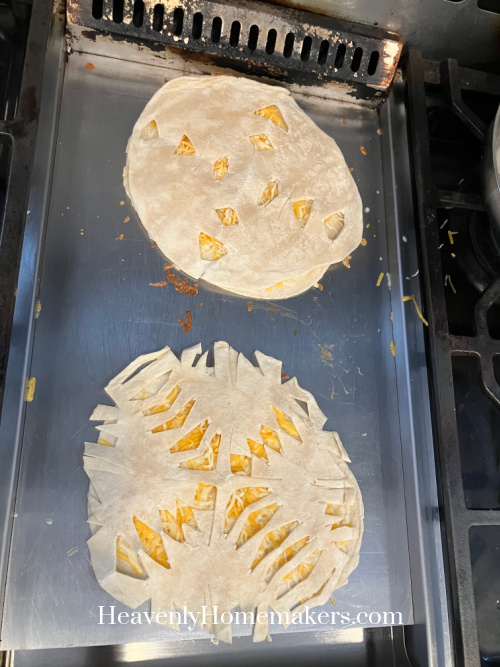
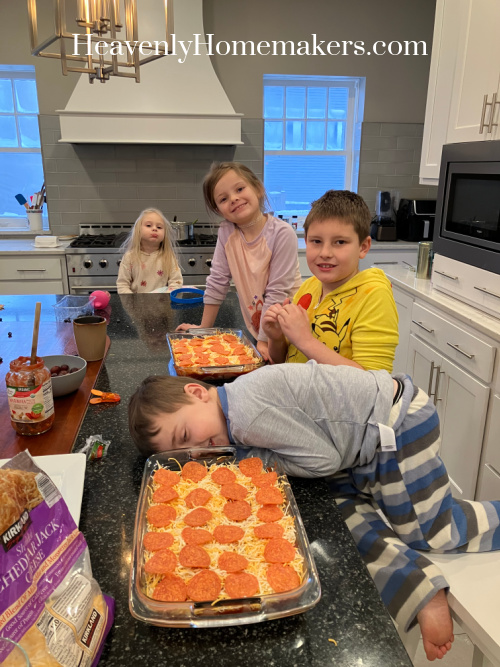
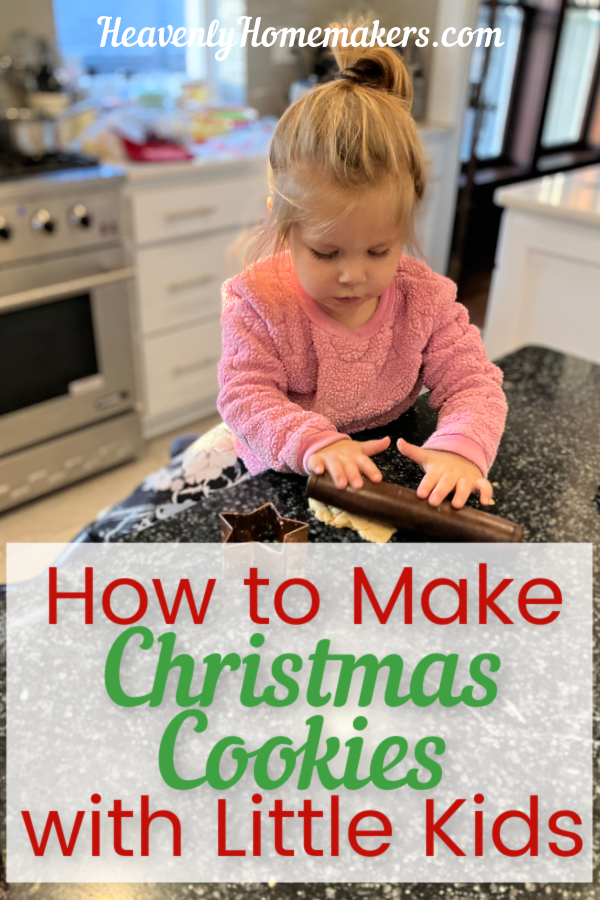
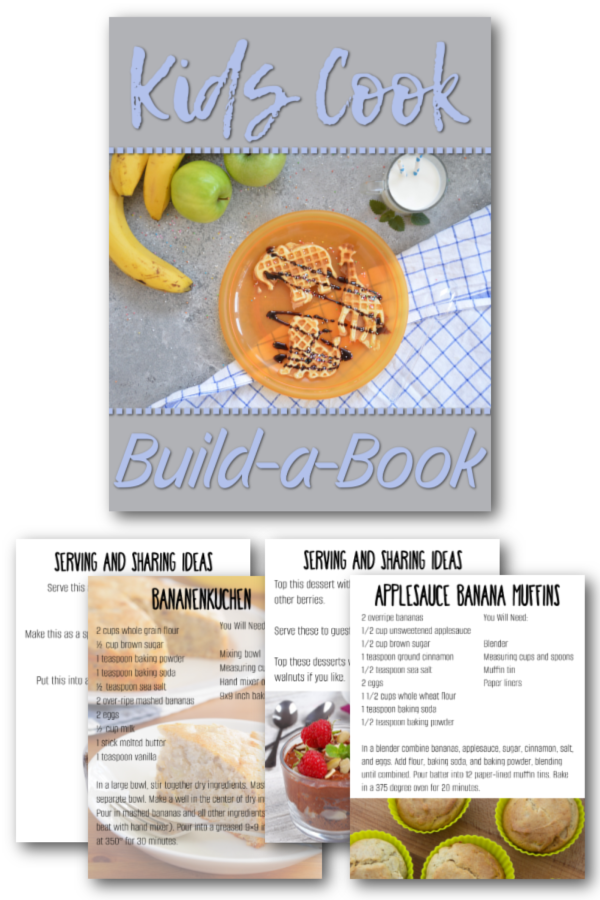
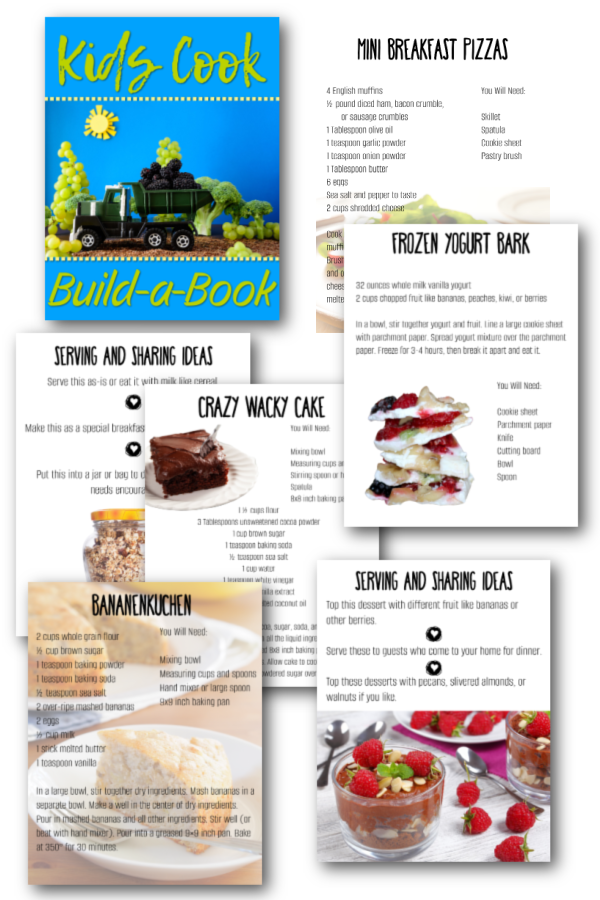
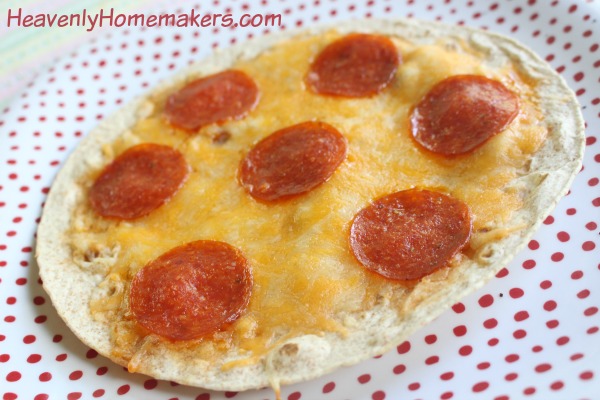
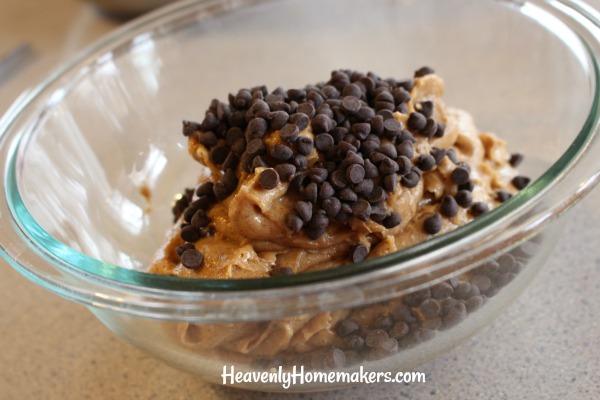
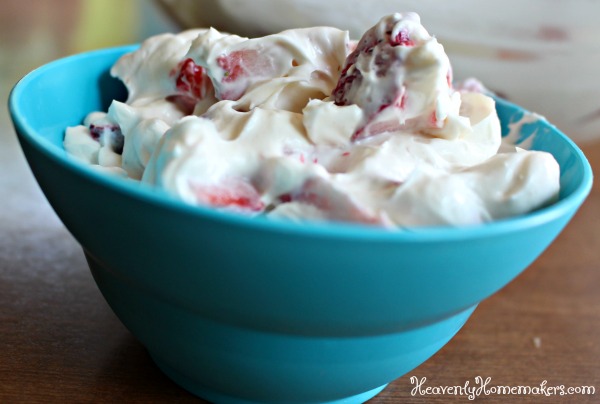
- Kids Can Cook(book) – 10 Simple meal and snack ideas and recipes Kids CAN make
- Kids Can Pack – 10 Great Lunches Kids CAN pack themselves
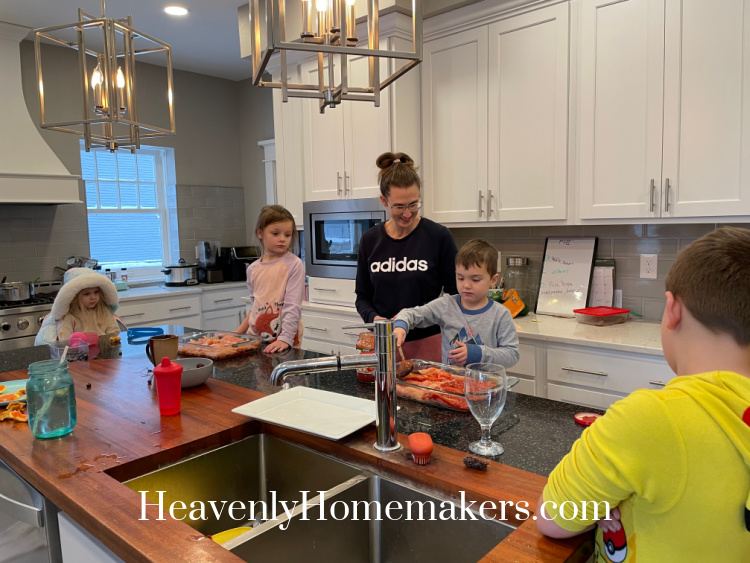
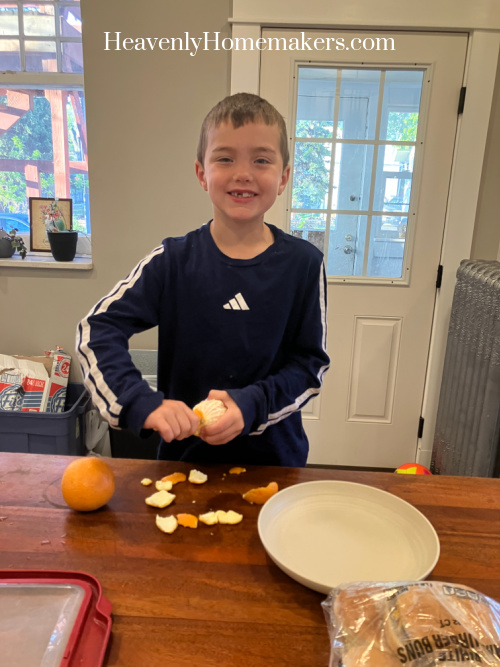
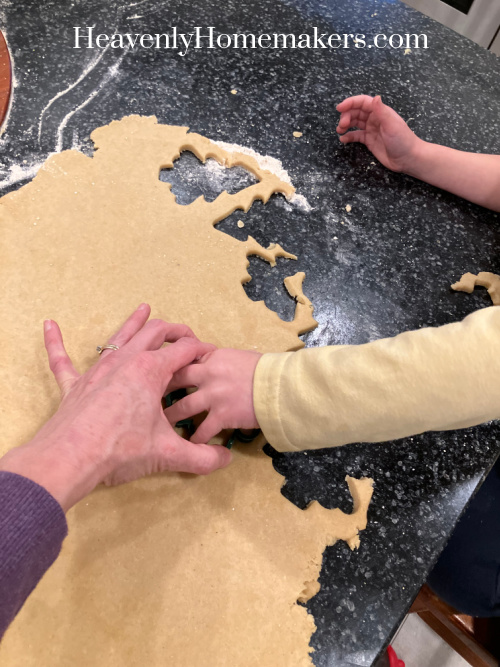
With just a glance through this kit, your kids will be eager to get started! I know this because my 7-year old (very active, busy, ADHD, autistic, tools-outdoor-and-sports-loving) kiddo took a peek at one of these books and ran right into the kitchen to wash his hands to start making food with me. THIS IS A BIG DEAL!
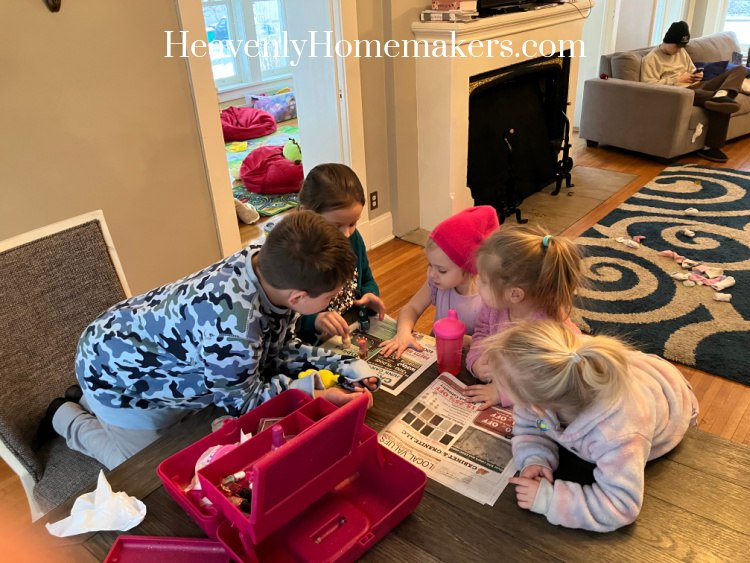
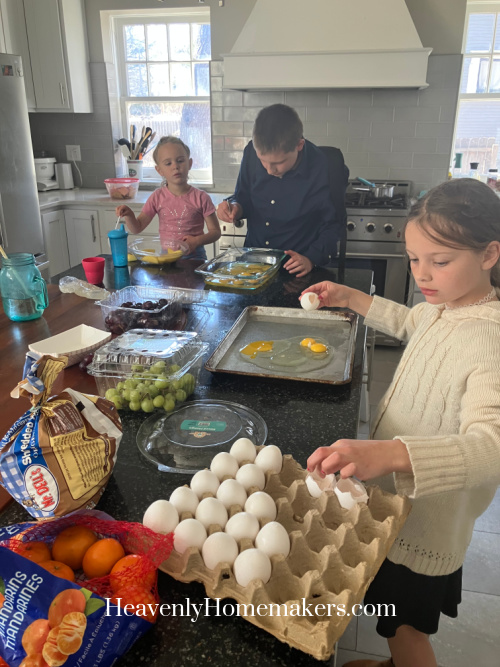
My goal for this summer with all of our kids is to:
- help them become more independent in the kitchen
- teach them more about healthy food choices
- grow their kitchen confidence
- allow them to be more creative and have fun with food
I want to take the burden off Mom and Dad and redirect our kids toward taking ownership and responsibility in the kitchen in all the way that Kids CAN.
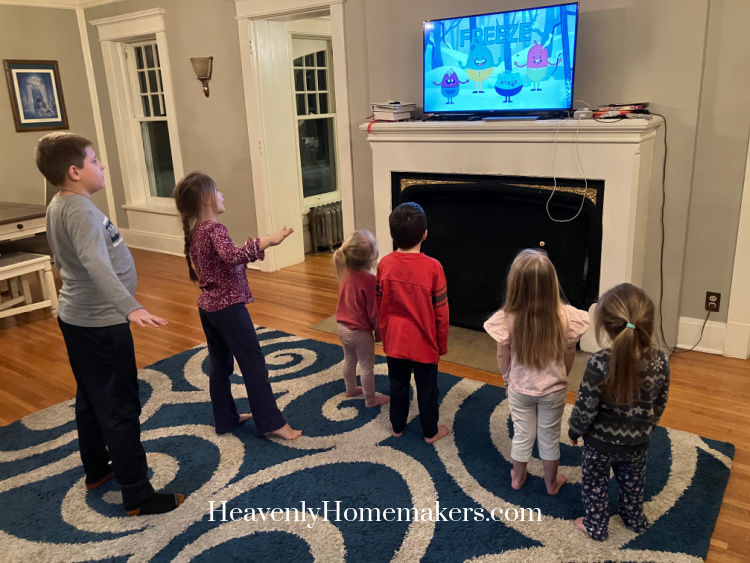
There’s a little something for all kids in the Kids CAN Kit, beginning at age two or three. And these resources can be used all the way up through the teenage years. Get all your kids involved. I know I will!
Do this with us this summer!
I couldn’t decide how to price this resource in order to get it into as many hands as possible. So I decided to give it away for…FREE! I’m so very excited about this!
How it works: The week of May 11-15, we’ll send out a series of exclusive emails filled with very simple information, printable resources, and eBooks. They’ll all be yours to keep and enjoy with your family. It’s as easy as that!
Simply click here to sign up.
Spread the word!