Ever tried to cook bacon in a crock pot?
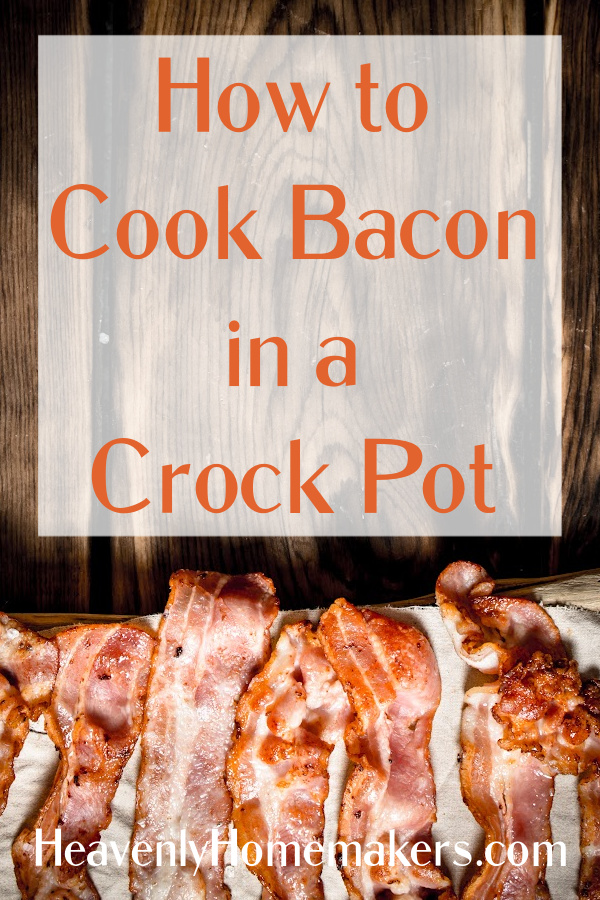
It’s not my favorite method, but it is a big time/effort saving method. So it’s worth sharing!
Why cook bacon in a crock pot?
Our family was given a huge box full (45 pounds worth!) of bacon, and I needed to do something with it. While I love making it like this for the freezer, I knew that 45 pounds of bacon would take hours and hours to bake. So I decided to try putting it in the crock pot and walking away. :)
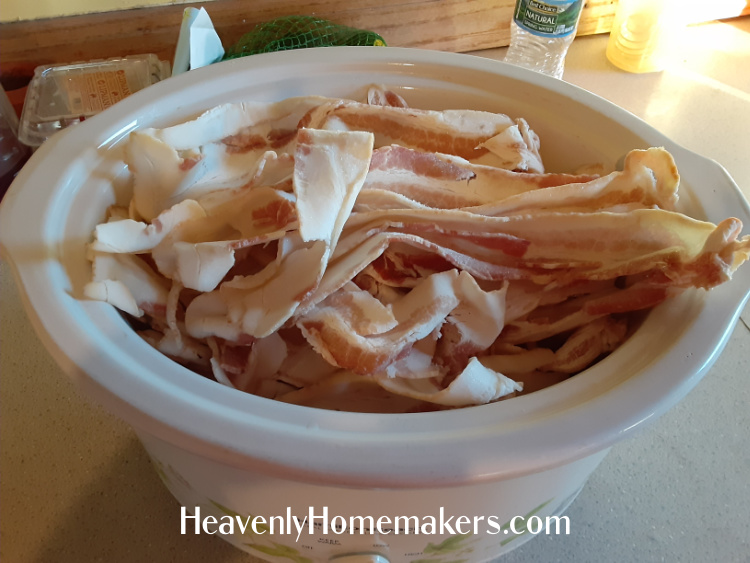
It was frozen at the time, so it seemed completely full when I put it into the crock. A few hours later, it had cooked down to this, ha!
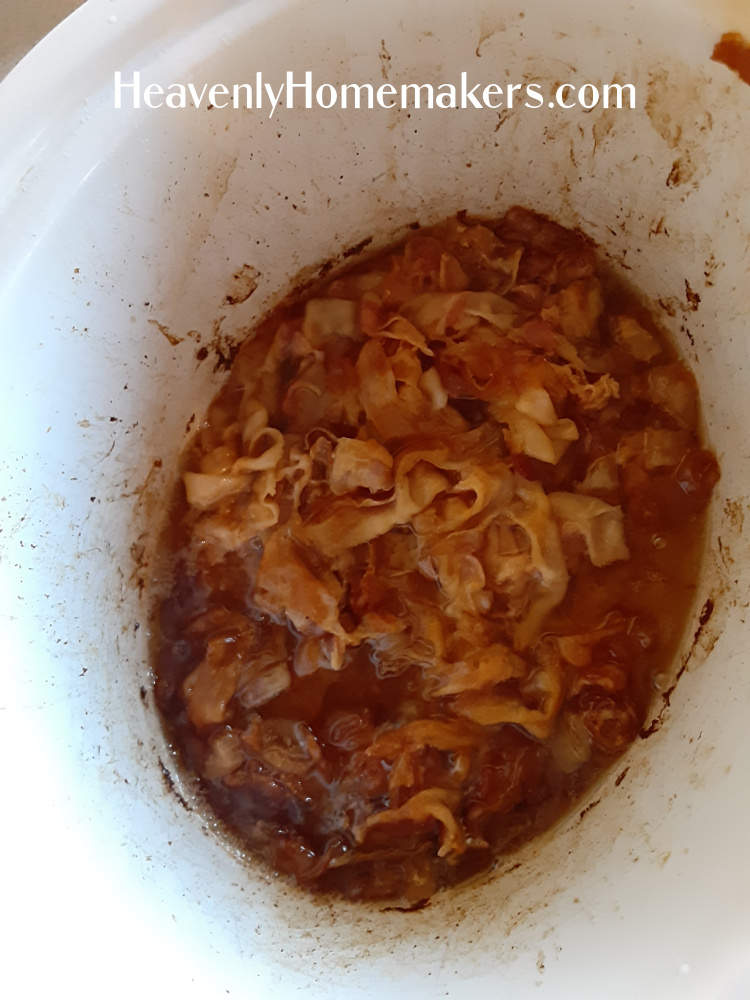
I drained it (saving the grease to use when I make green beans, so delicious!). And I froze the cooked bacon in baggies. Everytime we want to add bacon to a meal, I simply throw some in a skillet and rewarm/crispt it up!

How to Cook Bacon in a Crock Pot
- Put frozen or thawed bacon in a crock pot – as much as you can fit.
- Cover and cook on high for 4 hours.
- Drain, saving the grease for future needs.
- Freeze cooked bacon in freezer bags until needed.
- Rewarm/crisp bacon in a skillet before serving.
Sound weird? Yes. It kind of is. :)
But if you have a large amount of bacon you want to get cooked quickly, this is one way to do it!


 Tasha Hackett is a friend of Laura and loves to eat