Need suggestions for what to make for a potluck? Here’s a great list of ideas!

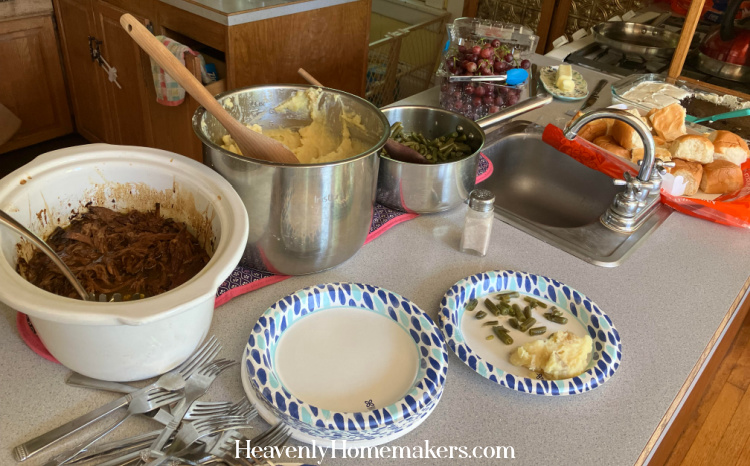
Potlucks are the best, aren’t they? Tables are filled with amazing dishes full of old favorites plus new foods to try. The dessert section is usually ridiculously overloaded and the choices are so much fun.
I usually take a main dish, a side dish, and a dessert to every potluck I go to. Taking this many items isn’t always necessary for everyone. But we are a large family, so I want to be sure and take plenty of food to be sure we are supplying more than our fair share (since for most definitely eat our fair share)!
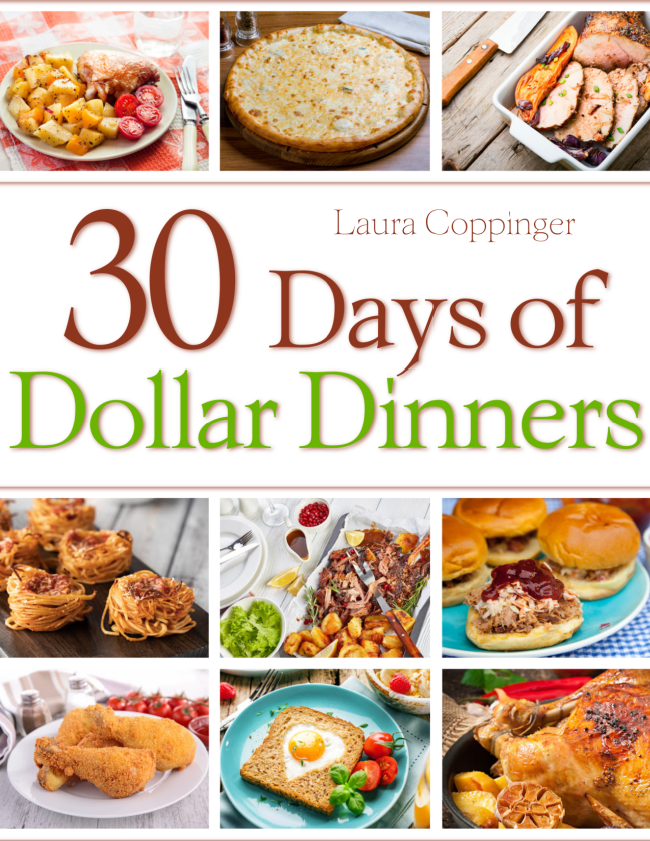
What to Make for a Potluck
I’ve been participating in potlucks for many years, and here’s what I’ve found to be the best dishes and desserts to take…
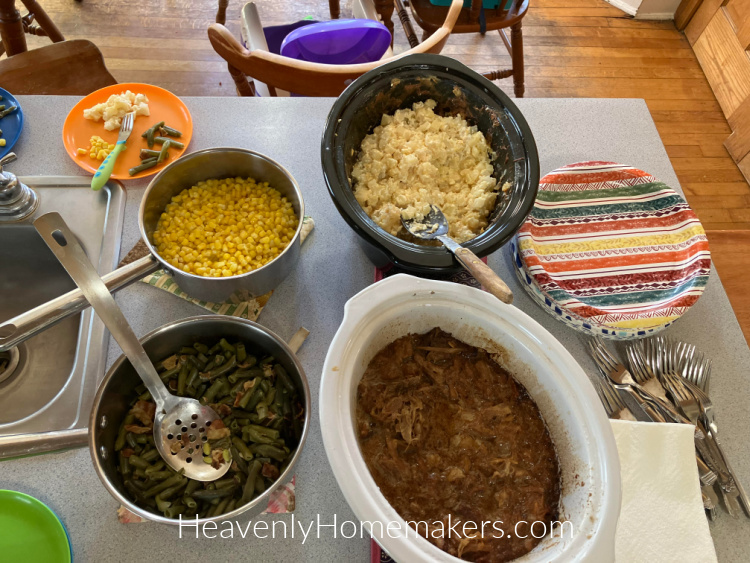
Main Dishes
- Baked Three Cheese Chicken Pasta
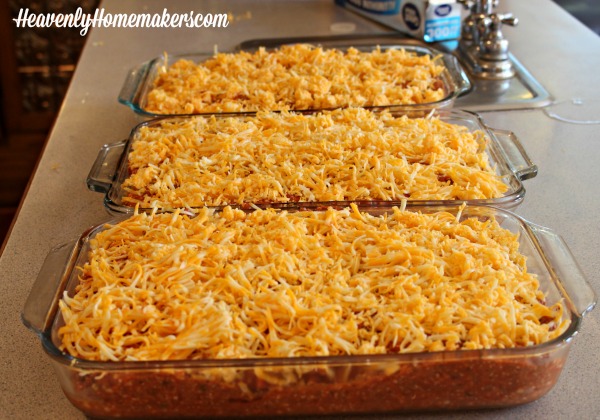
- Beefy Enchilada Bake
- Black Bean Salsa with tortilla chips
- Calico Beans
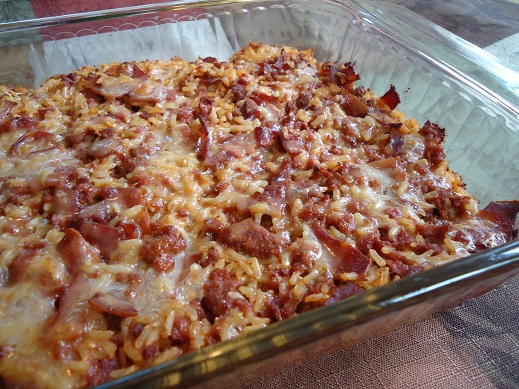
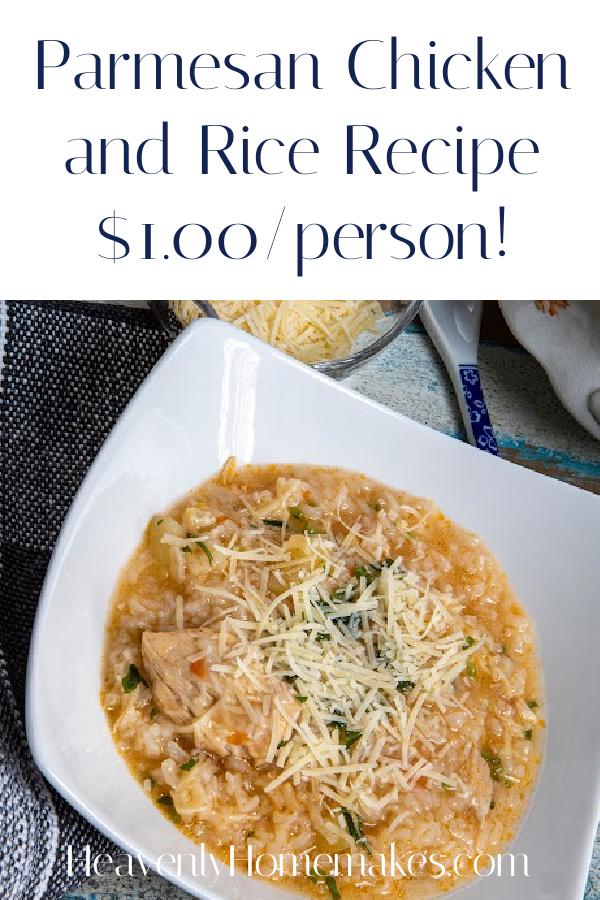
- Cheesy Beef and Rice *crowd favorite*
- Cheesy Salsa Enchiladas
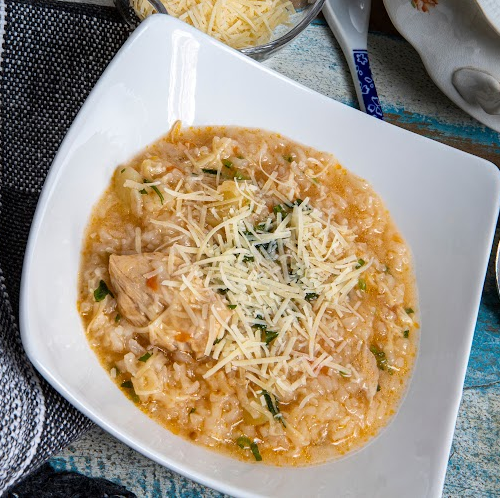
- Creamy Chicken and Rice Casserole
- Easiest Lasagna *crowd favorite*
- Ham with Scalloped Potatoes
- Hawaiian Crock Pot Chicken
- Italian Cream Cheese Chicken
- Italian Pasta Bake
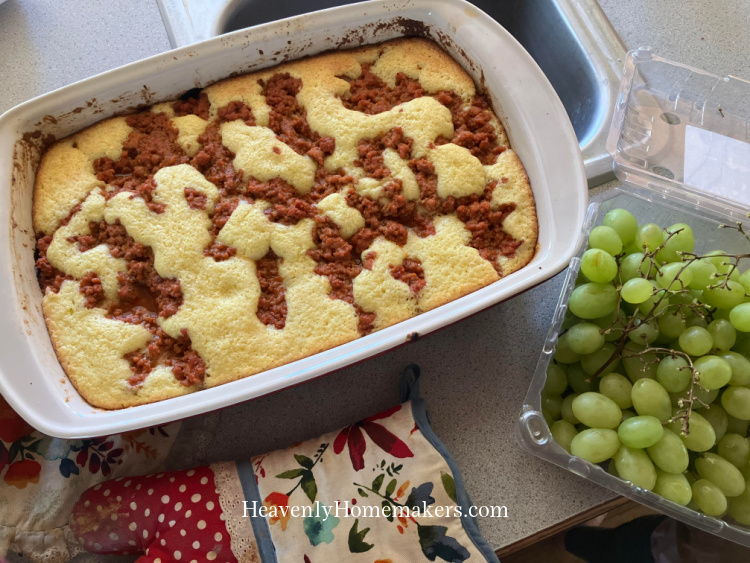
- Pizza Casserole
- Pulled Pork
- Skillet Taco Pasta
- Simple Taco Rice Dinner
- Simple Pizza Chicken Bake
- Simple 3-Cheese Crock Pot Pasta
- Simple Barbecue Beef Roast

Side Dishes
- Angeled Eggs *crowd favorite*
- Applesauce Bread
- Baked Beans
- Cheesy Mashed Potatoes
- Cream Cheese Corn *crowd favorite*
- Cream Scalloped Potatoes
- Easy Veggie Dip
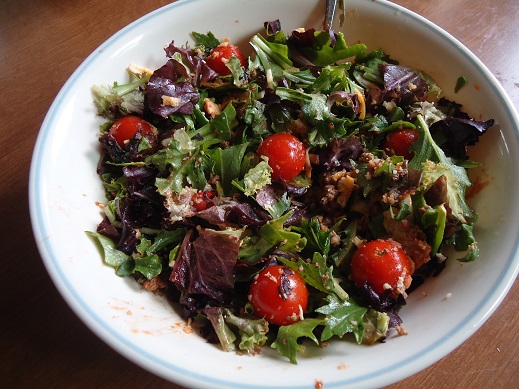
- Fruit Salad
- Honey Glazed Carrots
- Pineapple Fluff Salad
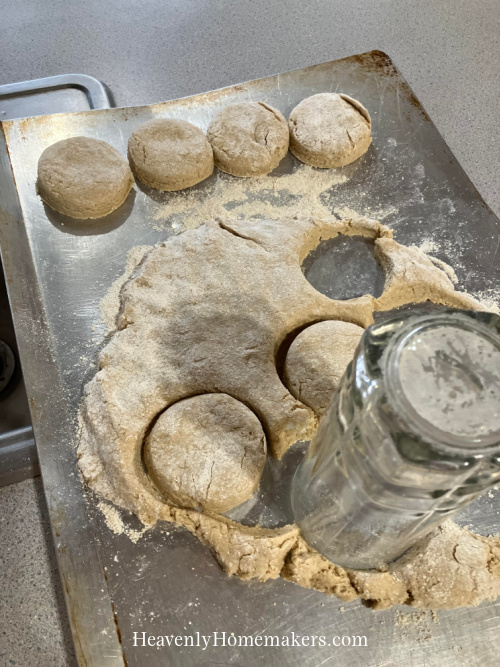
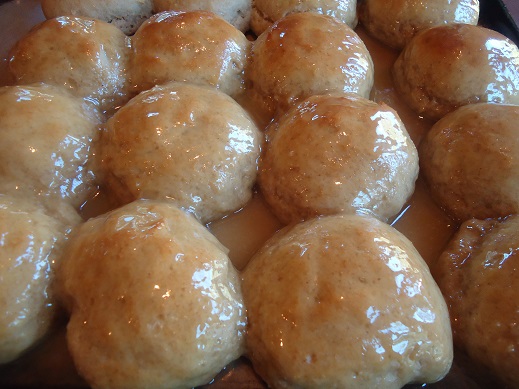
- One Hour Yeast Rolls *crowd favorite*
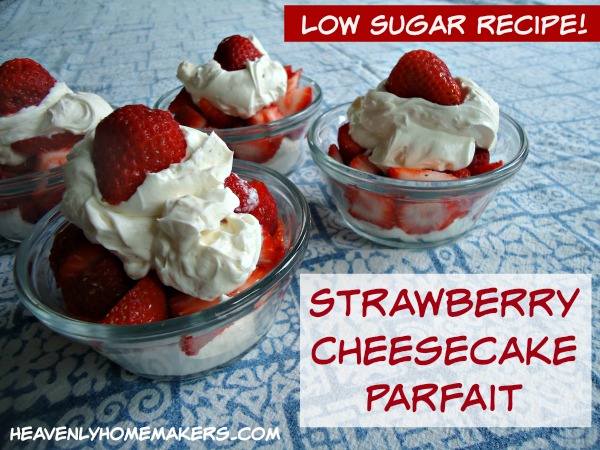
Desserts
- Banana Cake
- Butterscotch Bars *crowd favorite*
- Carrot Cake
- Chocolate Chip Brownies
- Chocolate Chip Cookies
- Chocolate Fudge Pie – EASY
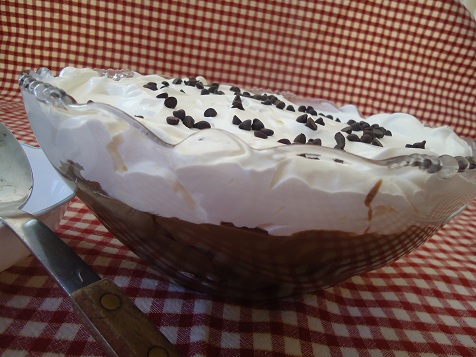
- Death By Chocolate *crowd favorite*
- Easy Apple Pie
- Easiest No-Bake Cheesecake *crowd favorite*
- Flourless Peanut Butter Cookies
- Flourless Chocolate Cake
- Lemon Pound Cake
- Monster Chocolate Chip Cookie Bars – no flour!
- Oatmeal Butterscotch Chip Cookies
- Pumpkin Pecan Pie Squares
- Pumpkin Pie
- Salted Caramel Apple Crisp
- Super Moist Chocolate Cake
No time to cook?
Here’s a quick list of ideas you can run and grab from the store to take and share:
- Frozen Meatballs (cooked in a crock pot with bbq sauce)
- Veggie Platter
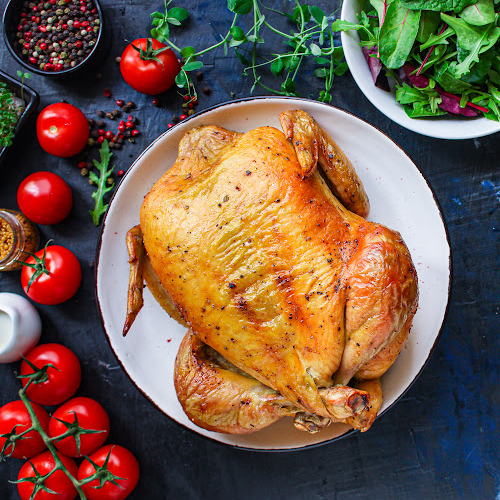
- Rotisserie Chicken
- Package of Dinner Rolls
- Package of Cookies
- Potato Salad
- Macaroni Salad
- Caesar Salad Kits (dumped into a bowl and stirred to serve)
What are your favorite dishes to take to a potluck?