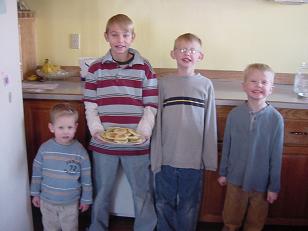
Here’s your Christmas Brunch gift! WE LOVE YOU!

This year, our family has been learning more about what it means to DELIGHT. Delight in each other, delight in the quiet with Jesus, delight in each bite of food we take, delight in community, delight in worship…
It’s been, well, delightful.
With this word at the forefront of my mind, as I was creating the gift I wanted to give all of you this year, I realized that our Christmas Brunch together has been just that: delightful.
Beyond the fellowship and the food, recognizing that the LIGHT of Jesus makes everything in life – even the hard parts – absolutely delightful.

Your Gift
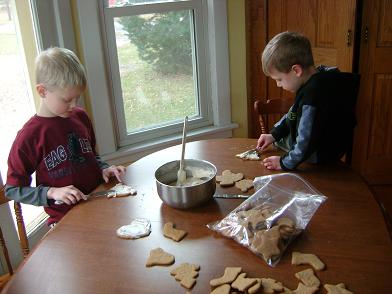
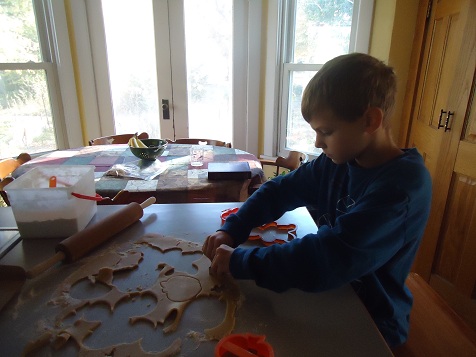
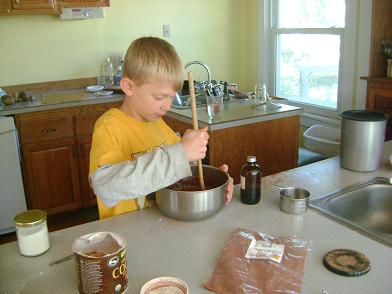
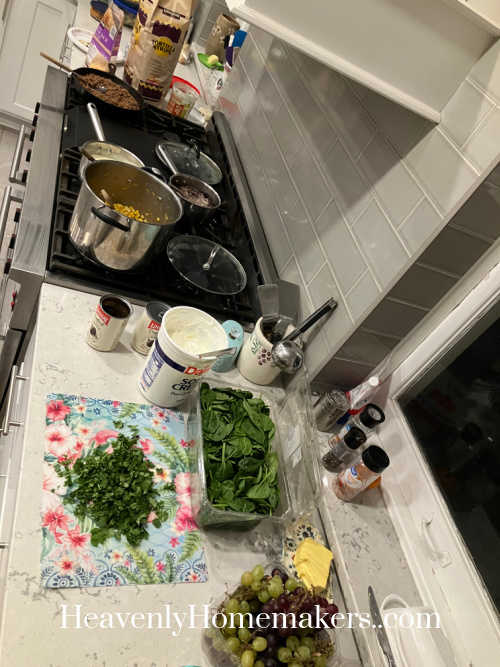
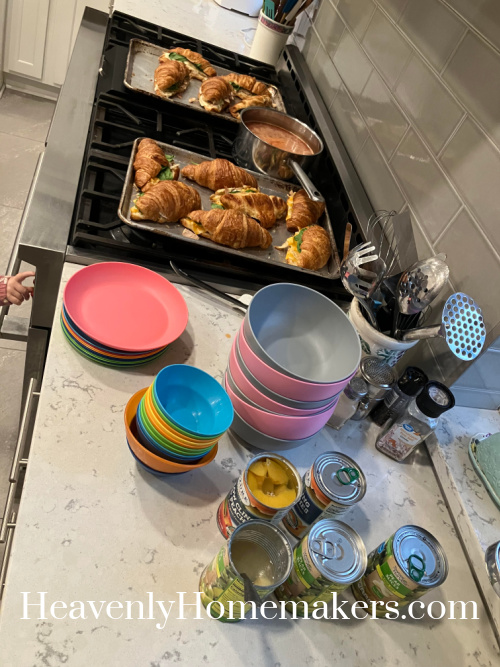
We put this little book for you. Not only does it include all of the recipes we enjoyed during our 2024 Christmas Brunch, we added a few extras too. And, the best part: A Delightful Devotional for you and your dear ones to enjoy.
This devotional section of the book will walk you through spending time reflecting on the past 12 months and how God’s light radiated into every part – yes even and especially in the challenges.


I’m so thankful for all of you. I love that you regularly send me encouragement – I need it. The community built together here is one of a kind, and I thank you for the gift you are to me.
You are a delight.
To enjoy your Delightful Christmas Brunch eBook, simply click on the link below and it’ll be yours. God bless you with a very Merry Christmas!