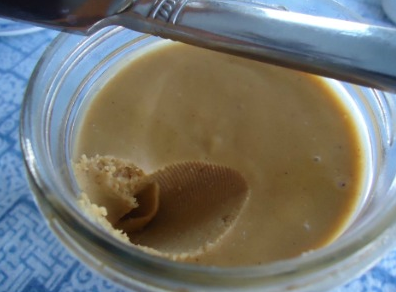
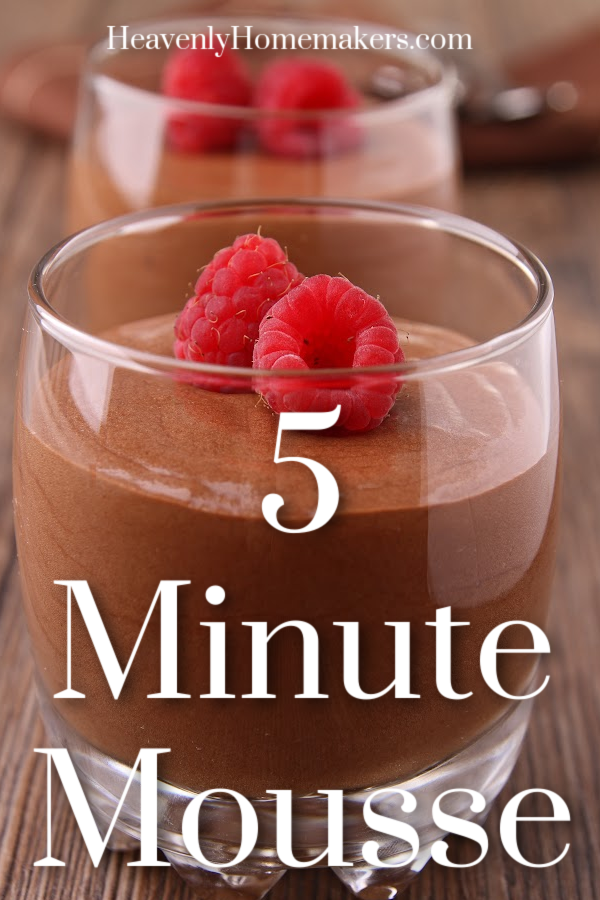
Wait until you try this Easy Chocolate Protein Mousse!

All it takes to make this Easy Chocolate Protein Mousse is four ingredients and a blender. Plus maybe five minutes of your time.
I decided that this is a perfect breakfast for our family, and none of my kids are arguing about it. When the ingredients consist of cottage cheese, honey, cocoa, and vanilla – why wouldn’t we declare it to be a great breakfast?!

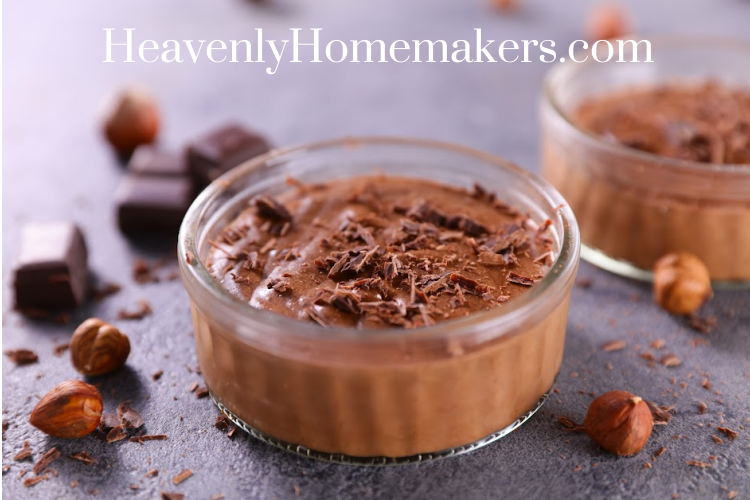
Easy Chocolate Protein Mousse
Chocolate Protein Mousse
Author: Laura
Serves: 6-8 servings
Ingredients
- 3 cups 4% milk fat cottage cheese
- ¼ cup honey
- ⅓ cup unsweetened cocoa powder
- ½ teaspoon vanilla extract (optional)
Instructions
- Blend ingredients together until smooth.
- Serve!


 Tasha Hackett is a friend of Laura and loves to eat