So says my husband, as I was lamenting my pizza splurge on yet another very busy day with the kids. “Isn’t this frozen pizza splurge still frugal?” said he. And as it turns out, he’s right.
God bless him. He appreciates all I do, but he surely gets weary of hearing me verbally process our enormous grocery needs, my grocery spending, and my efforts to keep our grocery costs reasonable.
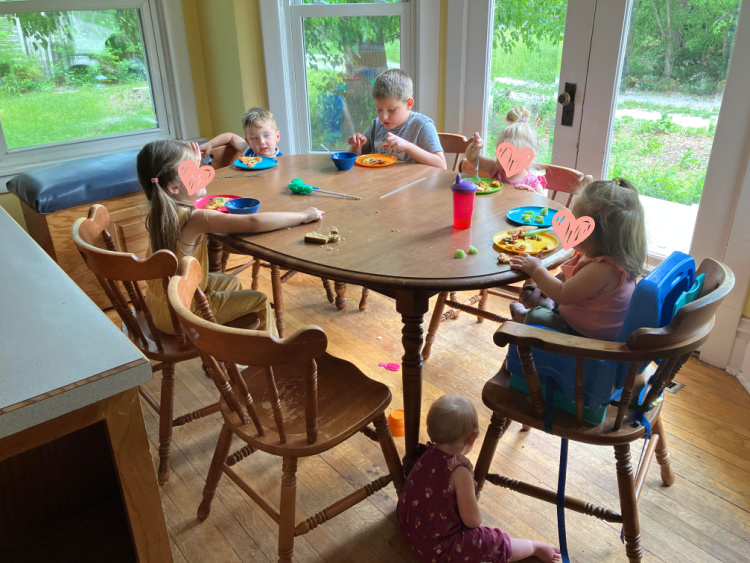
Here we are with nine kids at home, trying to keep our grocery budget to just $1,200 per month. It’s working, sort of, for now. But these are a precious lot of mouths to feed – emphasis on the precious.
 Four of these pictured precious mouths feed themselves most days.
But we sure do love it when they come and we get to feed them too!
Also, this picture is already outdated as we’ve added another babe to the crew!
What’s this about my frugal pizza splurge?
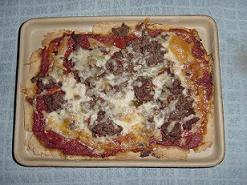
Well, I try to cook from scratch most meals, seeing as ingredients are cheaper than ready-made foods. But alas, with so many littles, so many appointments, so much laundry, so many diapers, and a frightening number of tantrums to deal with each day, cooking from scratch isn’t always in the cards.
One night, after an especially challenging day, I told Matt, “Ugh, I think this is a frozen pizza night. How in the world do I stay frugal right now with all of this going on?” (I probably had a toddler screaming at my pant leg at the time. It’s possible I had one at each leg. The third toddler was likely mad that I’d run out of legs.)

But Matt looked confused (and kind). “Actually,” he said, “you’re doing awesome with staying frugal. Those Costco pizzas you get save a ton compared to ordering out. It’s a great frugal choice! Aren’t they just $3-something per pizza??”
$3.62 as a matter of fact.
He’s right. We can eat four Costco pizzas for the cost of one restaurant pizza. And four pizzas is the number we need to feed our huge crew.

Perhaps we need to rethink what “frugal” is.
Sure, making every food item from scratch is a great, money-saving option. But so is finding the “convenience” food items that keep us from needing to resort to takeout. NOT THAT TAKEOUT IS ALWAYS BAD EITHER!!! Goodness, we need to take care of our families and take care of ourselves. So whatever that looks like for your needs is what it looks like for your needs.
For our family, skipping takeout and getting out the frozen (frugal, thankyouverymuch) pizza is a fantastic choice right now. The pizza offers me a kitchen break, the kids all love it (which offers us all a tantrum break), and we eat salad and fruit with it (which gives us extra nourishment along with our treat).
In summary
Frugal can look like making 5 meals with one pork roast, making 10 meals with one turkey, or making frozen pizza instead of ordering out.
How lovely that we can take a sigh of relief and take care of ourselves while we take care of our families.
Three cheers for frugal frozen pizza!
What’s your favorite food to keep in the freezer to avoid having to order takeout? (Here’s a list of some of the other items I keep on hand.)


