Stir-Fried Veggies are one of our favorite ways to eat veggies! Here’s how you can make a nutritious stir-fry quickly!

We’ve been eating a lot of stir-fried veggies lately! It’s been a great way to up our veggie intake as stir-frying them gives them such an incredible flavor!
Not that it’s terribly difficult or time consuming, but cutting up veggies for a meal does take more time than simply opening a bag of frozen veggies or grabbing mixed greens out of the fridge. So here’s what I’ve tried to do if I have a few spare mintues (read: if the babies are in their high chairs eating breakfast, safe from running in two different directions, and therefore safe from climbing precariously on the furniture while my back is turned)…

How to Make Nutrious Stir-Fry Quickly
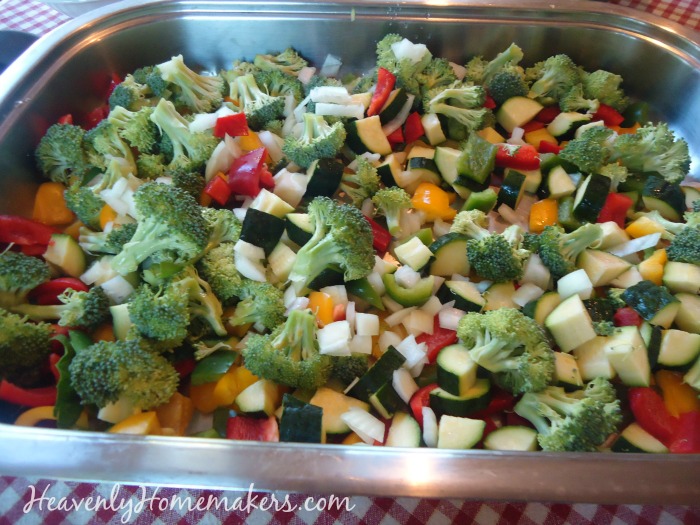
The advice is a no-brainer really. Simply spend a few minutes – when you can find a few minutes – washing and cutting a bunch of veggies for stir-fry. Mix them all in a large ziplock bag and pull them out to cook at meal time!
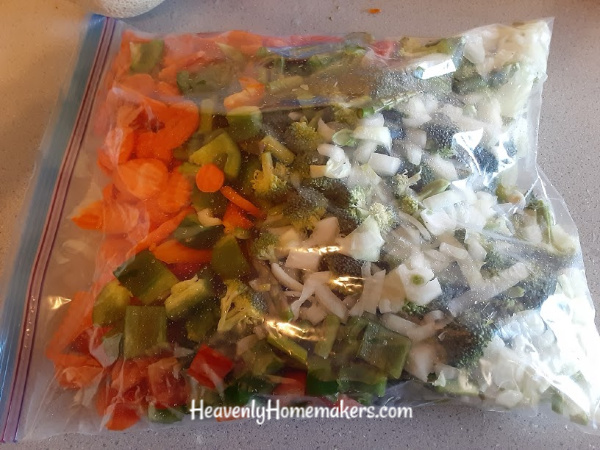
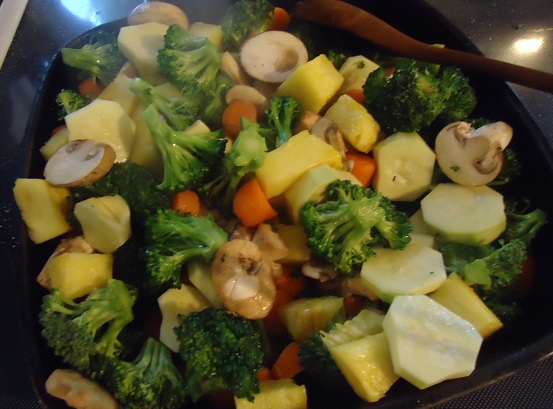
Recently, I spent about 15 minutes washing and cutting sweet peppers, onions, broccoli, asparagus, and carrots. We then had a 2-gallon bag of prepped veggies in the fridge! So for the next few days, we have delicious stir-fry meals or stir-fried veggie side dishes with our meals!
Here are three ways we like to eat stir-fried veggies:
1. As a delicious side dish to go with whatever meat we are eating.
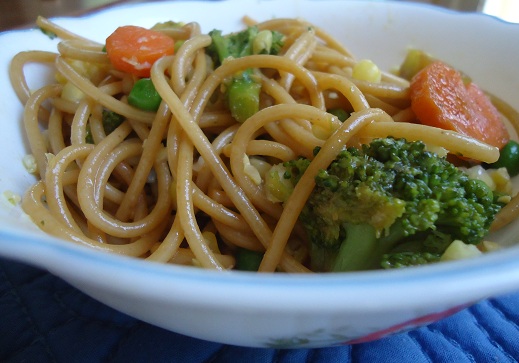
2. Stirred into cooked spaghetti noodles like this. Sometimes we add cooked meat, sometimes we don’t.
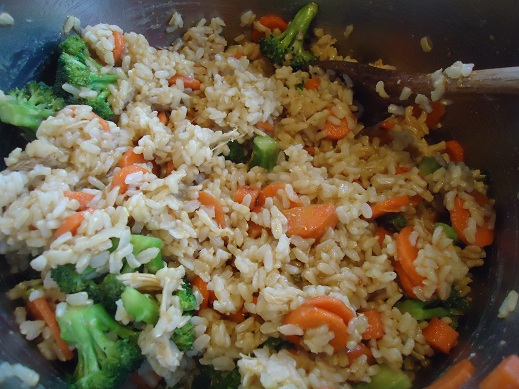
3. Stirred into Stick-of-Butter-Rice. Again, sometimes we add cooked meat and sometimes we don’t.
The Easiest and Most Flavorful Way to Stir-Fry Veggies
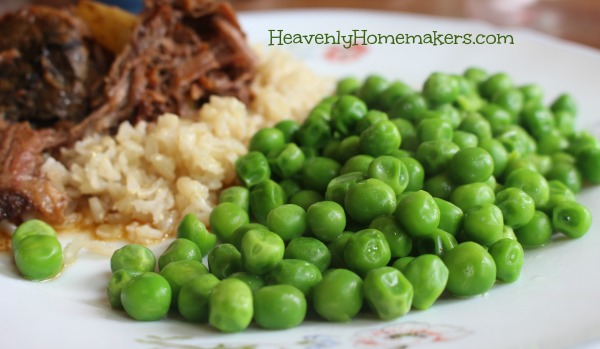
- 2-4 cups fresh or frozen veggies of your choice (broccoli, carrots, peas, peppers, corn, zucchini, squash, etc.)
- 3 Tablespoons olive oil, coconut oil, or palm shortening
- 1 clove minced fresh garlic or ½ teaspoon garlic powder
- Soy sauce (to taste)
- Sea salt (to taste)
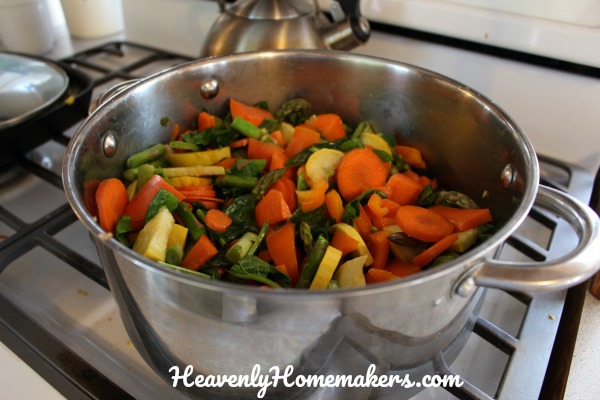
- In a skillet, toss vegetables, garlic and olive oil together - cooking on medium heat until veggies are tender.
- Add soy sauce, stirring until the veggies are barely coated.
- Add sea salt (and more soy sauce) if desired.