It’s our 2024 Christmas Brunch: Dark Chocolate Espresso Pie Recipe!

Oh yes, we are doing this!
A few months ago, our family hosted a Neighborhood Pie Party. Everyone from several blocks around was invited and asked to bring a favorite pie to share. It was a wonderful party with over 40 people in attendance!
Someone brought in a Mocha Pie and it was so very good. I decided to try and duplicate it for our 2024 Christmas Brunch!
It’s so easy
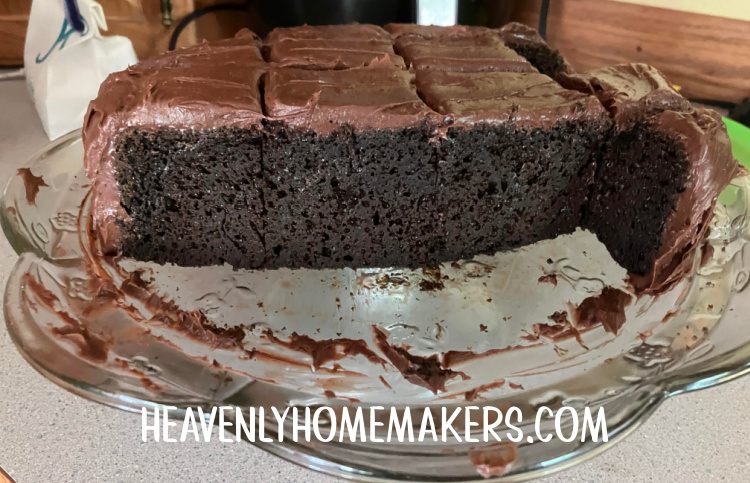
You know me. I rarely make anything that’s complicated. So I took the easiest chocolate pie recipe ever and turned it into a Dark Chocolate Espresso Pie with very little effort!
This pie includes simple ingredients like dark chocolate chips, whipping cream, and butter. Ah, and ground espresso.
Dark Chocolate Espresso Pie
- 10-ounces dark chocolate chips
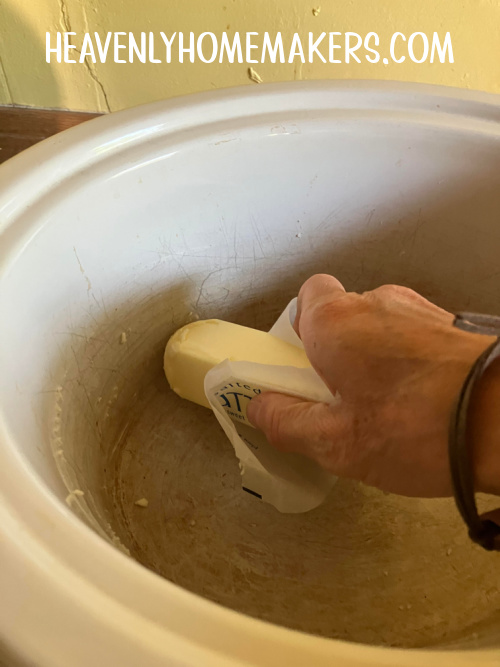
- 4 Tablespoons butter
- 2 cups whipping cream
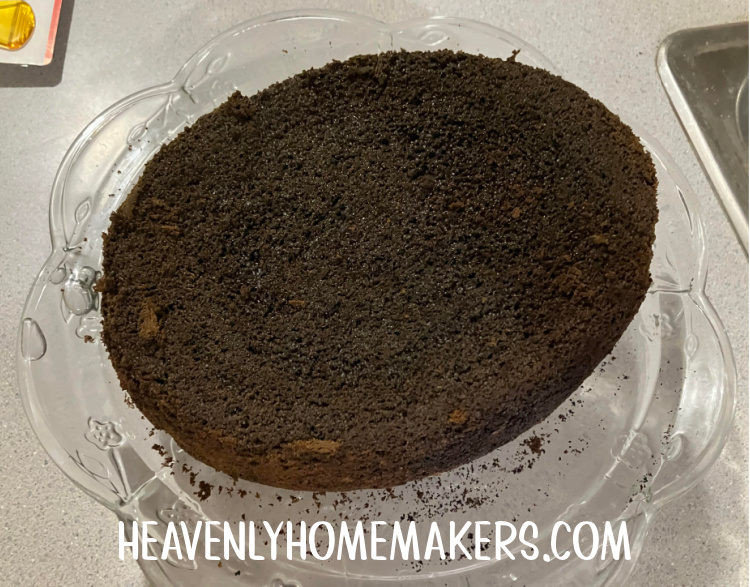
- 3 Tablespoons ground espresso
- 9-inch pie crust (regular, graham cracker, or oreo)
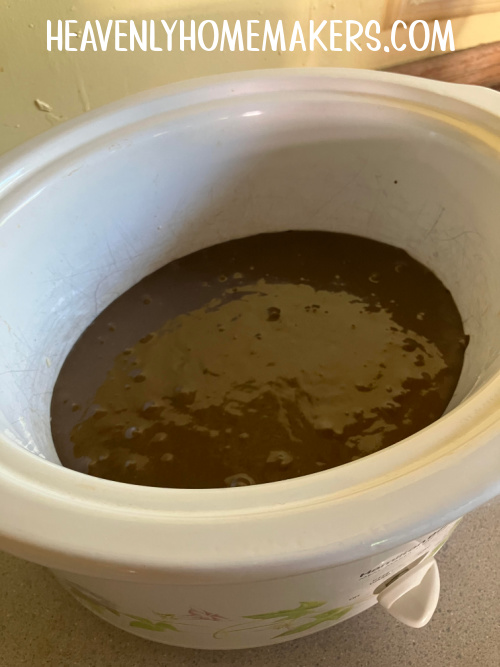
- In a small saucepan, melt the chocolate chips and butter together.
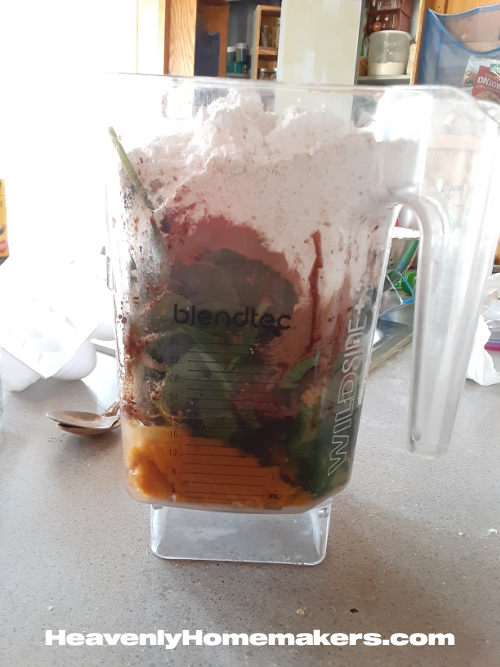
- Once melted, whip the chocolate mixture with cream and ground espresso using beaters or in a high power blender until smooth and thick.
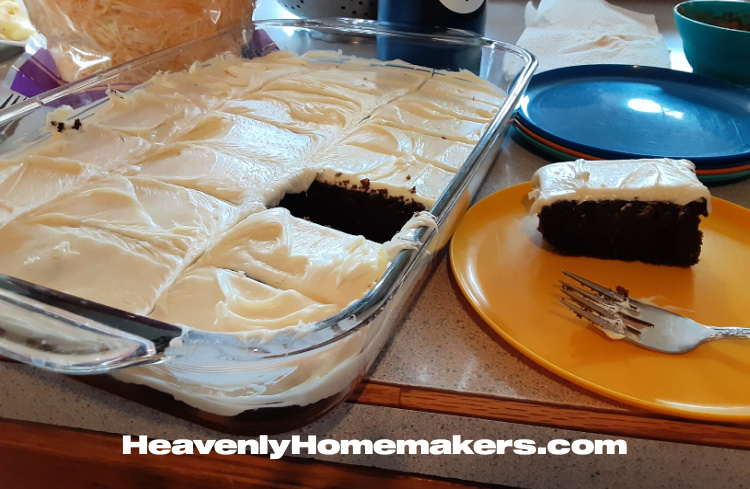
- Pour mixture into a prepared pie crust.
- Chill pie for at least two hours before serving.
This is the fifth and final 2024 Christmas Brunch recipe, and it’s a perfect one to end on. But we aren’t done yet. Come back tomorrow for our Thank You Gift!
The other four recipes featured in our Christmas Brunch:
- Holiday Spice Muffins and Quick Bread recipe
- Christmas Casserole
- Hot Cocoa Punch
- Santa’s Big Batch Drop Cookies
Coming up next: A very sweet gift for you!