When it comes to making and preserving Apple Pie Filling, you have a few choices. You can can it (can can, can you do the can can, can you…). You can freeze it, which I will describe here today. Or (and this is by far the most novel idea of them all) you can put the filling directly into a pie crust and bake it immediately.
It all comes down to how much freezer space you have, how much pantry space you have, if you love canning produce, if you have plenty of jars, or if you really just want to eat an apple pie after dinner on this very day.
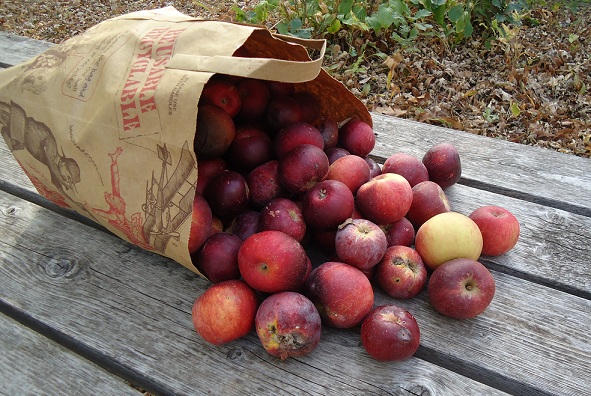
But really most of it comes down to apples. You can’t do any of this if you don’t have apples.
So…do you have apples? I have apples. This year I decided that the easiest way for me to preserve Apple Pie Filling is to freeze it.
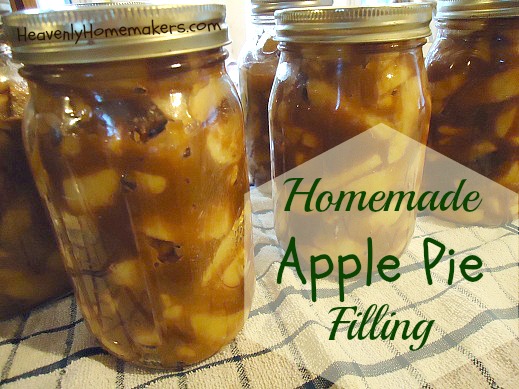
If you want to can apple pie filling so that you can store it in your pantry, you can learn how to do that here. You should know that I break out in a sweat every single time I type the word p-a-n-t-r-y. I re-read it four hundred and eighty times to make sure I didn’t leave out the “r” because that would bring a whole new unintended meaning to my sentence.
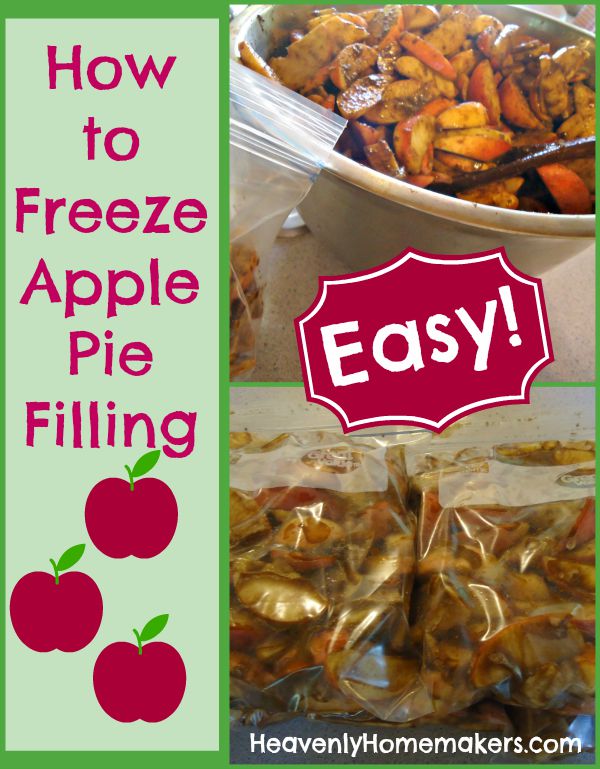
Here’s how to freeze apple pie filling:
1. Wash, core, and slice apples into a large bowl. I leave the peeling on. (Once again I sweat and make sure I added the “l” to p-e-e-l-i-n-g.)
2. Stir in 1/4 cup sucanat or brown sugar plus 1 teaspoon cinnamon per every 5-6 apples.
3. Transfer mixture to quart-sized freezer bags, 3-4 cups of apple pie filling per bag.
4. Label the bag and freeze it for up to a year.
When you’re ready to make an apple pie, simply thaw and dump the contents into an unbaked pie crust, then proceed as you normally would to make an apple pie. Here’s my Whole Wheat Pie Crust recipe. Even easier, use the filling to make an Apple Crisp or a Salted Caramel Apple Crisp.
It’s wonderful having prepared apple pie filling in your freezer, and yes, even in your pantrrrrrrry.
How’s your apple supply? Have you been able to get your hands on plenty of good apples this year?