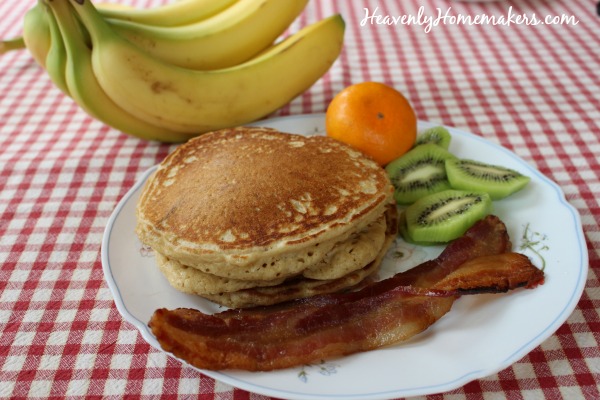
Blender Pancakes save a step or two. Anything that makes cooking easier is a win!
With so many little ones in our house, I find that I’m often stopping to pick up a baby or toddler while making our meals. So recently, instead of mixing up our Pancake Batter in a bowl with a whisk, I put everything into our blender so that I could use just one hand instead of two!
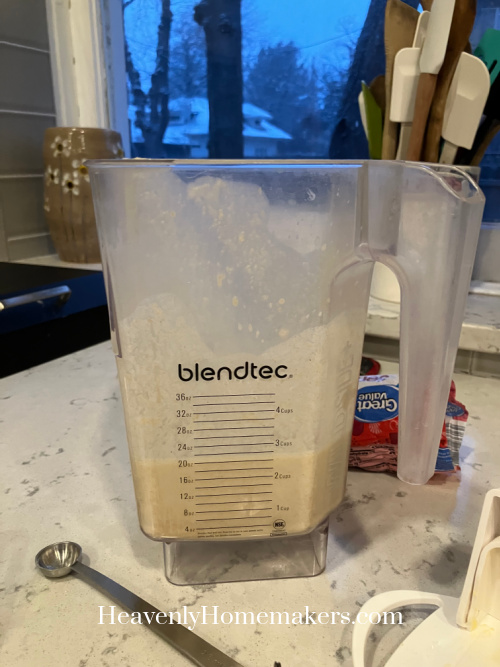
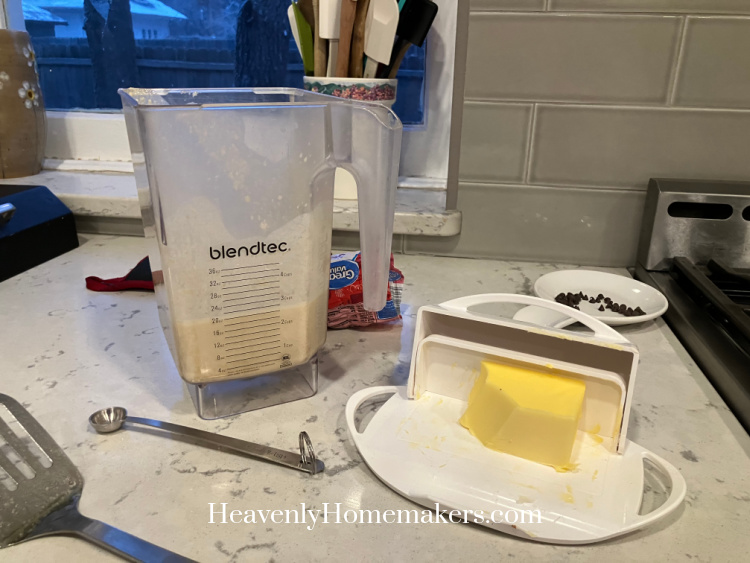
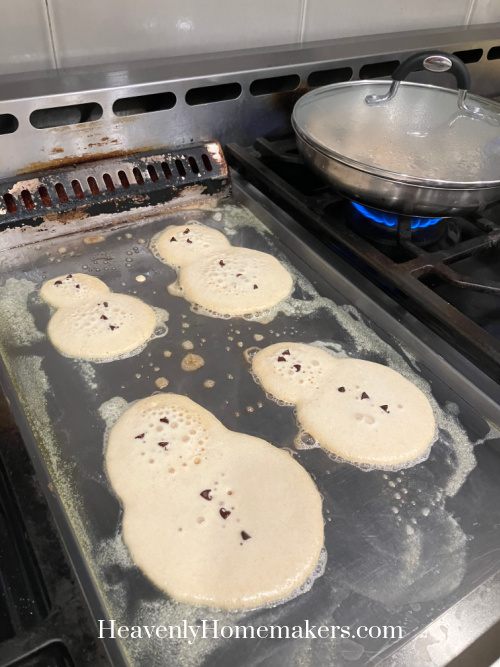
I love how easy this is and how the blender does the work of mixing the ingredients. I also love pouring the batter directly onto our griddle instead of scooping out batter with an additional utensil. Fewer steps, fewer dirty dishes! And tasty pancakes. :)
This particular day, we turned our pancakes into snowmen because we were enjoying a beautiful snow fall!
You can use any recipe you want to make your pancakes – simply mix them in your blender instead of in a bowl with a whisk. But here’s our favorite whole wheat recipe:
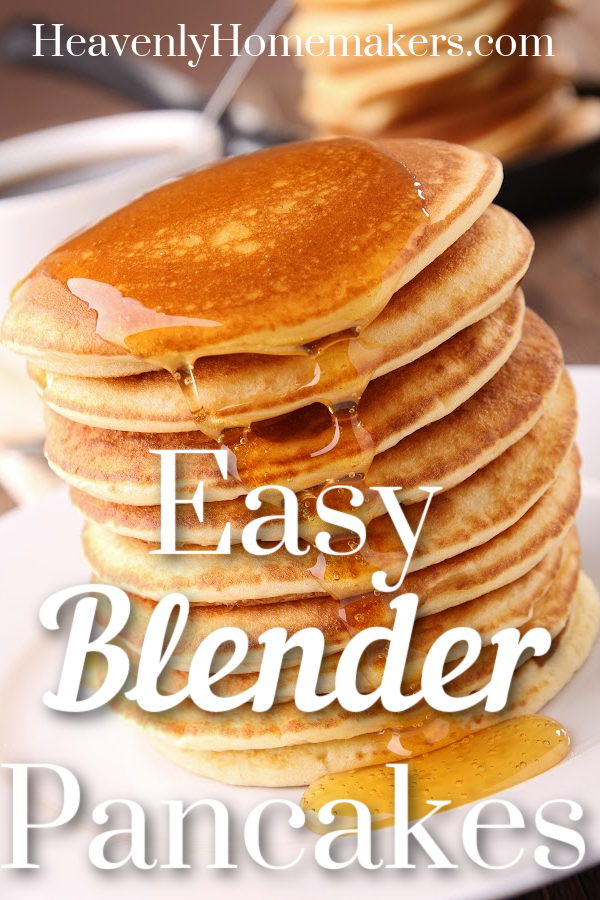
Easy Blender Pancakes
- 2 cups milk
- 2 eggs
- 2 cups whole wheat flour (or whatever grain you want)
- 1 teaspoon baking powder
- ½ teaspoon sea salt
- Put ingredients into a blender, liquids first.
- Blend until smooth.
- Pour batter from blender onto a buttered griddle or skillet.
- Flip cakes once they begin to bubble.
Here are more tasty pancake recipe varieties:
Mix any of these in your blender too:
- Simple Pancake Mix Pancakes
- Peanut Butter Pancakes
- Pumpkin Pancakes
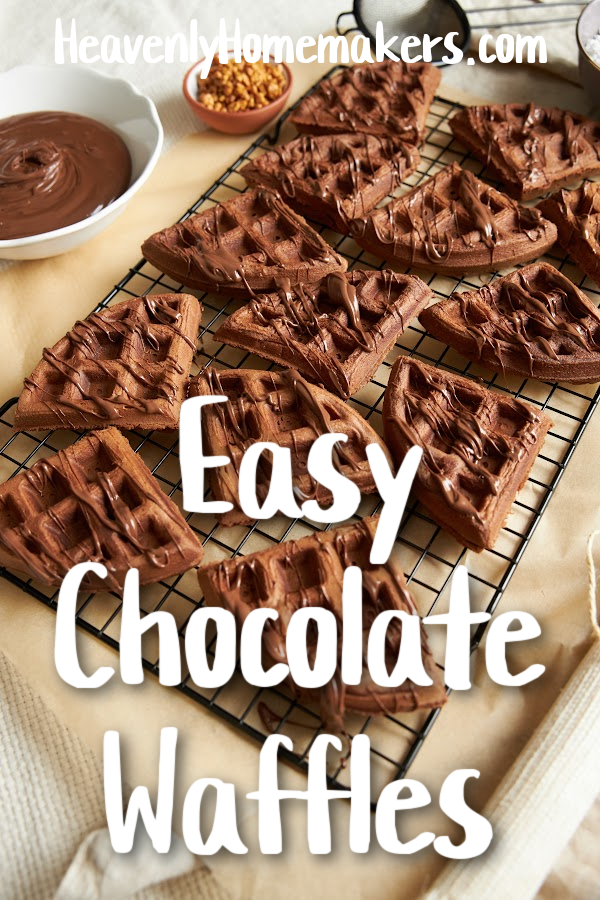
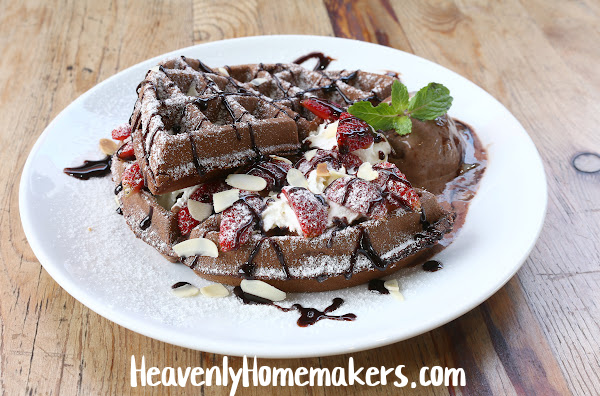
- Easy Whole Grain Chocolate Pancakes
- Simple Banana Pancakes
- Whole Wheat Applesauce Pancakes
- Baked Apple Pancake
- Easy Pancake Muffins
- Whole Wheat Waffles (even better than pancakes!)

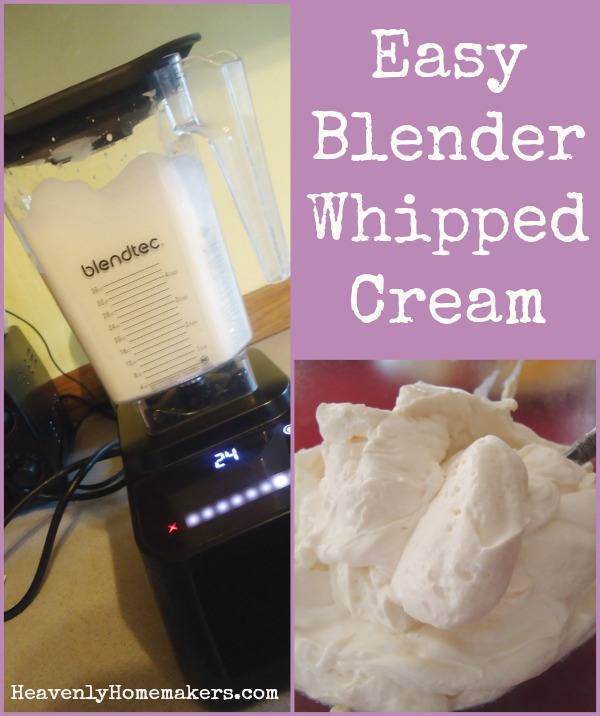
Whipped Cream Recipes:
Ever topped your pancakes with whipped cream? Oooh, you should!
Bonus Pancake Topping Recipes:
Sometimes we just spread butter on our pancakes and eat them as-is. Other times we dribble on some Real Maple Syrup or Honey. Other times, Peanut Butter and Applesauce. Here are more ideas…
- Homemade Pancake and Waffle Syrup
- Chocolate Syrup for Pancakes and Waffles
- Apple Butter
- Blueberry Pancake and Waffle Syrup
- Peach Syrup (for pancakes and waffles)
- Peanut Butter (just peanuts!)
- Peanut Butter (super creamy – like Skippy or Jif)
- Raspberry Syrup
Every tried Blender Pancakes?