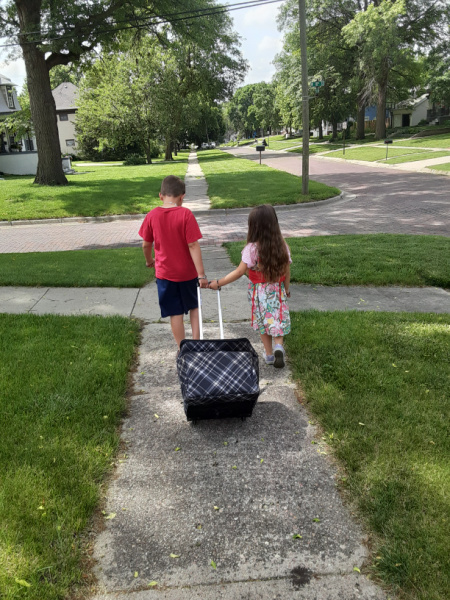
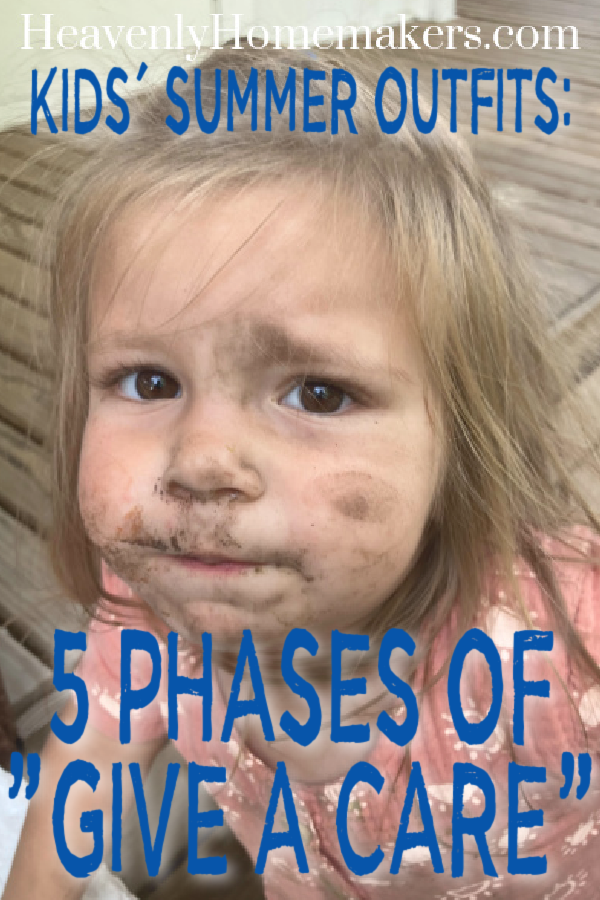
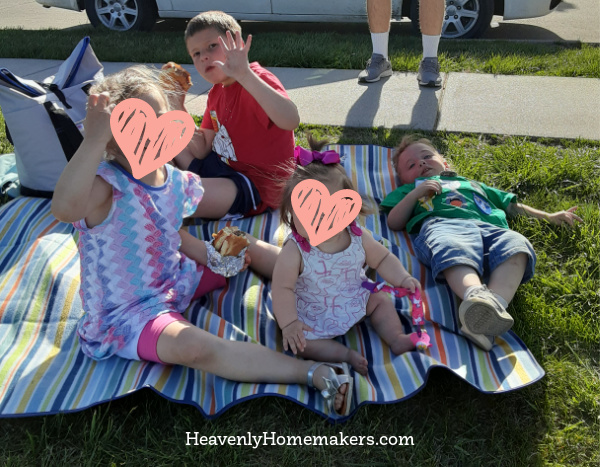
Kids’ summer outfits. They’re so cute and fresh after a long, miserable winter! But how long does it take to stop caring about matching clothes? And what is going on with all this laundry? Join me as I share the 5 Phases of “Give a Care.”
Summer Outfits Phase 1
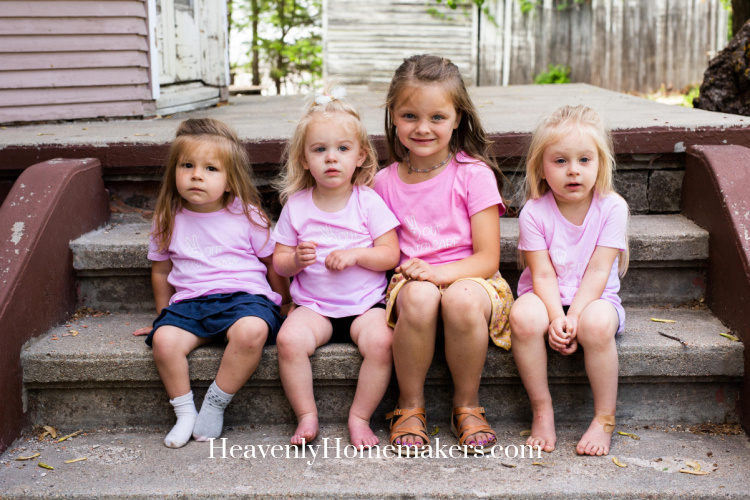
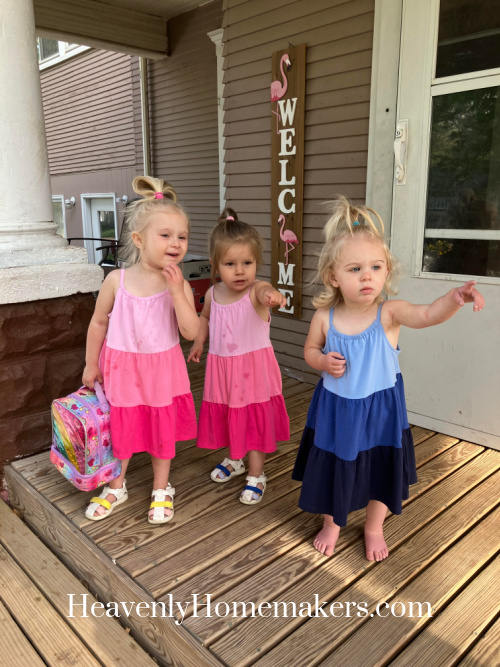
It all begins with the precious coordinating shorts and tops. The adorable dresses. The bright flowers, pretty butterflies, and there are even the special days we can dress them all matchy-matchy. We are so good at this. We rock parenting.
We’ve survived the long winter with its muddy boots, cumbersome coats, crusty hats, and lost gloves. We made it through spring, in which we only broke three umbrellas. Now that it’s summer, we are in love with fitting them all with matching summer dresses. We are giddy over it. We can’t get enough.
We fix their hair. We put on cute sandals. We take too many pictures because they just look so very adorable.
We’re so proud of the fantastic Hawaiian shorts we scored off the Children’s Place clearance rack. We make sure that the shirt he wears with them matches just right. We make him stop playing long enough to turn around and let Mom get a quick picture.
We’re proud of how the bow matches the shoes. Seriously, will this cuteness ever stop? We can’t even handle it.
Wait a minute. Do the sunglasses match the entire outfit? I believe they do. Who cares that she’s playing in a hole and about to be covered in dirt?

Summer Outfits Phase 2
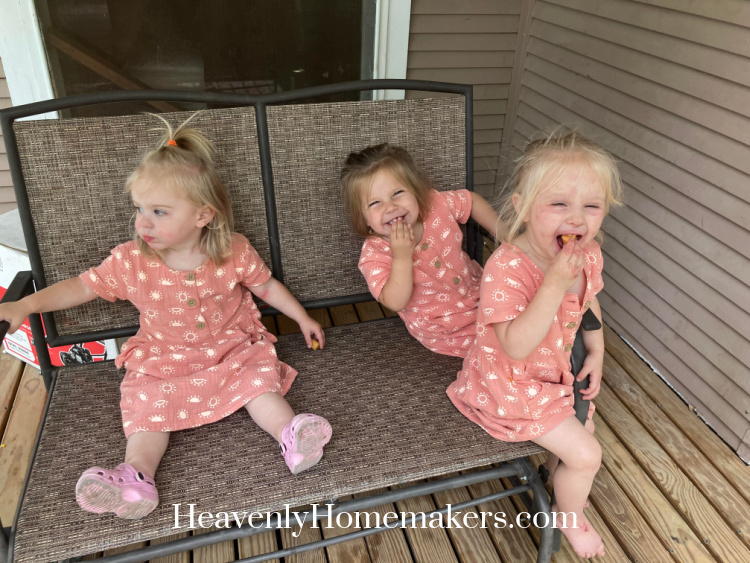
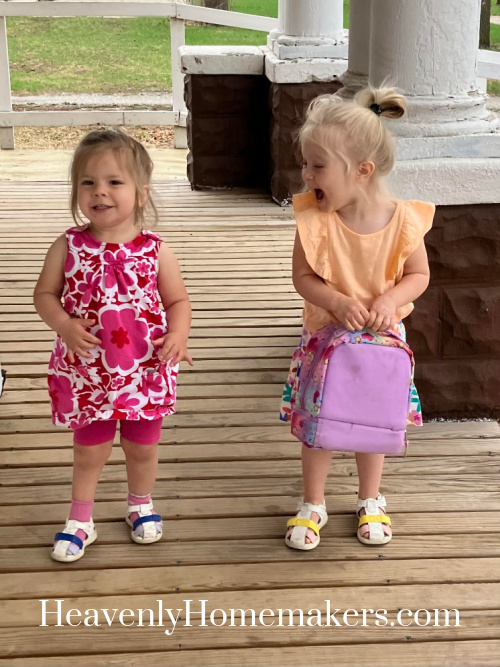
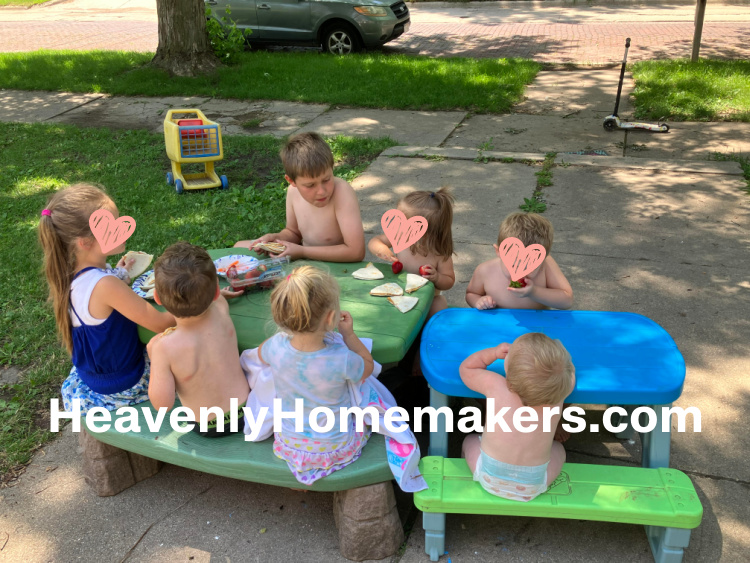
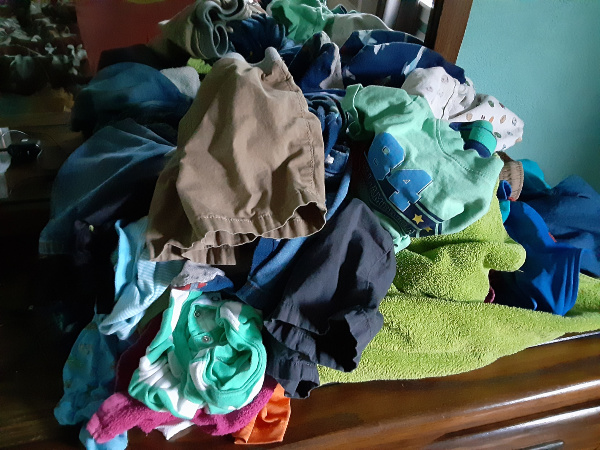
This leads me to the next summer outfit “give a care” phase. Things are starting to get messy. I mean literally, like everyone is getting really dirty. We have been playing outside for hours every day, so we are unable to keep up with the laundry. The shirt that matches the pants hasn’t made it to the drawer yet because it hasn’t been washed. Two of the three matching dresses aren’t hanging in the closet and we don’t feel like searching for them. So we give up on dressing them alike and simply appreciate that we are…dressing them. These children are their own unique persons, after all. We can get behind this. The babies and their non-coordinated outfits are incredible. And at least they are clean. We celebrate this.
It has come to our attention that some of the shorts we bought to go with the shirts are a couple of sizes too big. But we’re at the bottom of the pants drawer, pulling from what’s left before we can finally sort and put away the clean laundry. So we put on the too-big shorts and hope they don’t fall off when she walks around.

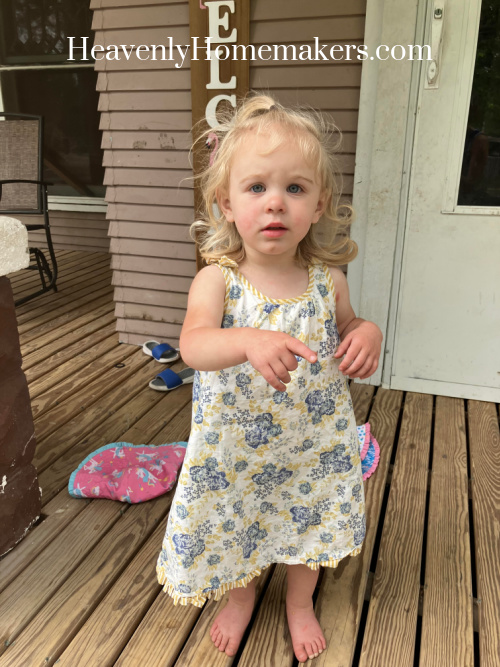
We are so in love with this sun dress!!!! But we do ask ourselves what we were actually thinking when we bought the white fabric print. Have we not been parenting for quite some time? Don’t we realize that white dresses don’t stay white? The handprints on the house behind the child remind us that things get dirty very quickly at our house. We decide to take a picture of the darling in her precious dress before it gets ruined forever.
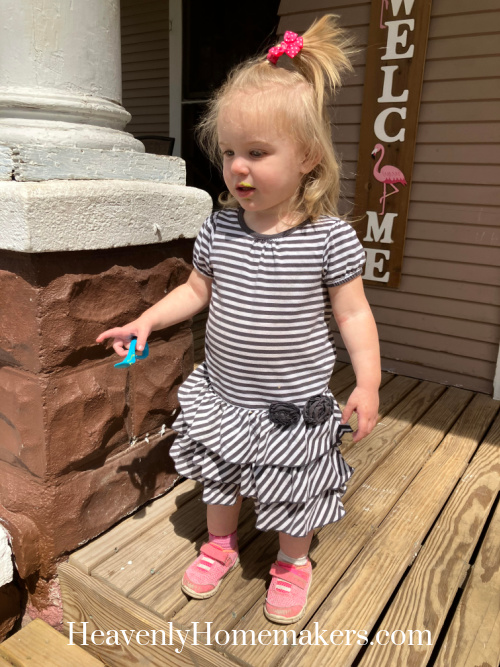
NOTE: The child isn’t wearing shoes. Shoes, we’ve decided, are complicated. We pretend that the reason we often let them go barefoot is that we know something about “earthing” and claim that we are thrilled to sync our kids’ bodies to the rhythm of the earth. Bless.
Summer Outfits Phase 3
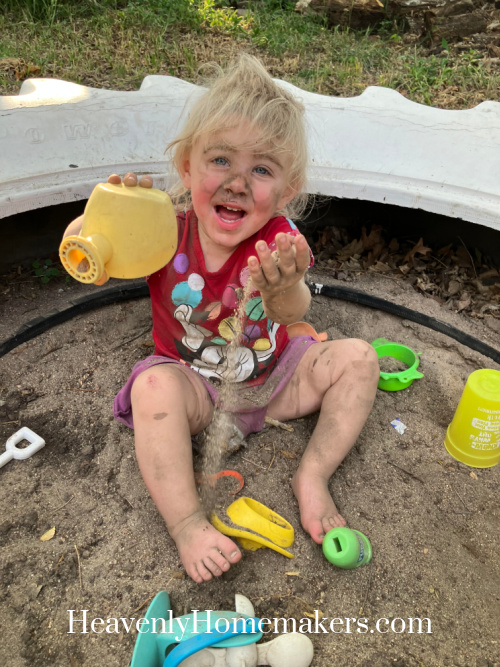
We aren’t sure about clothes anymore and we’ve decided to stop trying to pretend like we care very much. We’ve become far too busy trying to keep the sand in the actual sandbox, submitting as evidence the large pile of sand that fell out all over the couch last time we changed a diaper. We decide that as long as the children have actual clothes on, it doesn’t really matter if they match or not. Just get dressed, we say. Put on whatever you find in your drawer.
We can no longer find a matching pair of sandals. We do have a left shoe, size 5. But a right one? No idea. We think it might be under the trampoline or in the bottom of the clothes hamper, but there’s no time to look right now. So we grab the winter hiking boots because they are by the door and they still fit. Socks are optional.
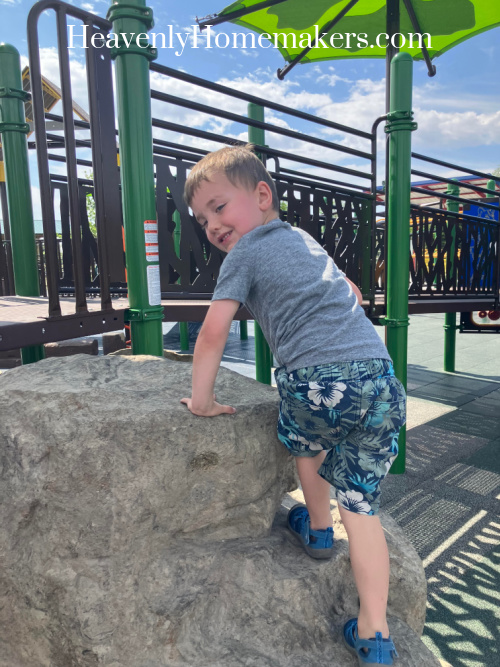
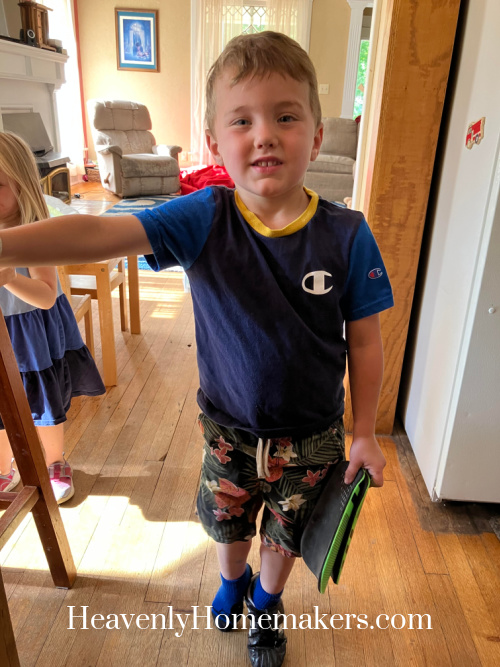
The four-year-old has also given up on actual clothes because he is now obsessed with swimming suits. He decides to wear them all day and all night because they are very, very comfortable. We don’t turn on the sprinkler or go to the pool. (We did that last week; why would we do that to ourselves again?) We just let him wear his swimming suits – to the library, to church, and to the grocery store. Bonus points: they don’t require him to wear underwear. He is thrilled about this convenience.
Meanwhile, the three-year-old has chosen to wear a pair of last winter’s pants that are now a size too small. We don’t care though. We decide that they have become capris and chalk it up to a parenting success because at least the child is wearing pants. I’m so serious.
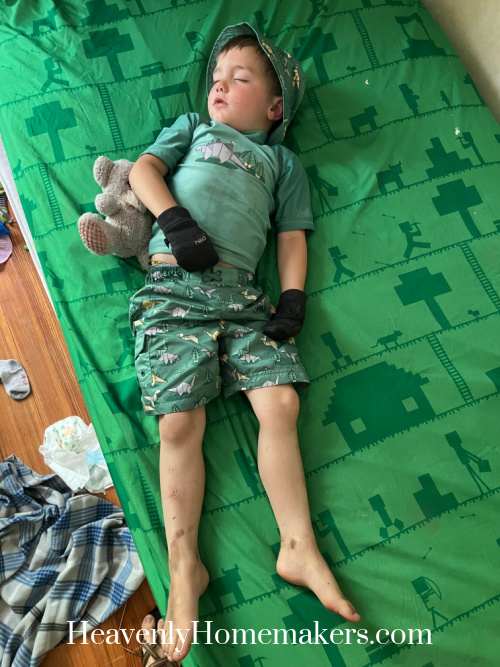
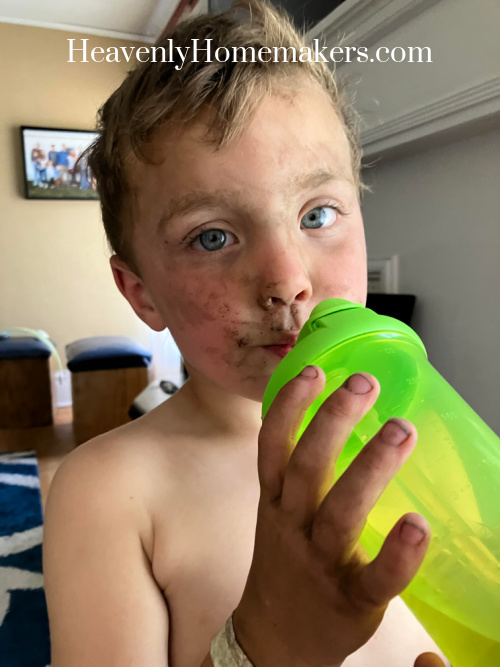
After about three days in the blue suit, he decided to change to the green one. Because it has a matching hat. To complete the ensemble, he has found that his winter mittens are good for digging. We’re all so tired at the end of the day that he falls asleep as-is, coated in dirt, and we don’t argue about this. We note that his outfit does actually match, from hat to shirt to trunks. So we feel like this is a win.
Summer Outfits Phase 4
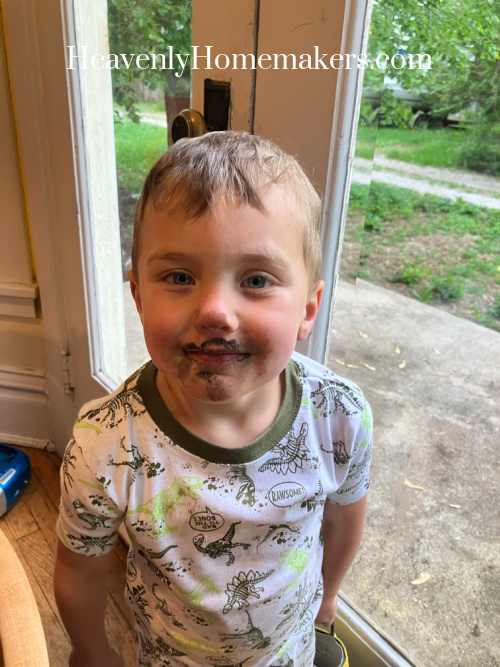
We have completely given up on keeping the children clean. Baths are worthless. Clothes are becoming disposable. We no longer pre-treat stains because what even is the point? We decide to strip the children down outside before heading to the bathtub in hopes that all the dirt inside the diaper will stay outside where it belongs. We’re tired of vacuuming the couch.
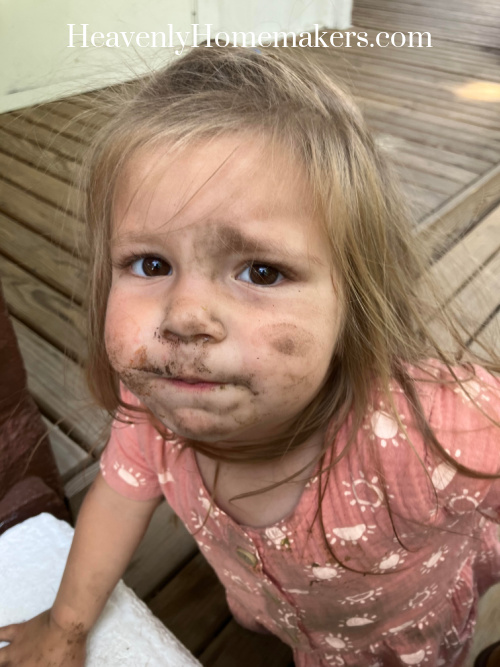
The matching dresses from earlier this summer? Well, those sure were cute. The dresses have turned brown now, as have the children who wear them. What do you have to say for yourself, child?
Every once in a while, we actually accomplish pajamas. As in, sometimes we proudly bathe the children at night and put them in appropriate sleepwear like all the good parents are doing. The next morning, the kids inevitably head outside before getting dressed but we find that we’re actually thankful that they are covered in pj’s and not riding their bikes in their boxer briefs.
Summer Outfits Phase 5
We have completely given up on clothes. Dirt is their garment. We turn our entire focus on simply keeping the children alive. We plan to dress them in clothing again once the weather turns cold enough to make it a requirement.
We feel quite sure that when the leaves turn and it becomes sweater weather, we’re going to be amazing at finding all of our children a wardrobe full of adorable matching sweaters and boots. They’ll look fantastic in their new jeans and trendy flannels. Their vests will match their khakis and their loafers will be fresh. We’ll belong on the cover of a magazine.
Yes, just let us get through summer and we’ll start anew in the fall. You can count on us.
~~~~~~~~~~~~~~~~~~~~~~~~~~~~~~~~~~~~~~~~~~~~~~
Subscribe here so you don’t miss the follow-up post in which I share our kids’ faultless fall outfits. :)
~~~~~~~~~~~~~~~~~~~~~~~~~~~~~~~~~~~~~~~~~~~~~~~
What phase are you in with your kids’ summer outfits? Tell me we aren’t the only ones letting our kids wear dirt as an accessory.


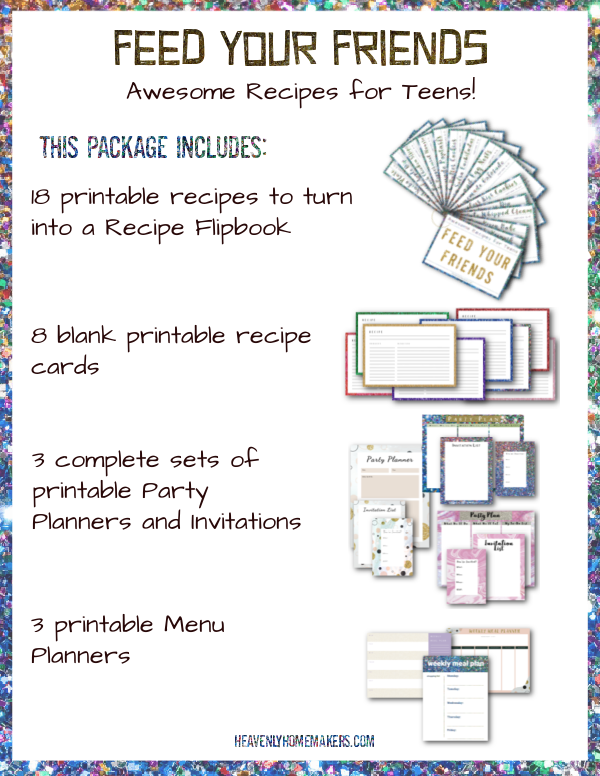
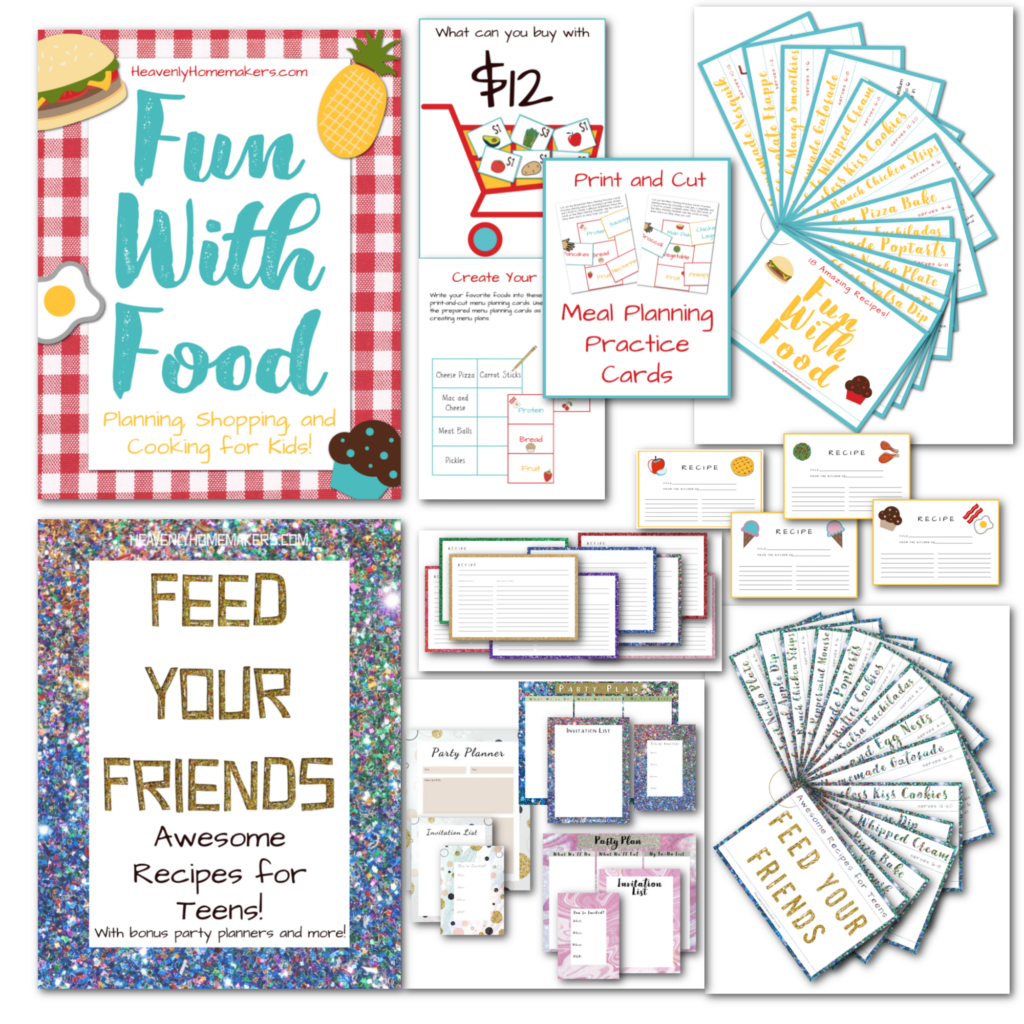 This is a 2-in-1 package that includes:
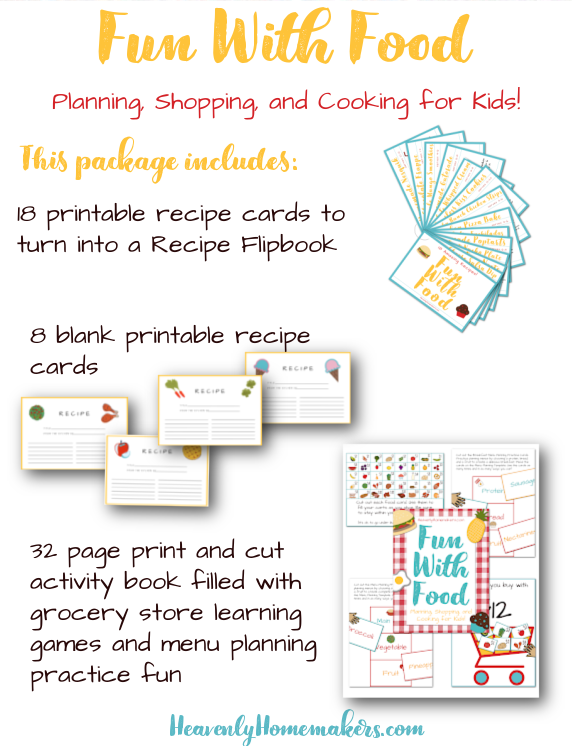