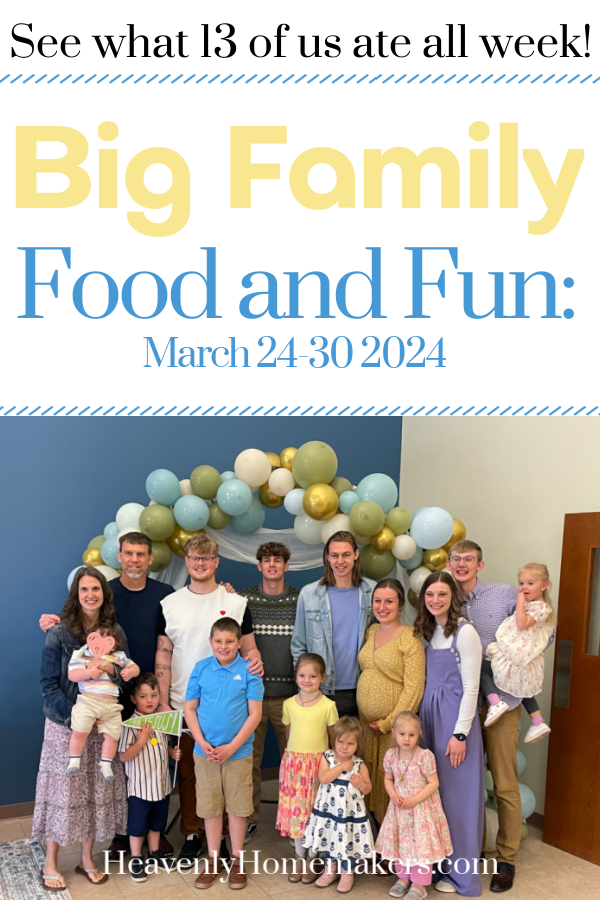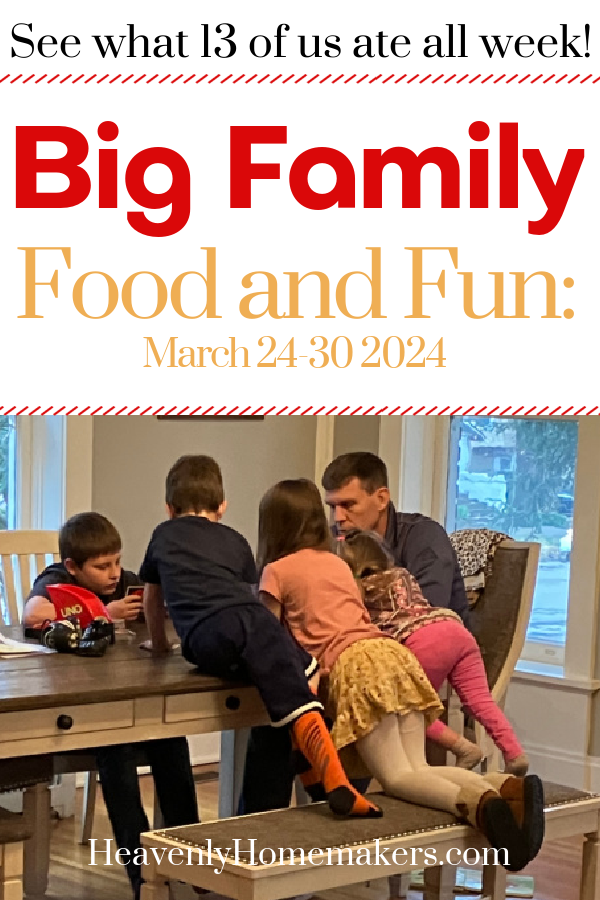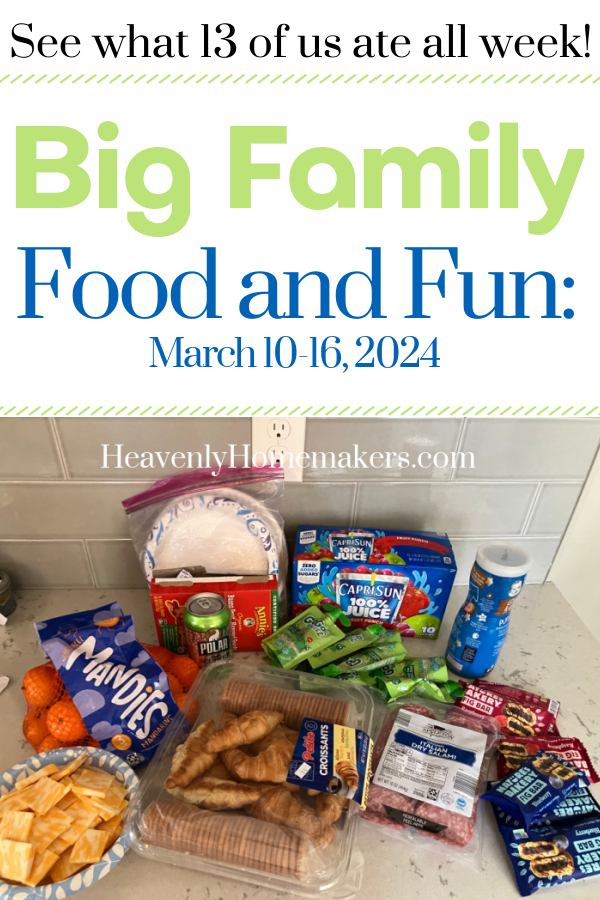
Here’s our Big Family Food and Fun: April 14-20, 2024 post!

Before I share about our week, I have to tell you about the end of last week. :)
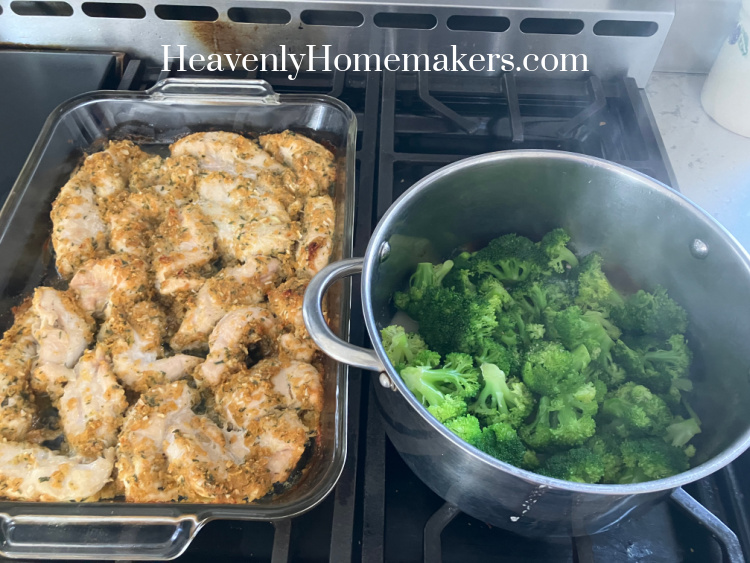
Saturday, the 13th, we had BIG PLANS. First, I made Crunchy Ranch Chicken with Steamed Broccoli for lunch. But because of our big plans, no one cared much about lunch. (But we did need to eat…)
Two wonderful couples and their kids blocked out the day to come stay with our seven littles. Praise God for such caring friends!
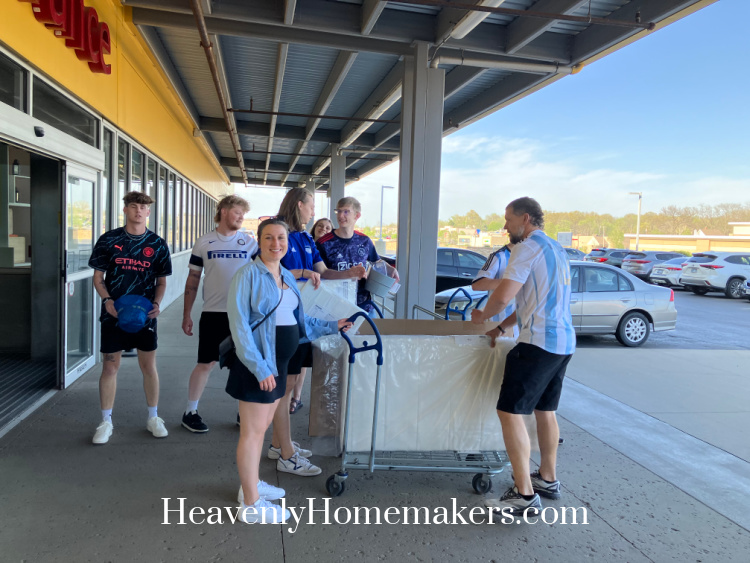
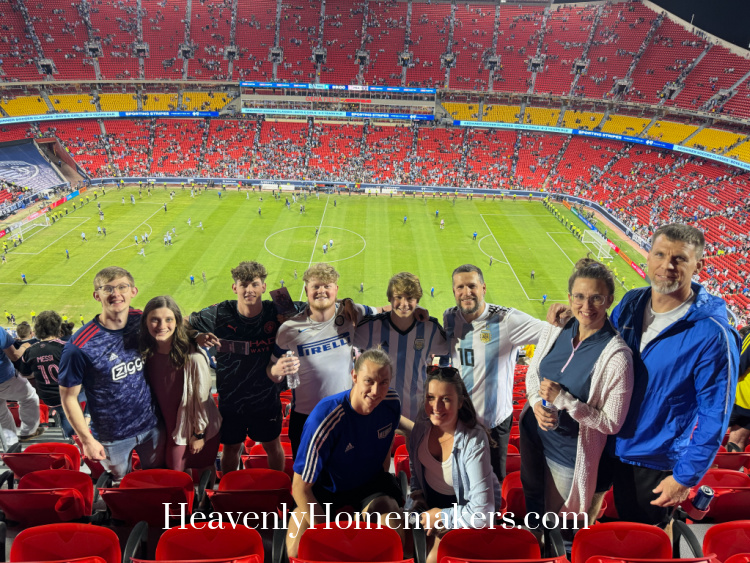
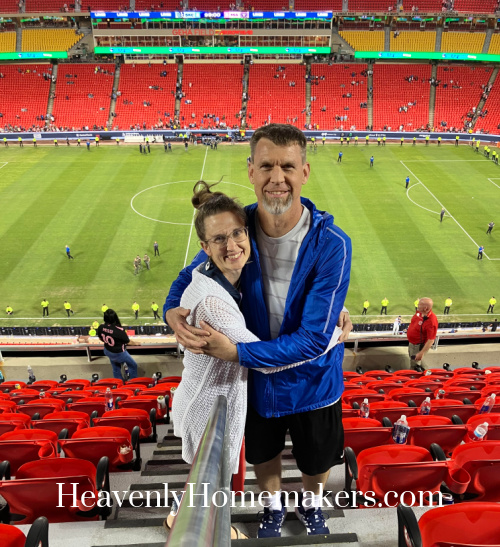
Then Matt and I, along with Asa and Eva, Justus and Kelsey, Elias, Malachi, and our friends Ricky and Cooper climbed into our big van to head to Kansas City for the day.

First stop: IKEA to pick up a crib for Asa and Eva’s baby. :)
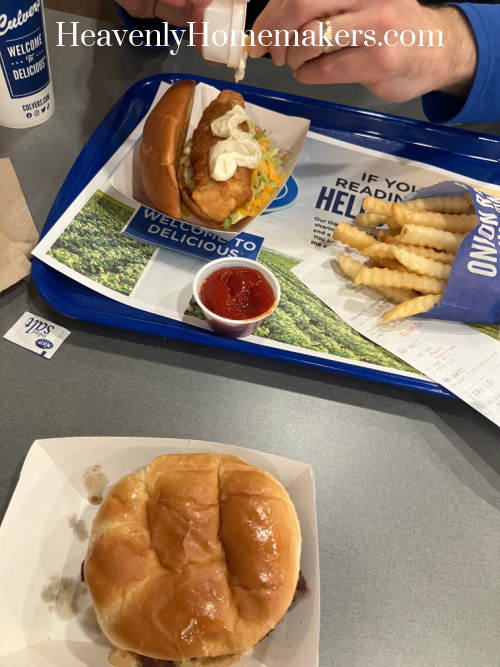
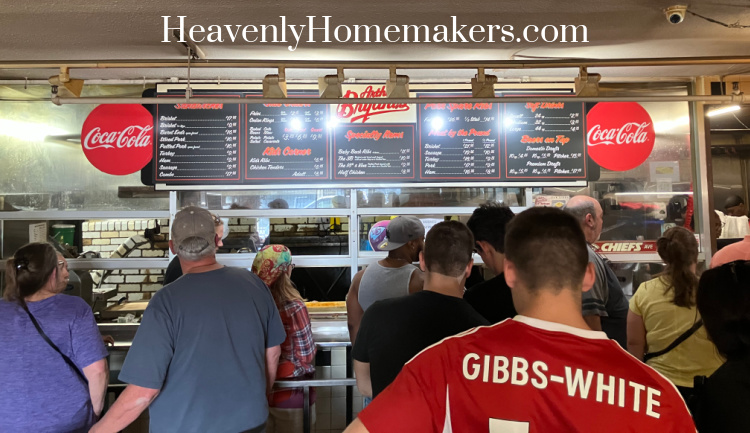
Next stop: BBQ. Because when you go to KC you have to eat BBQ.
But the real reason we went to Kansas City: To watch MESSI play soccer.

Now. If you don’t know who Messi is, that’s ok. We can still be friends. Messi is THE BEST SOCCER PLAYER IN THE WORLD. He was coming to play just three hours from us, so we had to make it happen to go see this game.
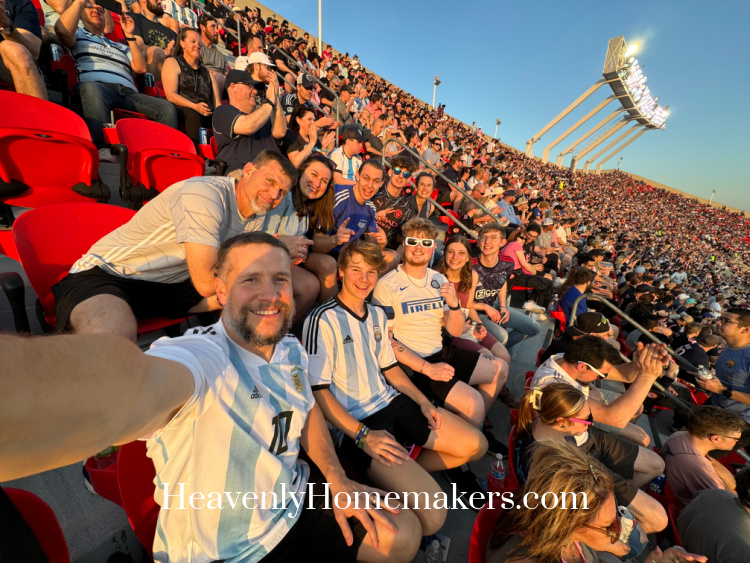
It was truly incredible – the entire experience. I’m so thankful for the people who stayed with our kids so that we could make this happen.
So what if we didn’t get home until after 2:00 in the morning?? Yikes.
Big Family Food and Fun: April 14-20, 2024
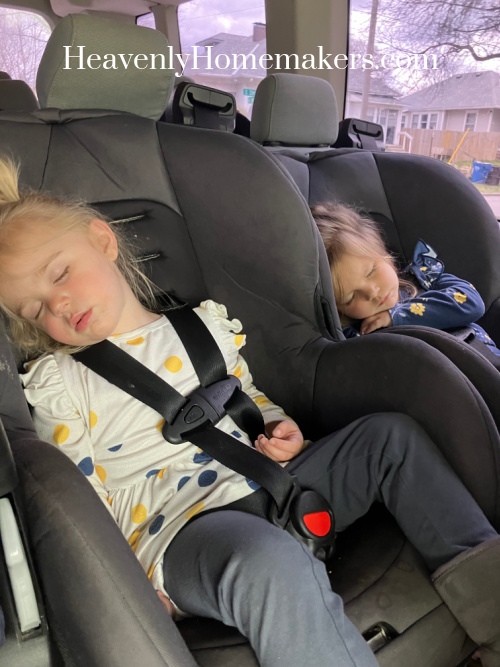
If you can believe it, all of our little kids woke up at their normal time on Sunday morning, ha. Four hours of sleep was not enough. But it was all worth it for this great experience.
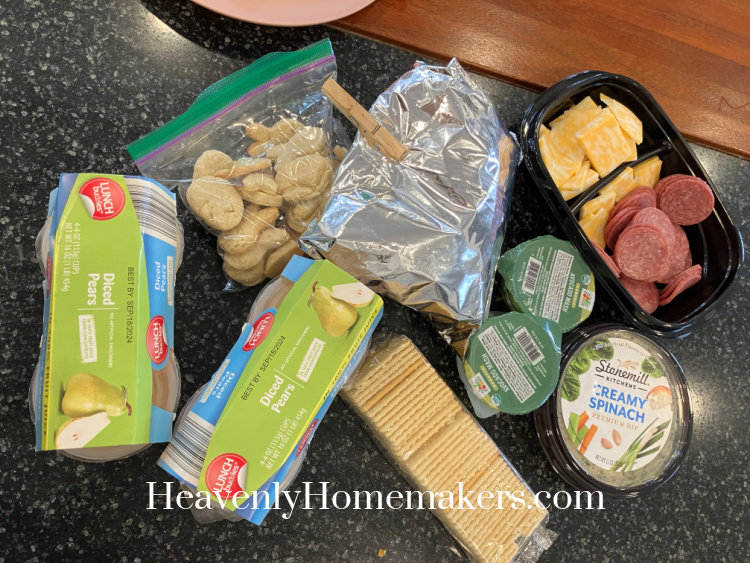
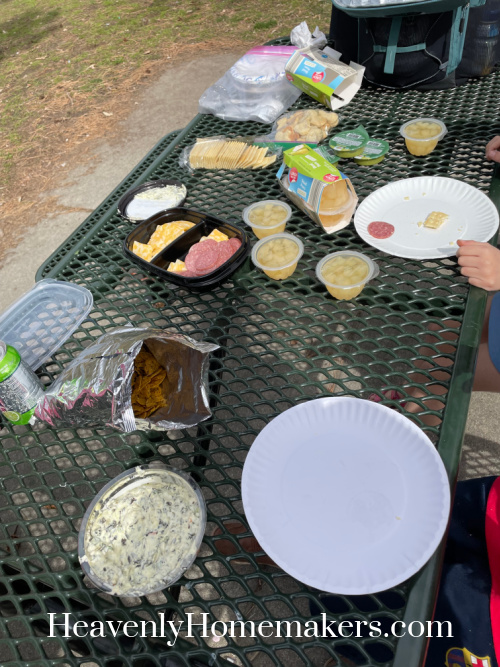
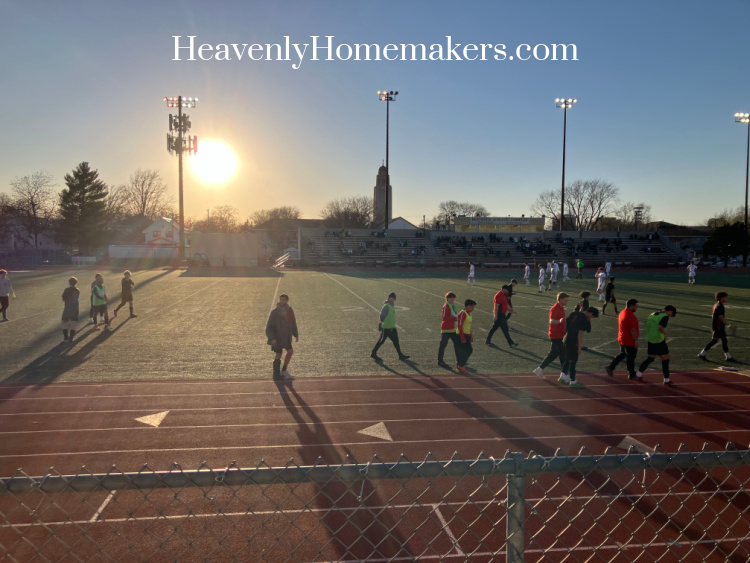
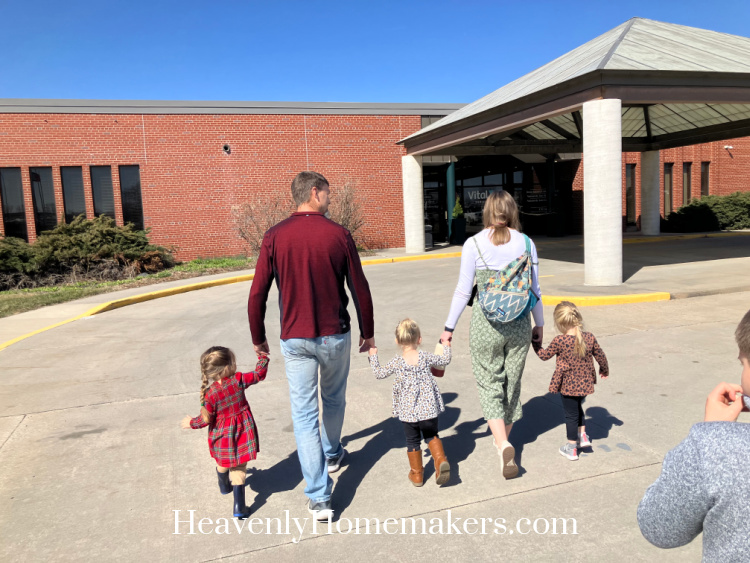
We had a huge day ahead of us, so after some coffee and eye drops, we trudged on. :) Keith had his actual first soccer game (the first two got rained out; third time’s a charm) so before heading to church I packed food so that we could eat after church instead of driving all the way home and then driving all the way back.
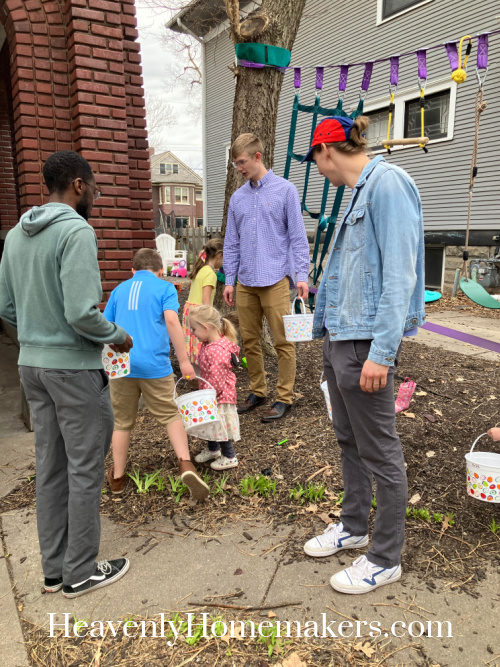
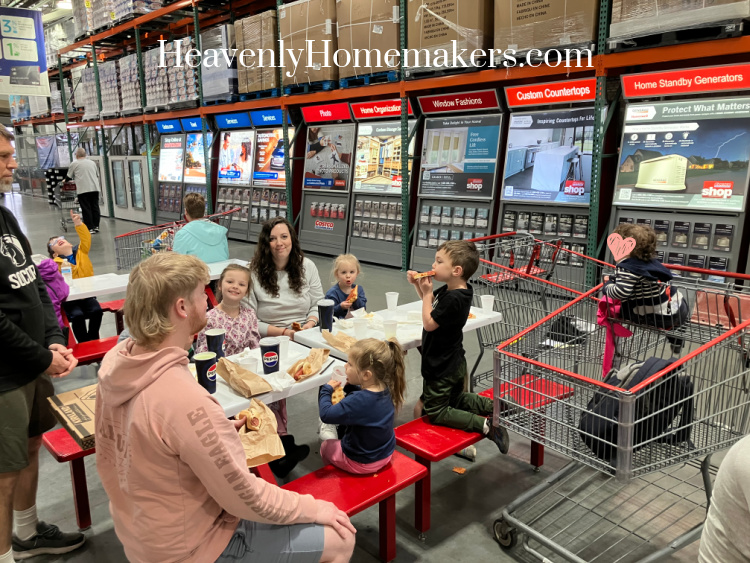
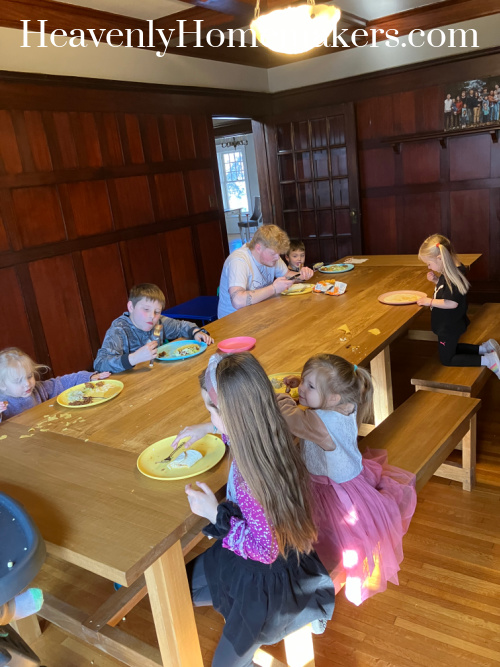
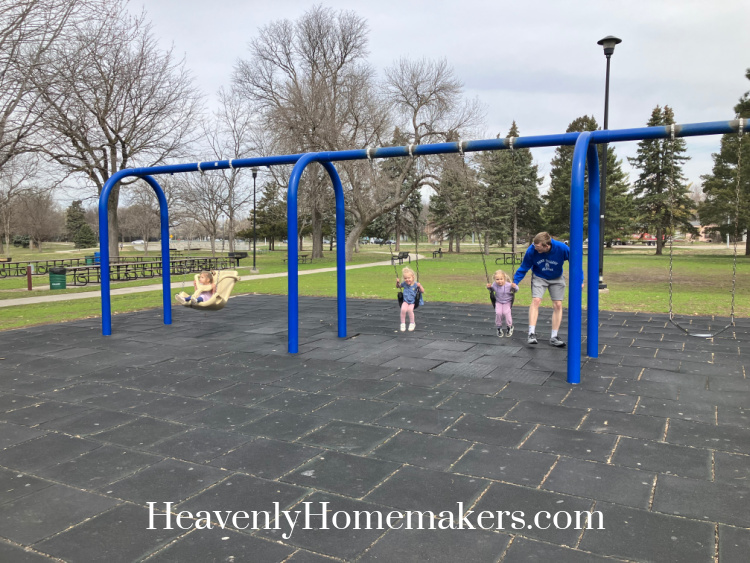
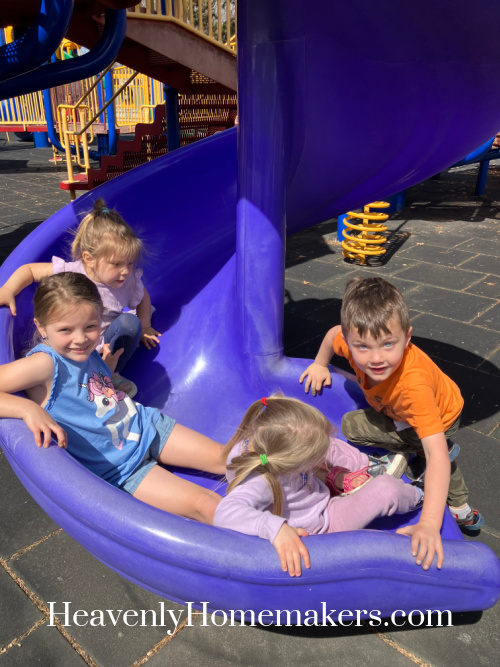
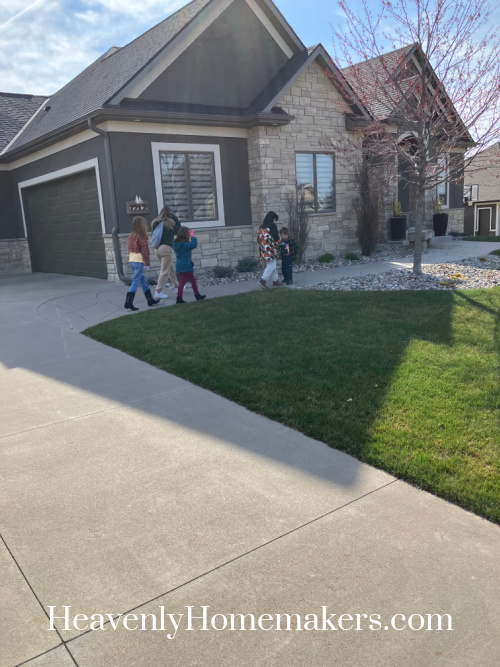
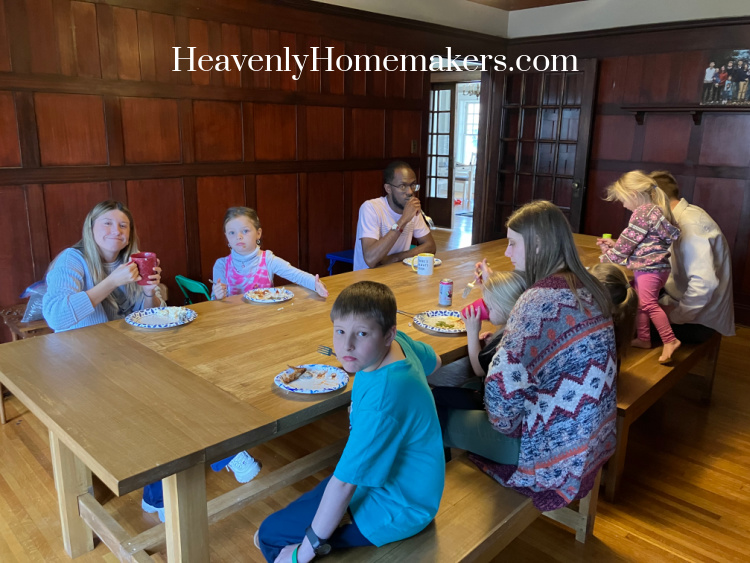
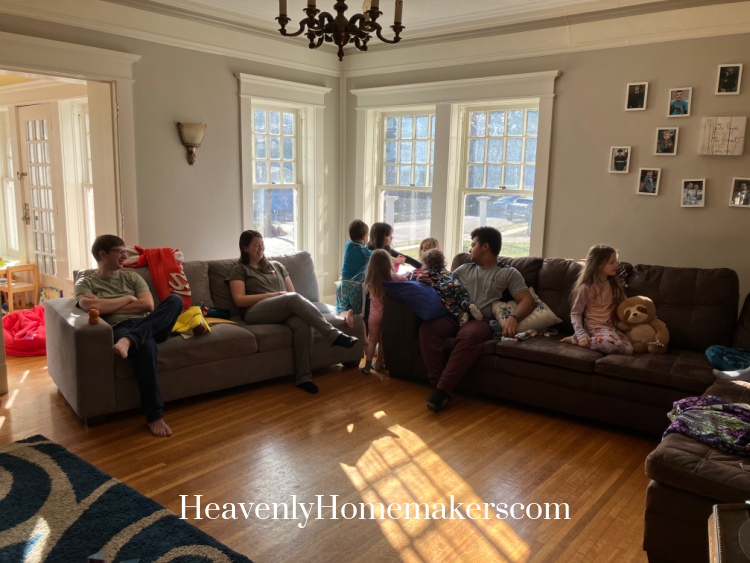
Some friends joined us at the park, making 15 of us altogether.
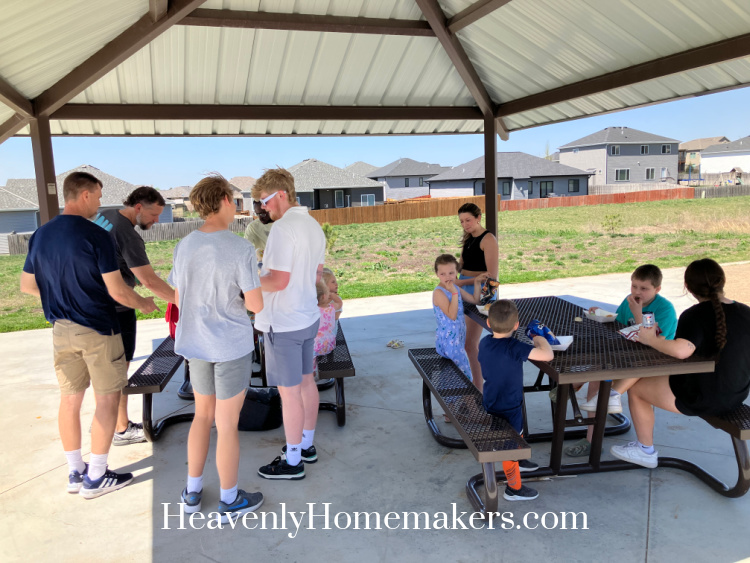
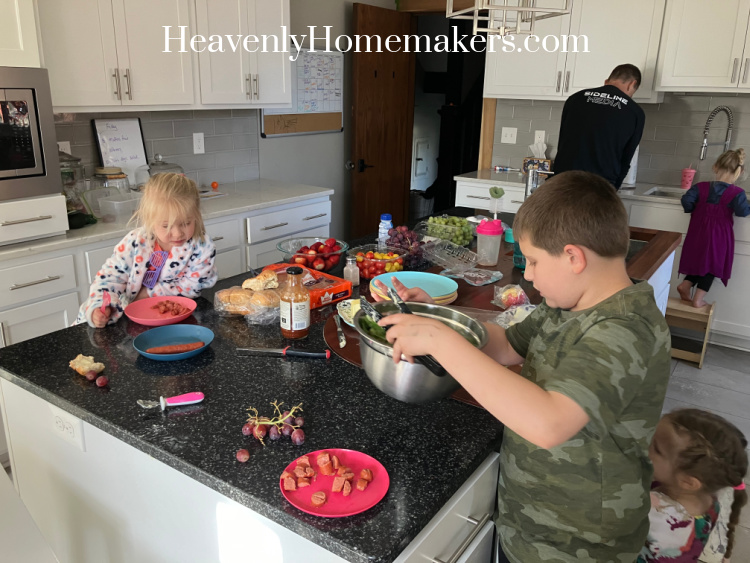
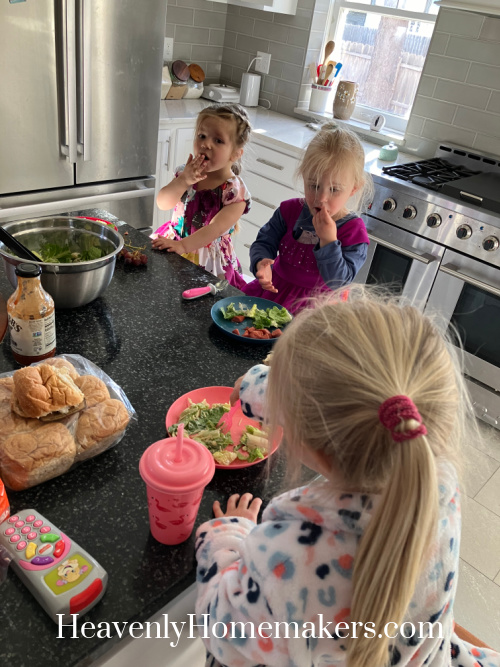
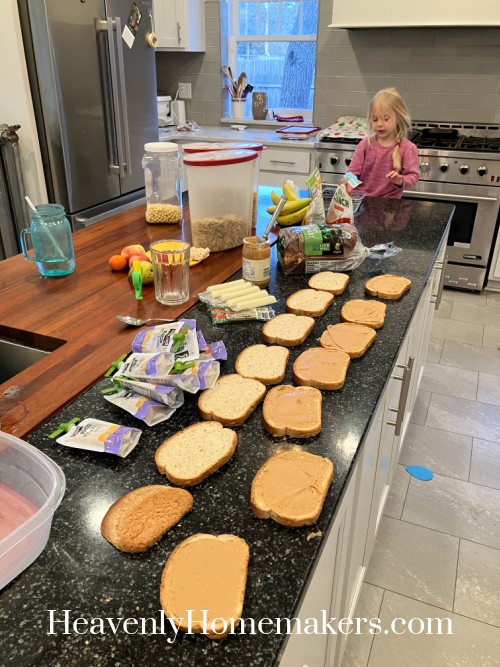
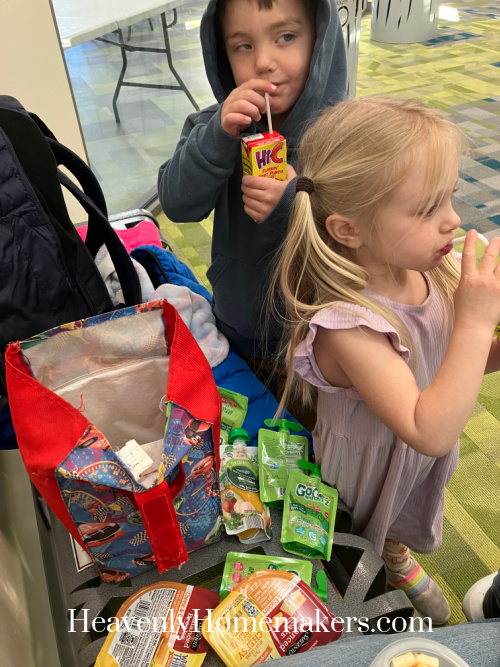
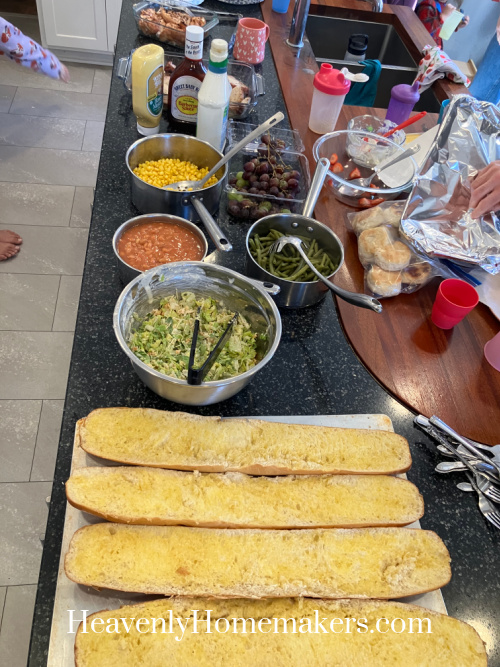
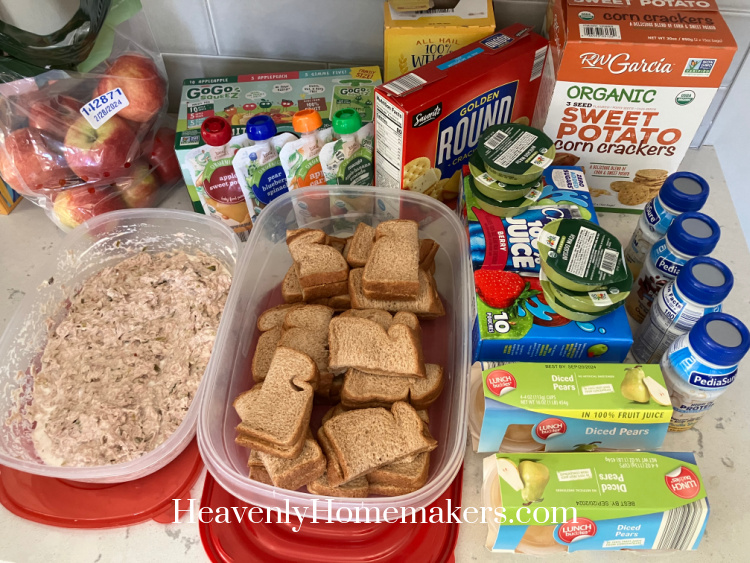
We had Sub Sandwiches with Sliced Oranges, Sweet Peppers, Cucumbers, Carrots, and Chips. REMIND ME not to buy the fun individual bags of chips anymore. They were on sale and I thought it would be fun, which is was. But of course the kids only wanted Doritos and getting them to eat anything else was a fight. Who can blame them??

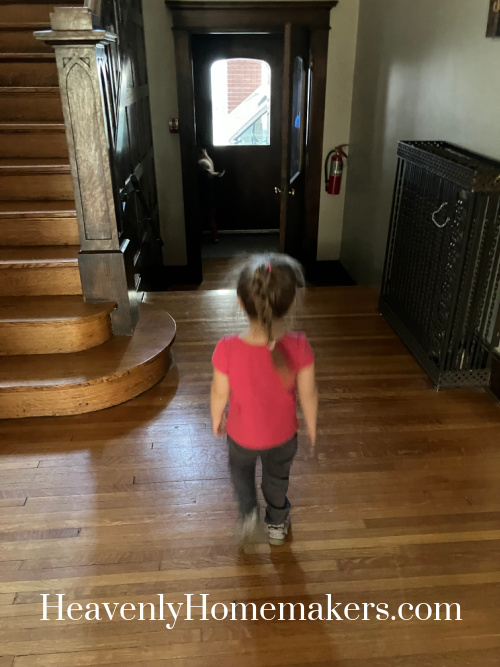
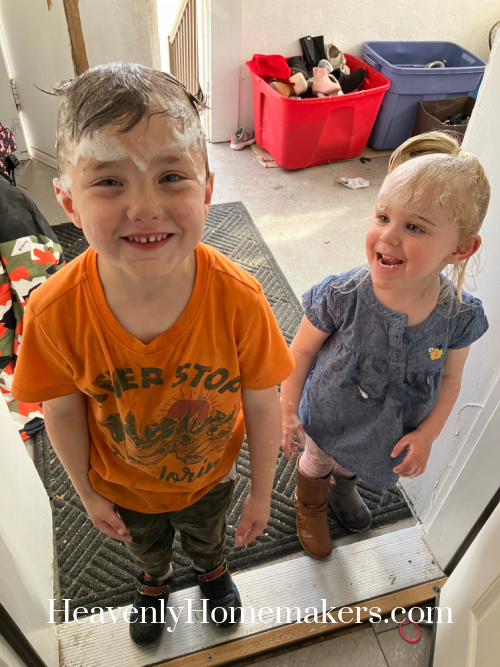
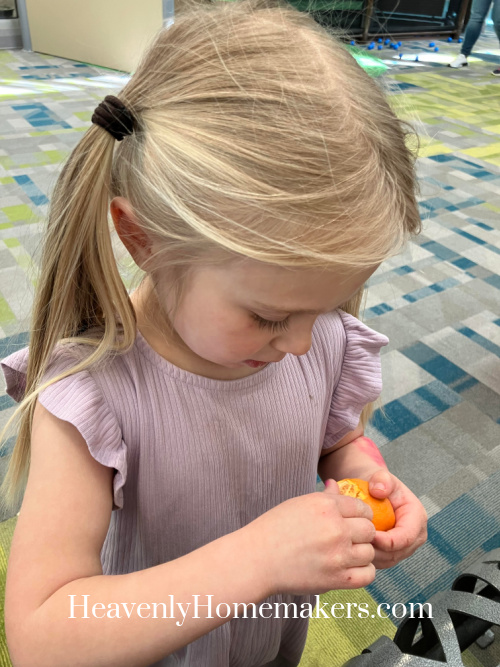
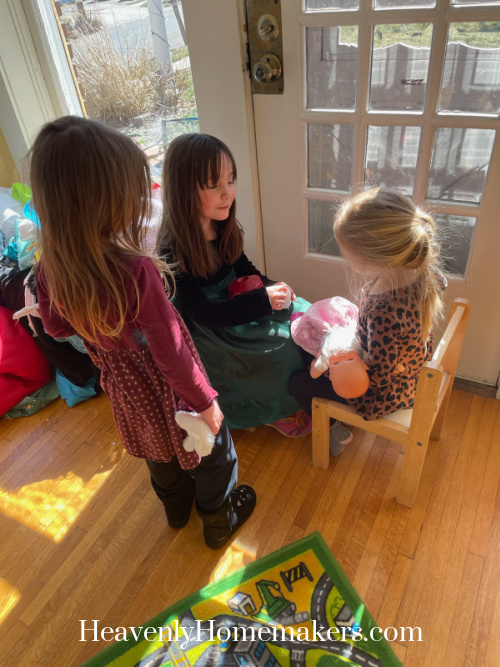
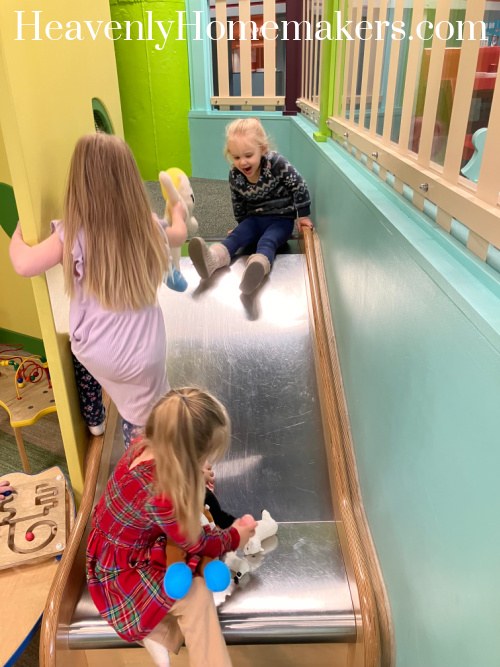
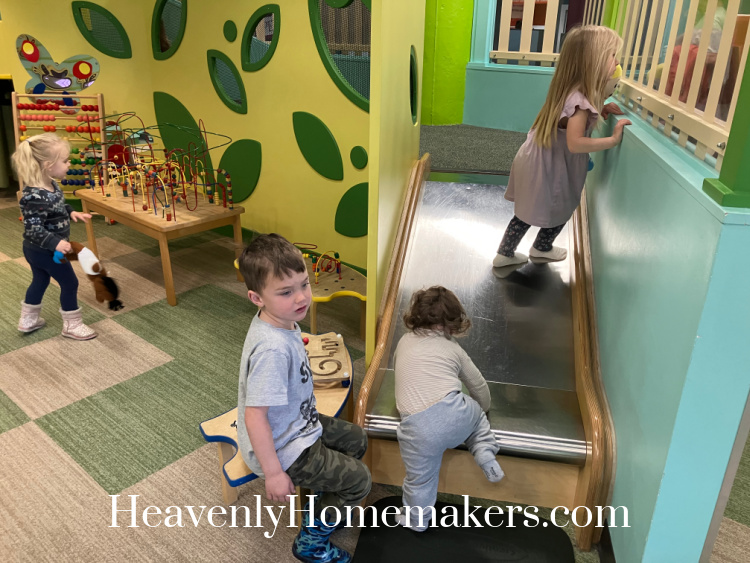
I’m not sure if you can see the little yellow butterfly in this photo. But Josie spotted it and had a marvelous time trying to catch it. :)

One poop diaper change later, we loaded back up and headed to Keith’s game. Would you look at that? He has two of the best coaches around. (How fun to have older brothers who are willing to be your soccer coach!)

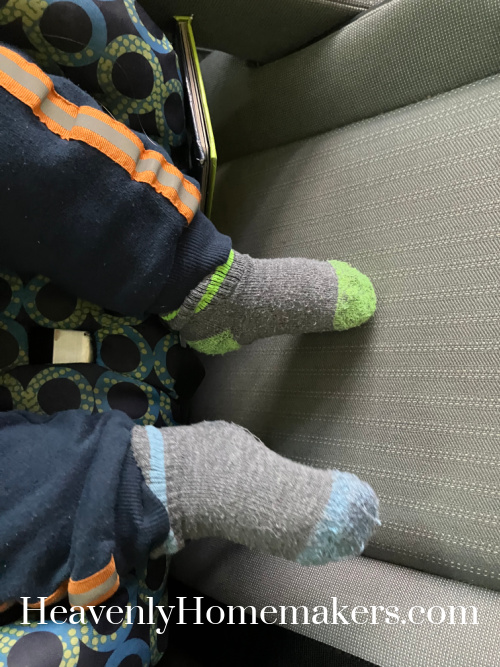
Oh, and as it turns out, at this level, if you are a coach, you also get to be a referee. :) Check out that cutie in the orange socks!

The rest of us tried not to get sunburned on the sidelines and I guess it goes without saying that Keith’s cheering committee was rather large that day.

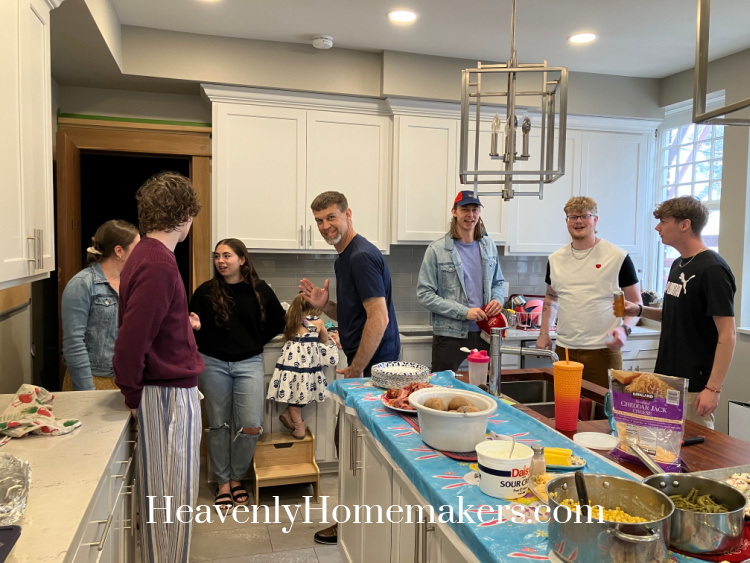
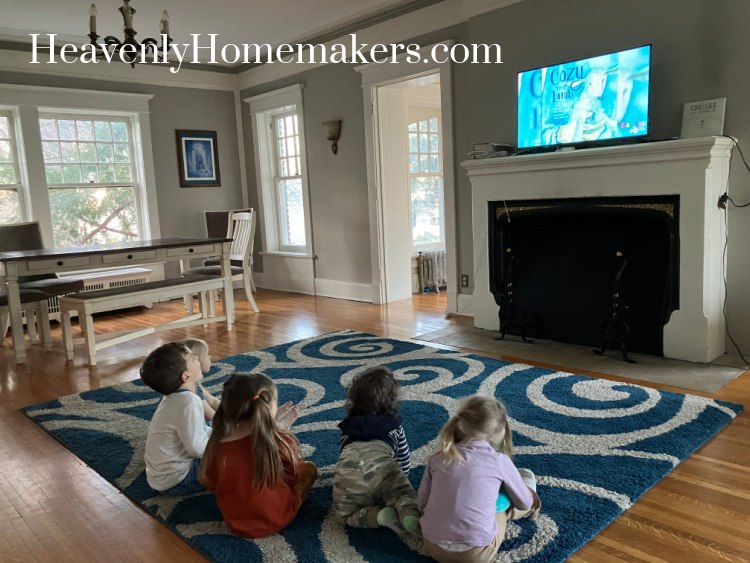
We got home and cooled off in front of the TV with Phineas and Ferb for a little while so that we could recover from our huge weekend. Our friends Ricky and Cooper would be heading back to Texas the next morning so we wanted to gather one more time for a meal together with them that night.
I asked Justus and Kelsey to pick up two Rotisserie Chickens from Sam’s before coming over and I would make some sides. But guess what? Sam’s had NO rotisserie chickens that night. Yikes. Last minute Plan B!!
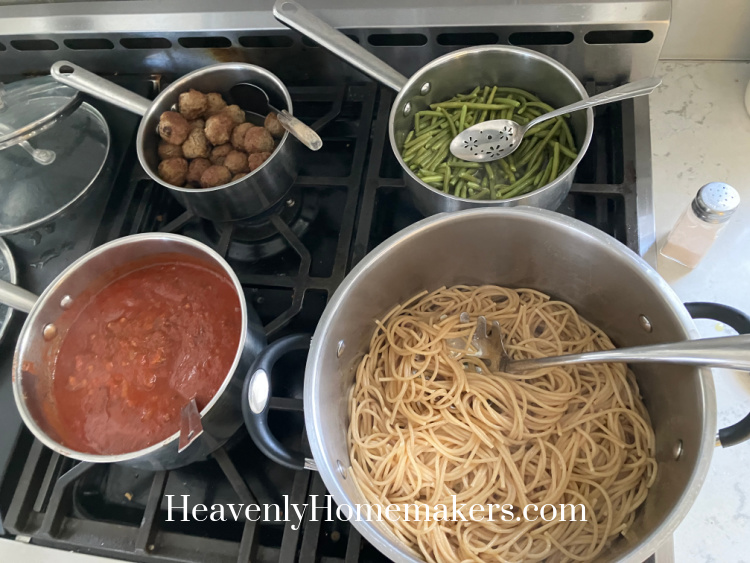
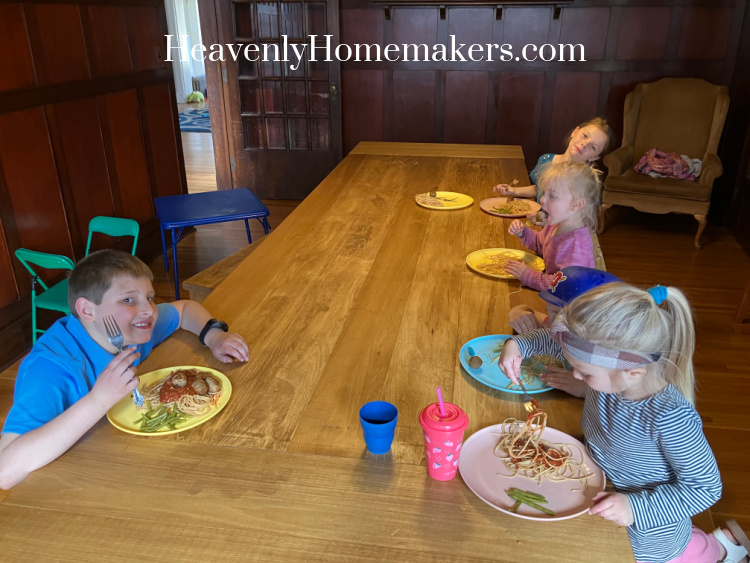
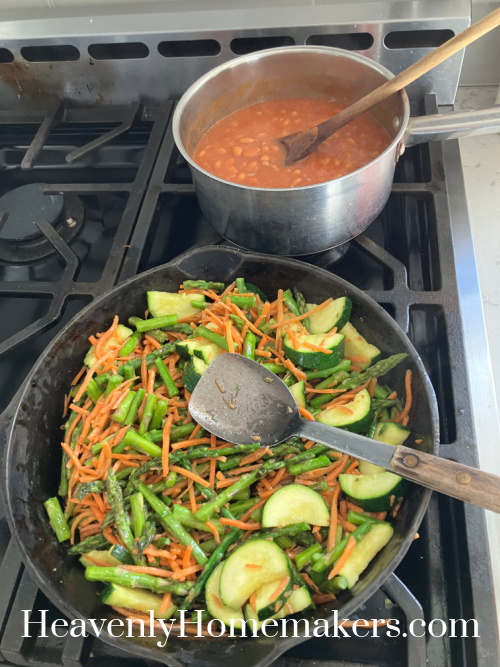
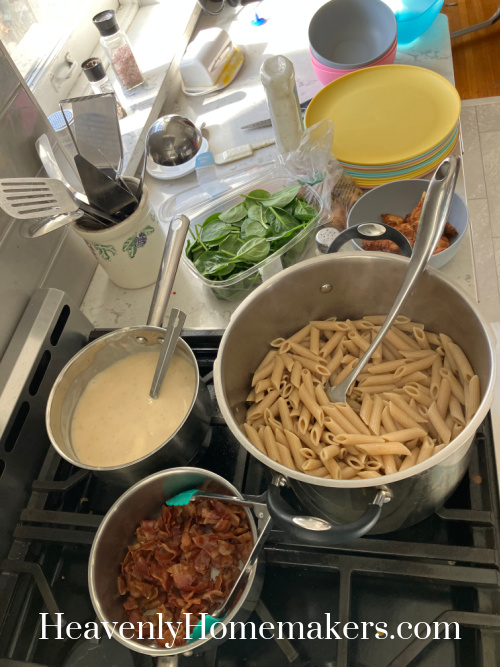
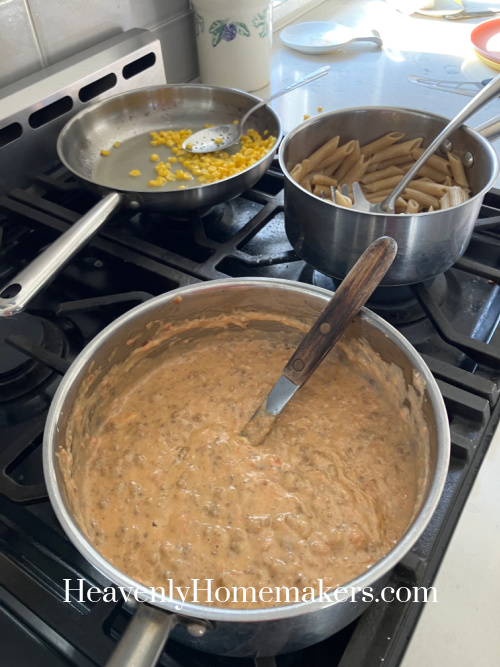
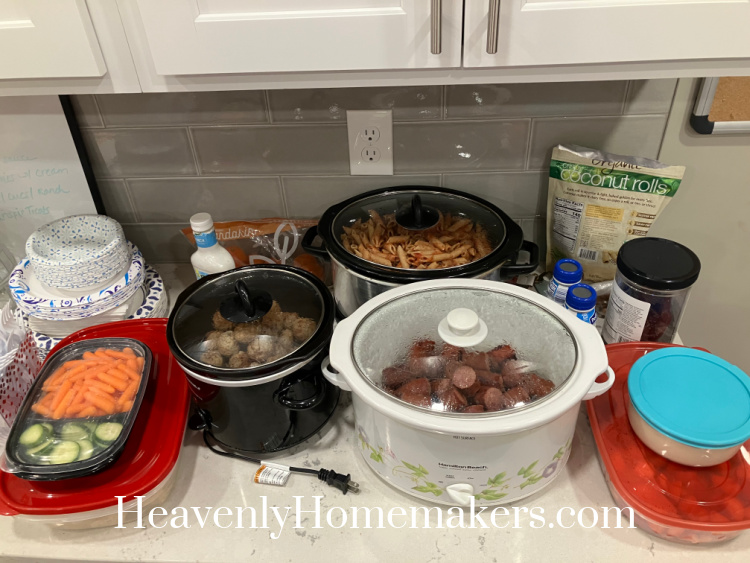
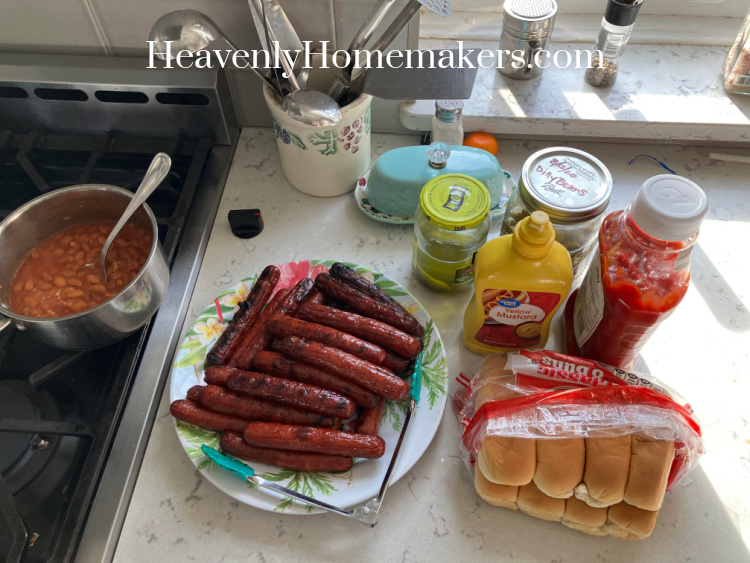
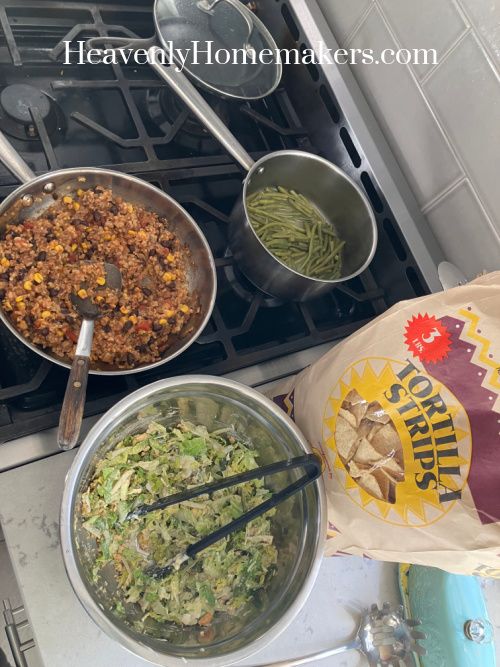
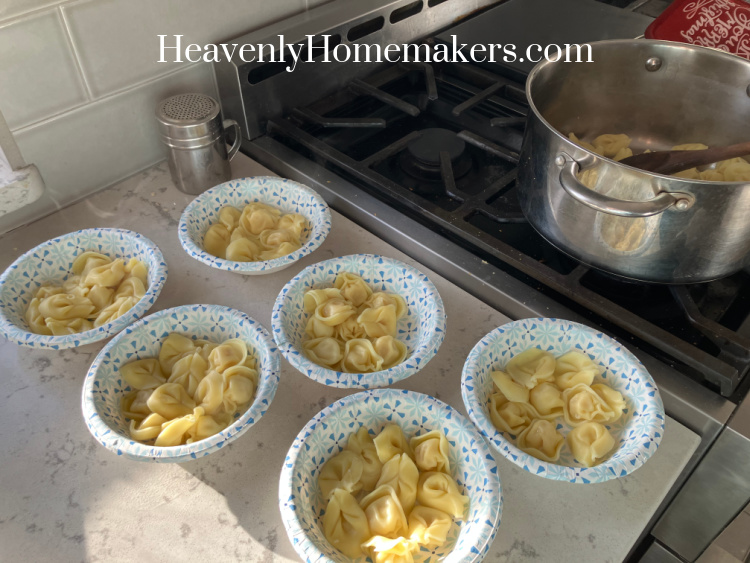
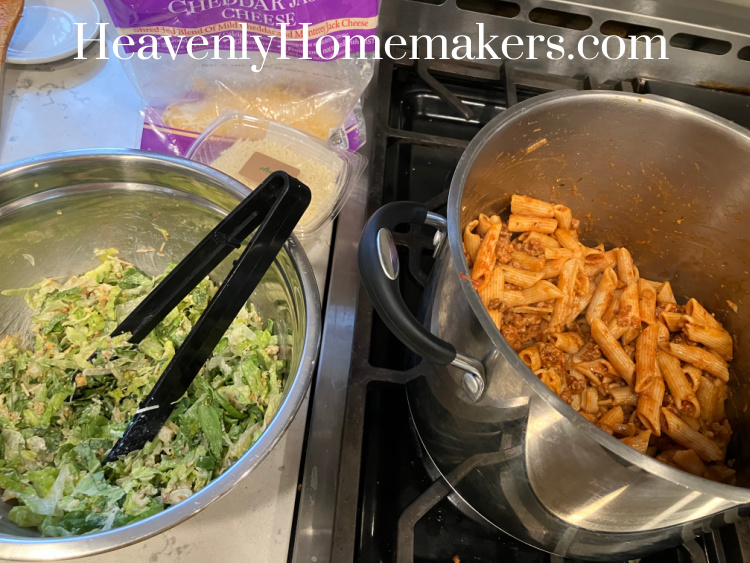
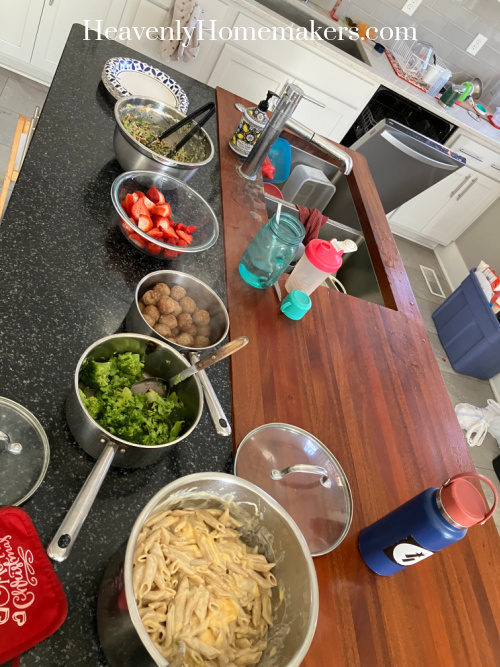
I directed Justus to the refrigerator section of the store to get some Smoked Sausage that he could quickly grill for us. Meanwhile, I warmed some frozen Meatballs for the kids got them fed while the sausages cooked. We had Salad, Strawberries, Broccoli, and 10-Minute Mac and Cheese with our meat.
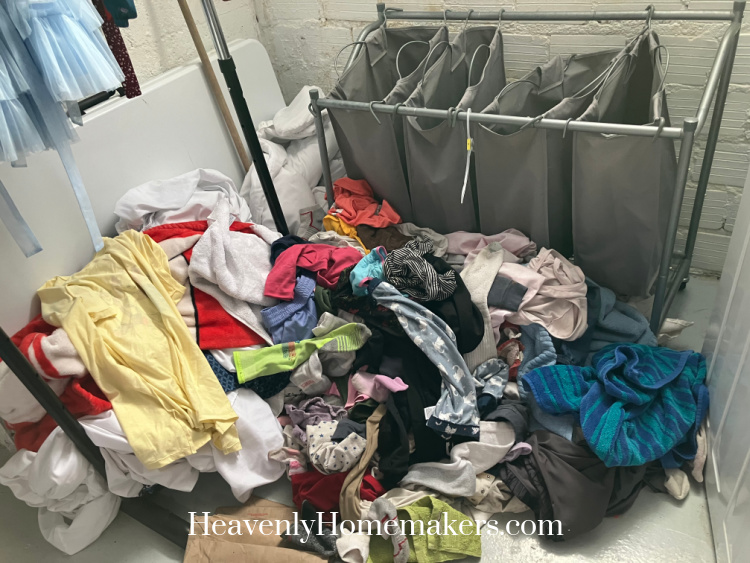
We all went to bed early Sunday night and felt much more rested on Monday morning. :) Also on Monday morning? I needed to face this laundry pile. After such a big weekend, I was very behind. This wasn’t even all of it as we still needed to strip beds and gather clothes baskets from the kids’ rooms. :)
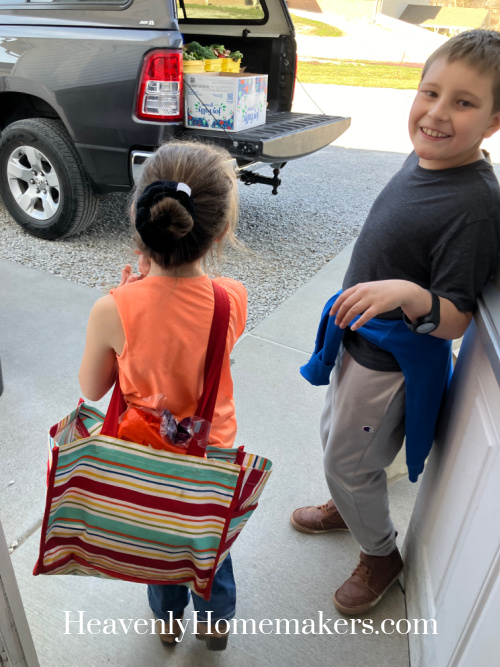
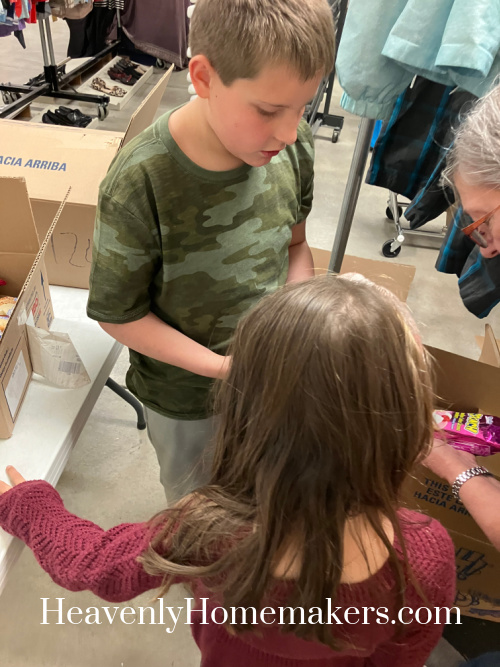
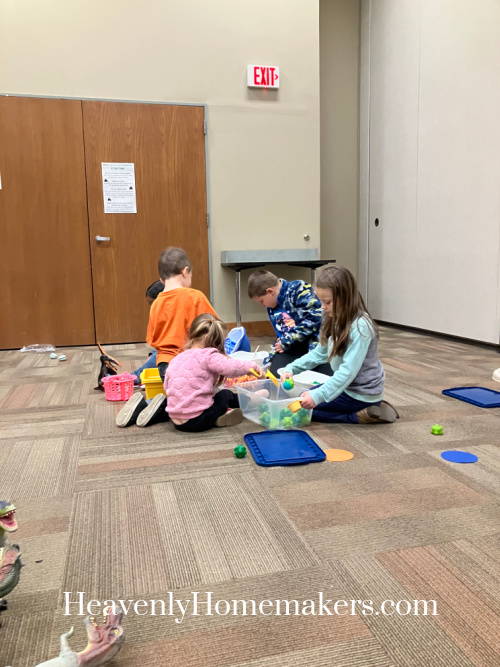
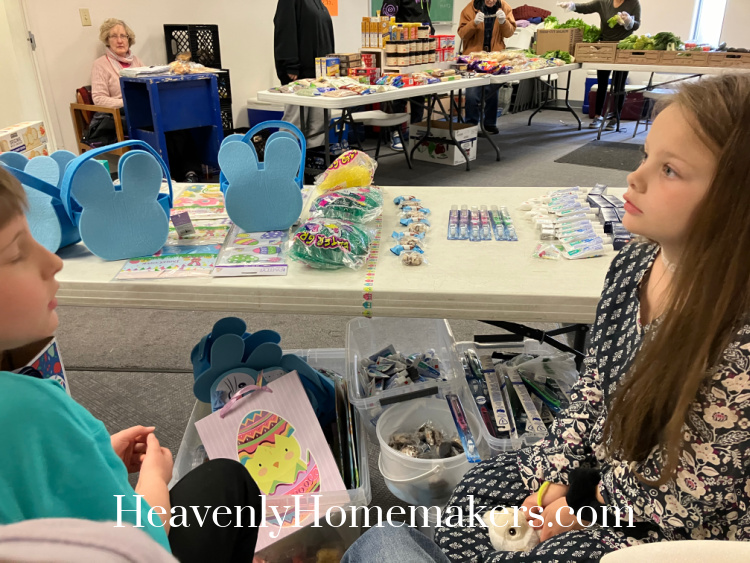
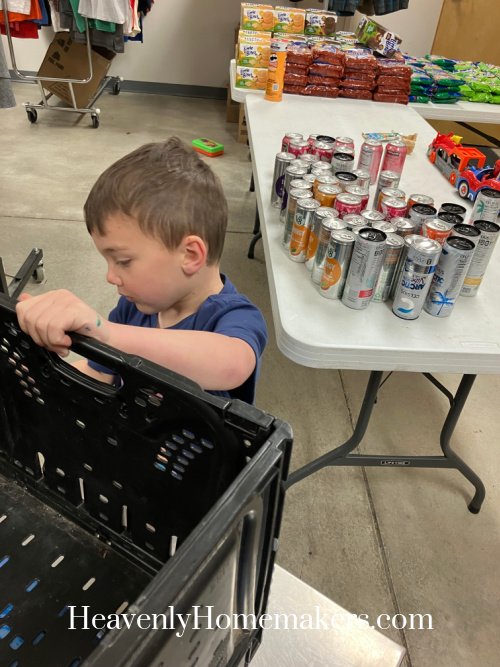
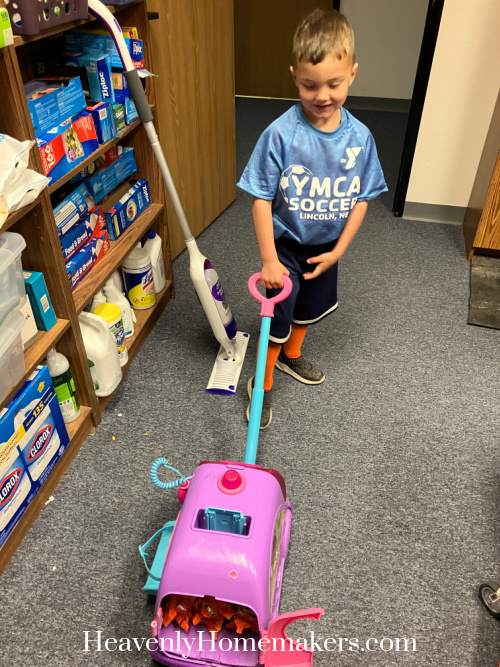
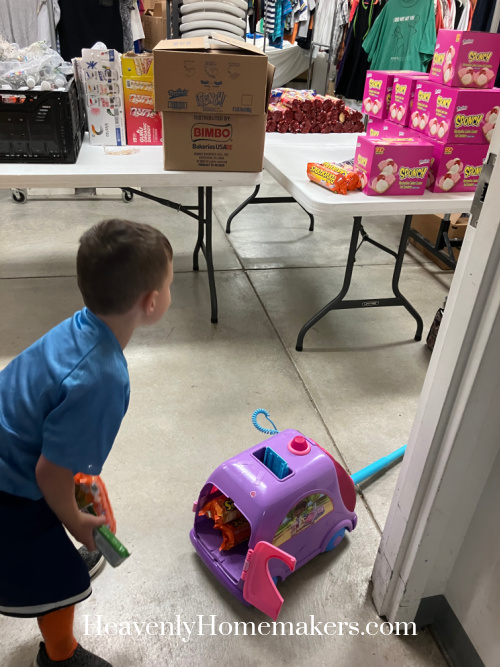
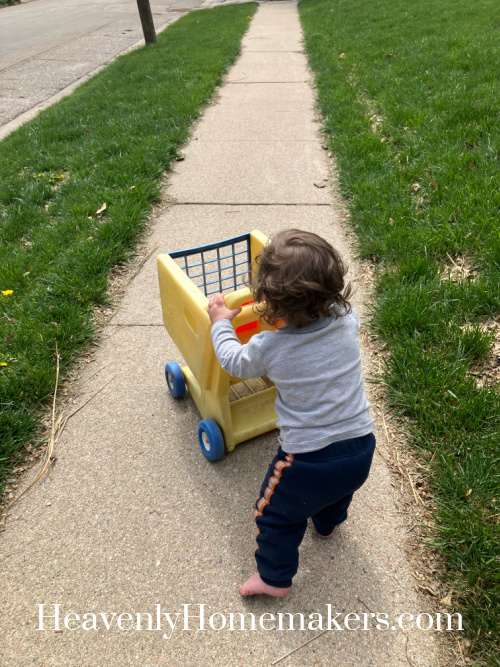
I started a load, then Eva came over so Keith and I headed to help set up food at the Food Distribution site. He discovered a pull toy so I loaded it with some of the items we needed to carry to a table because this was a MUCH better way to haul the food. :)
Also, note that this soccer player is still wearing his jersey from Sunday. He was so very excited about it and wanted to show the ladies he sees every Monday at Food Distribution. They oooed and awwed over it appropriately. Then I told him he had to put on clean clothes before the school bus came to pick him up later. :)
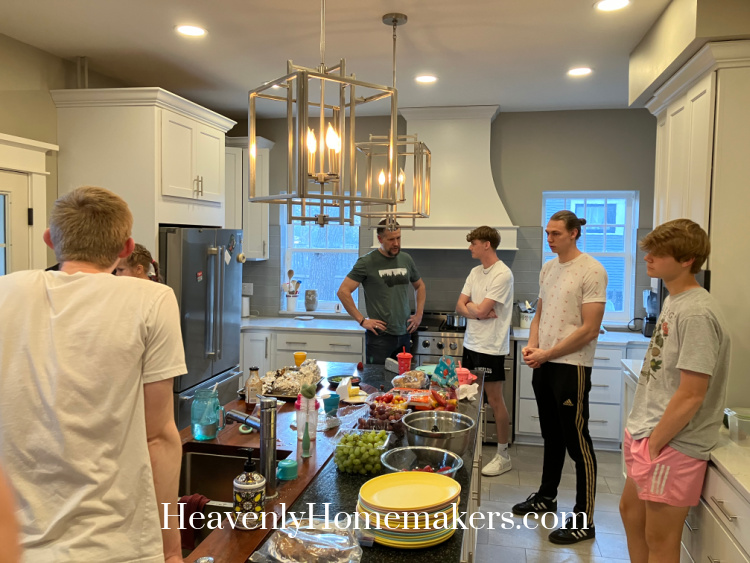
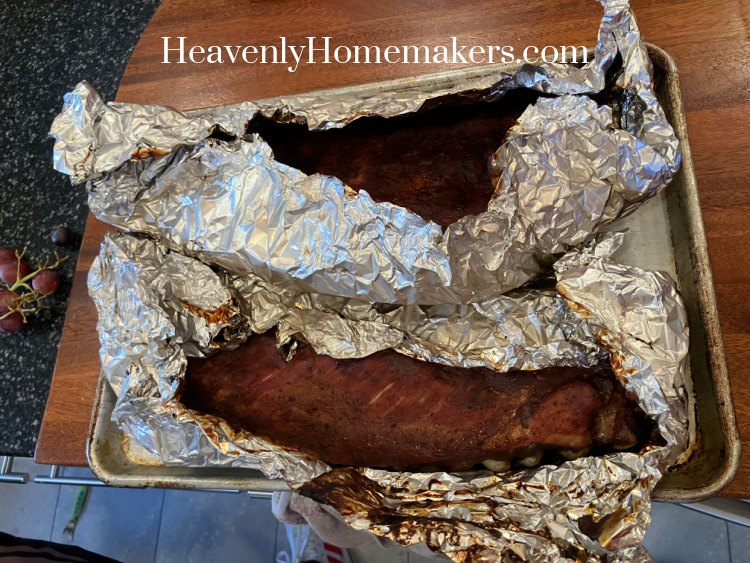
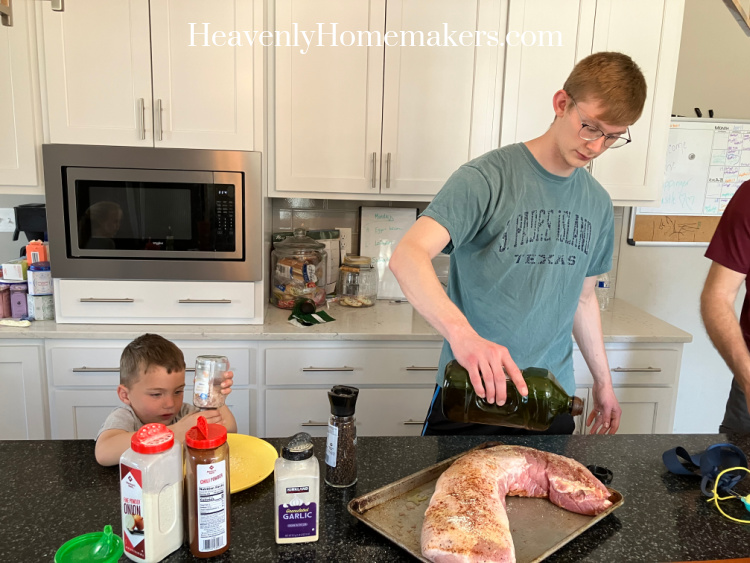
Back at home, Justus had come over to smoke a Pork Loin that he was making to share with a few families. Keith helped him prepare the spices.
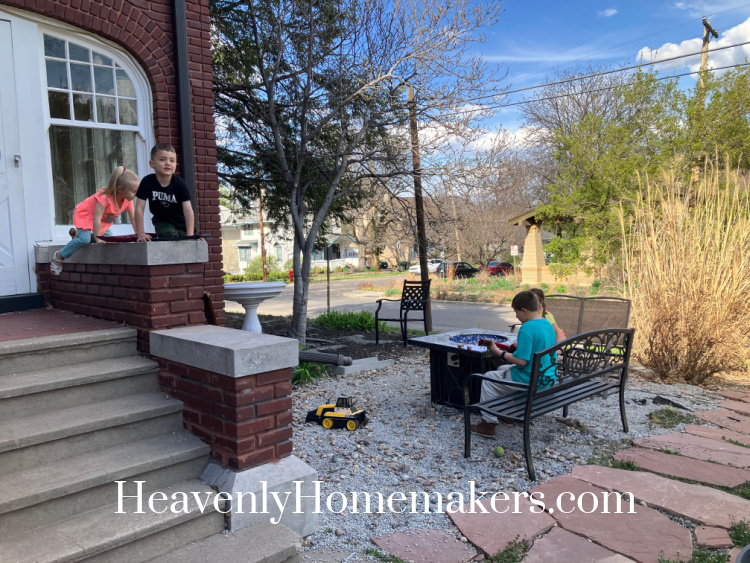
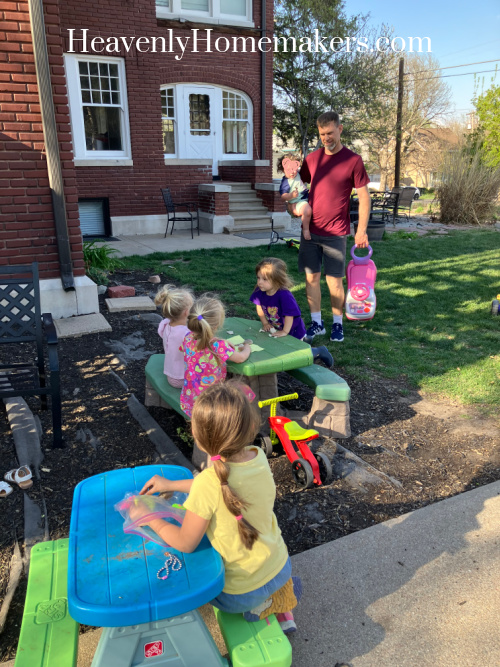
We spent a lot of time outside that afternoon enjoying the sunshine. These curls tho…

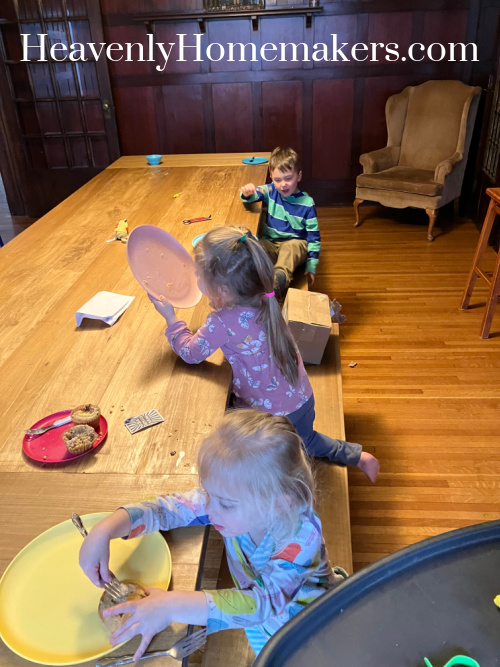
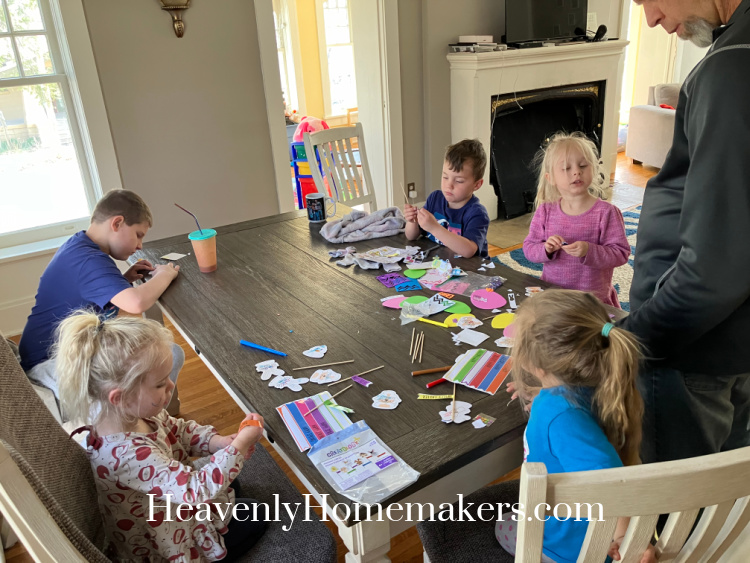
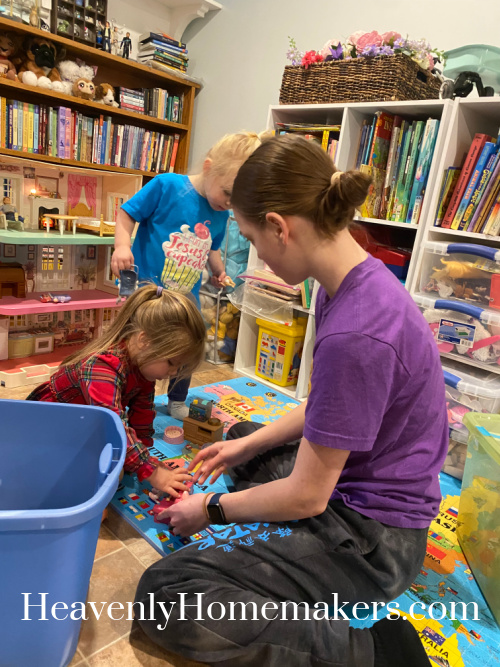
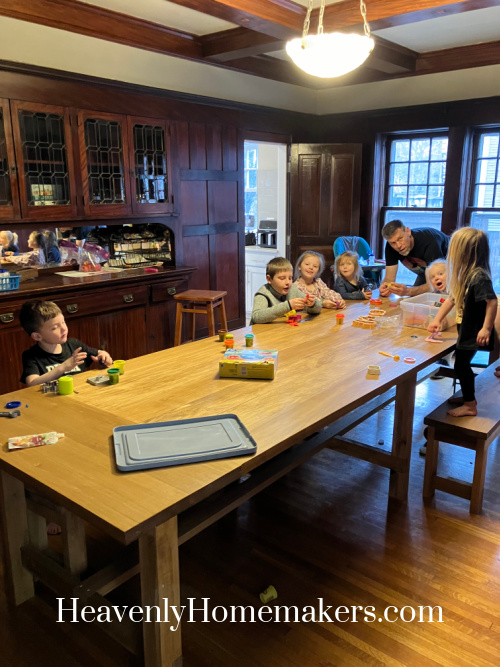
Kiya got to be a part of a Craft Club on Mondays after school this semester. She brought home some clay this time and was sweet enough to share it with her sisters. They had their own little Craft Club at the picnic tables while I finished making dinner.
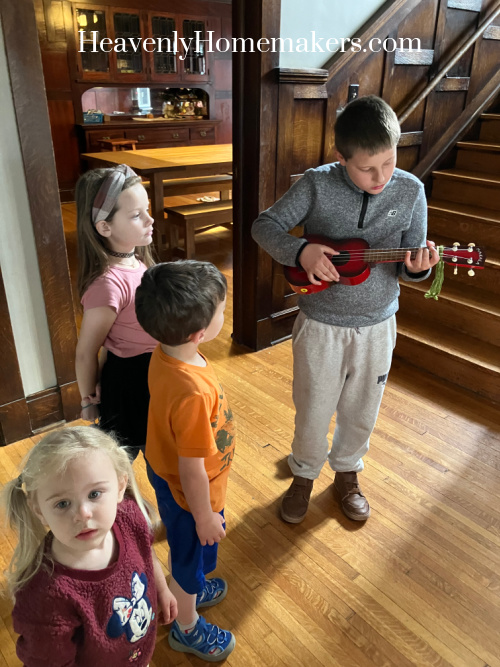
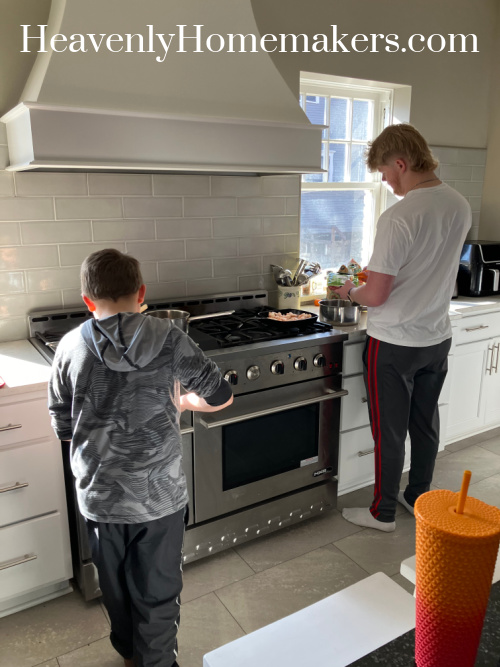
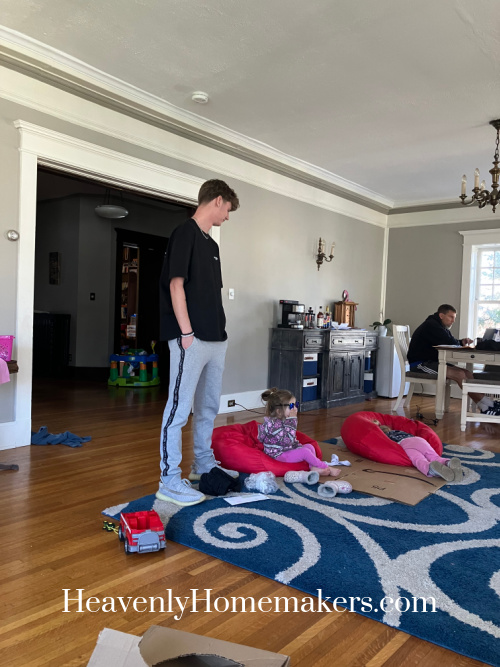
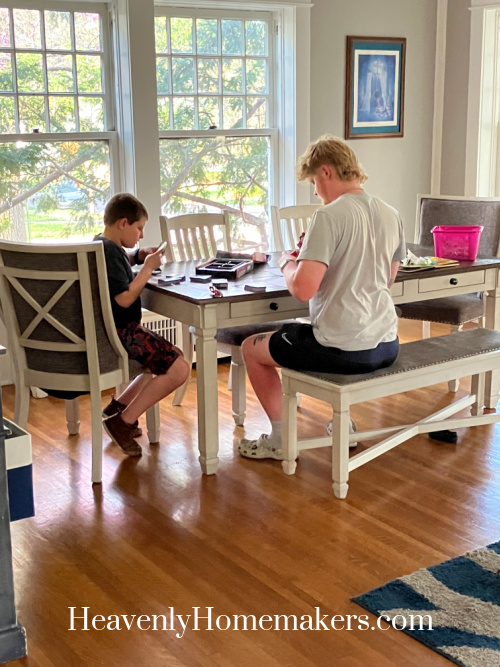
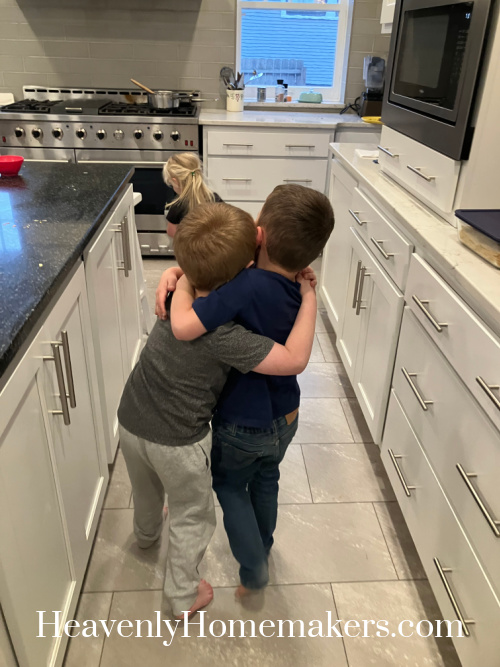
Meanwhile, Elias and Brayden were having some Bro Time, playing a fancy game of Uno.
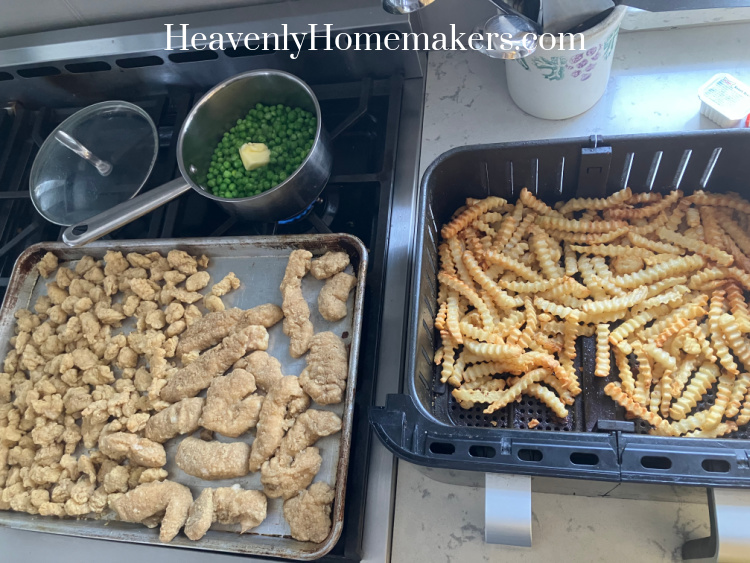
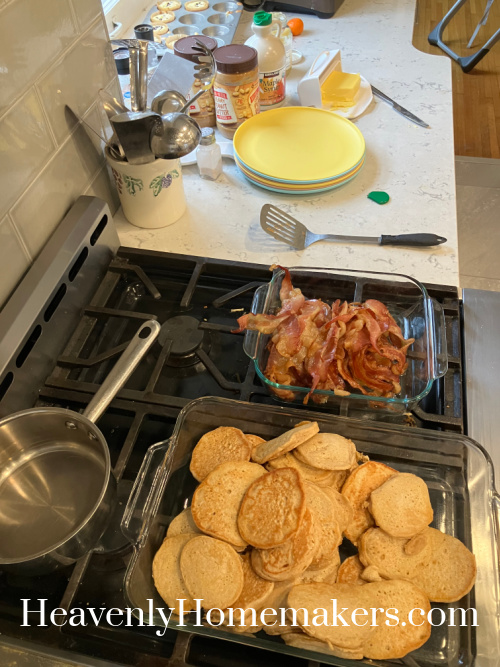
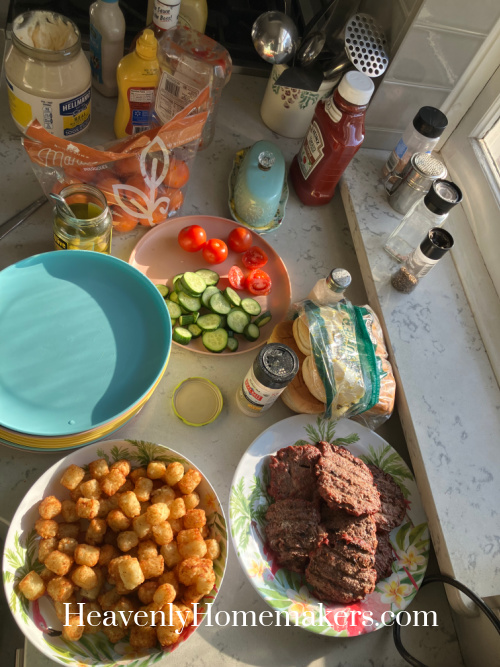
Dinner that night was very simple because my brain and body had not yet caught up on rest from all the work and planning it took to execute our fun weekend. I grilled Salmon Burgers that I had tucked away in the freezer from Costco, air fried some French Fries, and got out a jar of Pickles. Do pickles count as a vegetable?? ;)

Here’s how I kept the Salmon Burgers warm after I brought them in. A large cooking pot worked as a great cover for the plate!
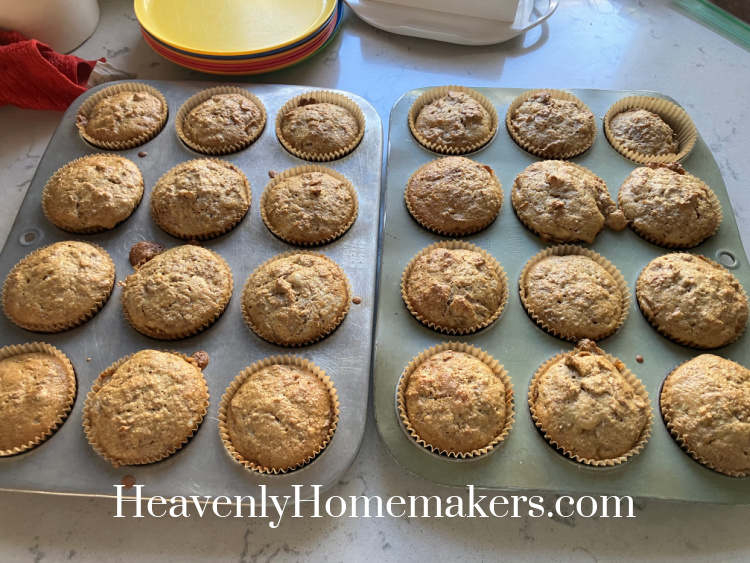
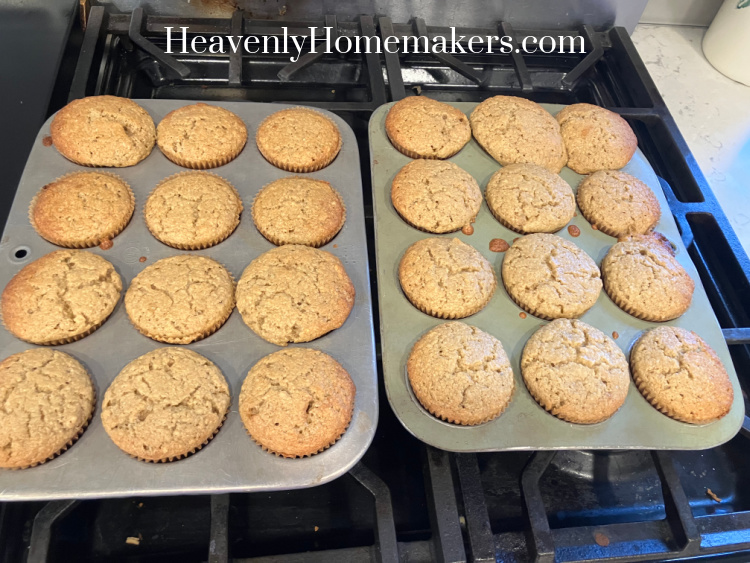
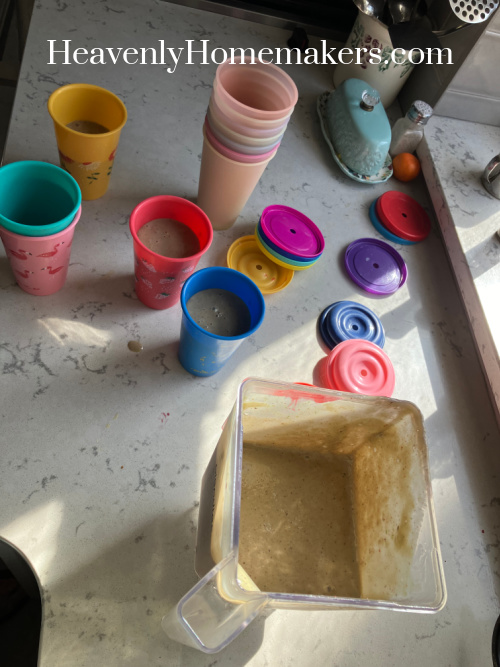
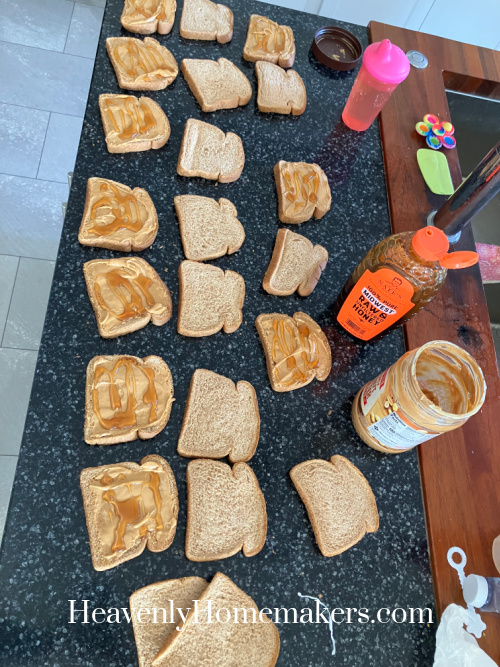
Tuesday morning I made a double batch of Peanut Butter Honey Puffs for all of us to snack on as needed.

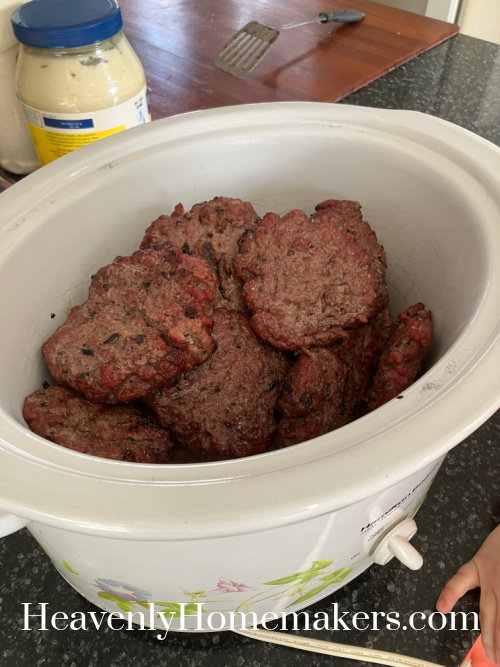
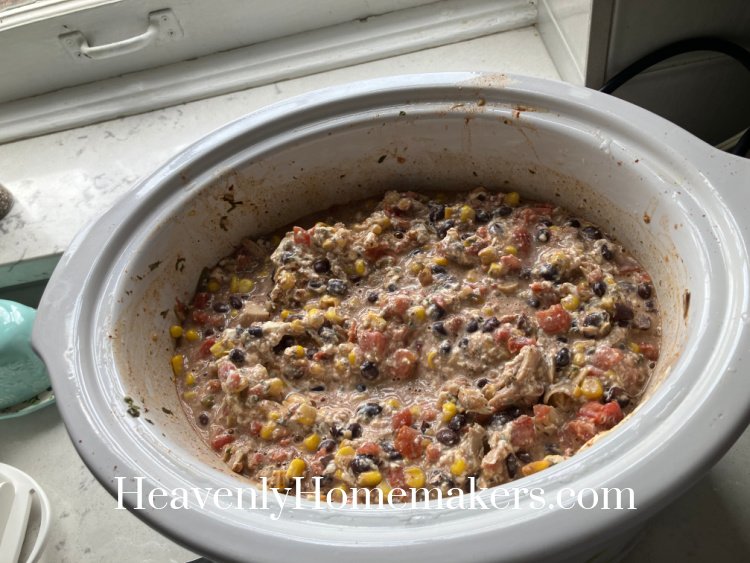
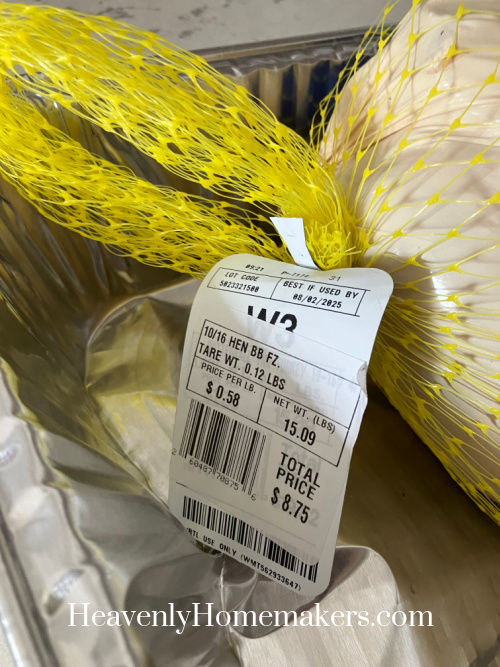
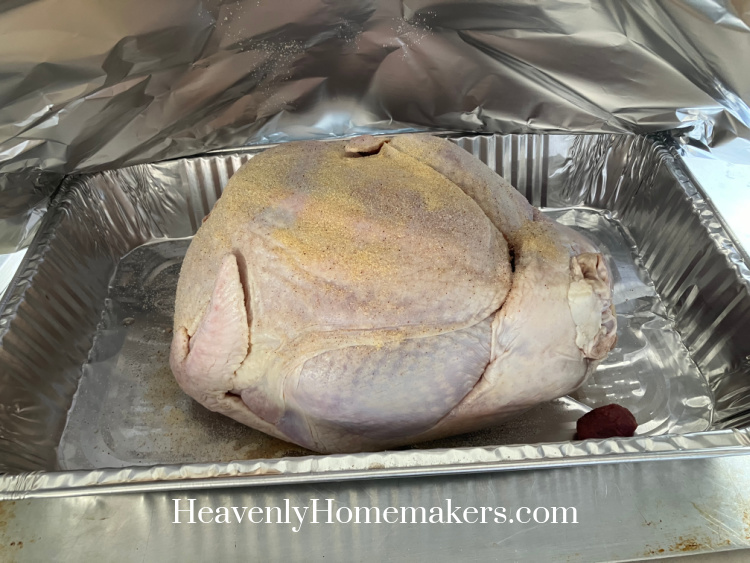
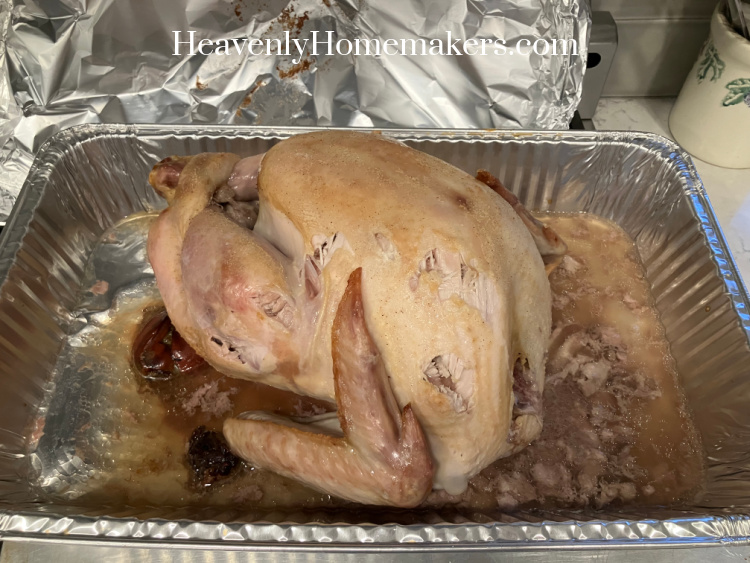
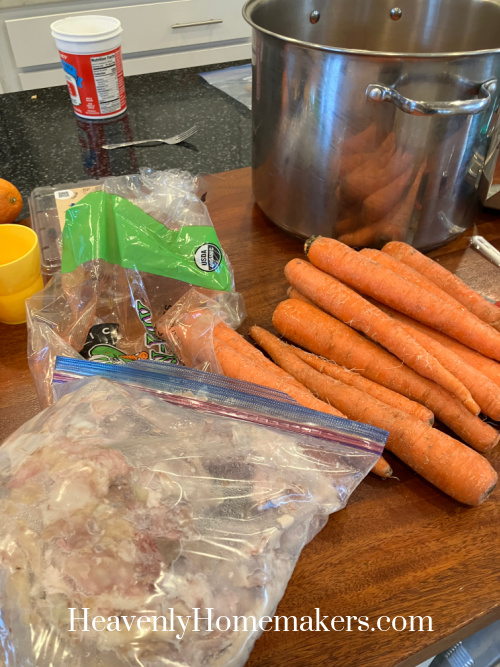
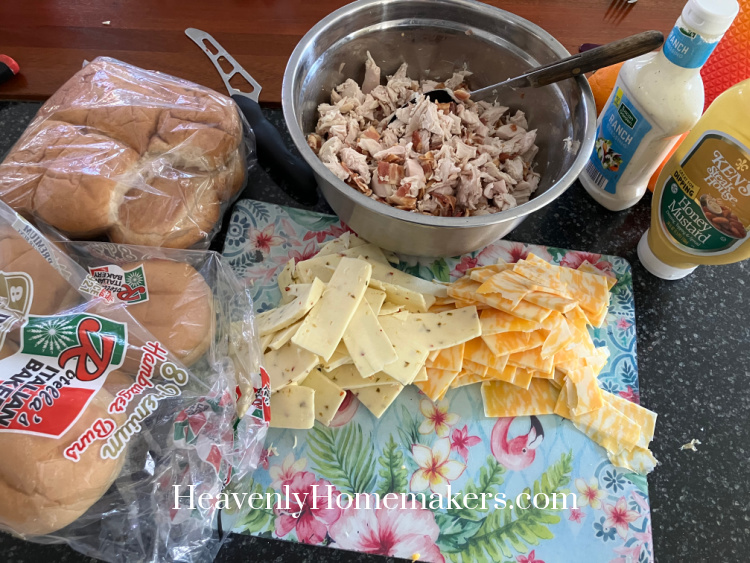
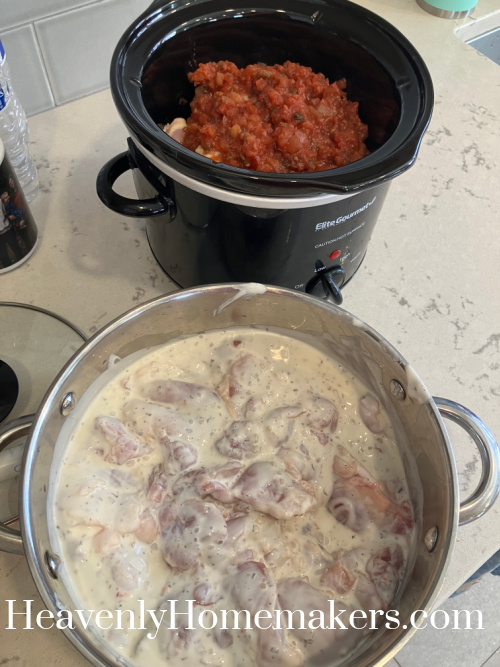
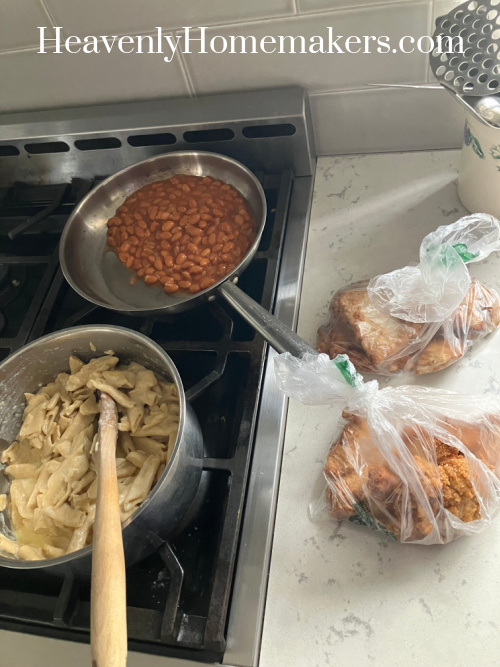
I used some of the awesome chicken thighs I’d picked up on sale last week to get prepped for dinner that night and for another meal in the future. I put the amount of chicken we needed for that night’s meal into a pot and dumped on some Creamy Italian Dressing I had in the pantry. Then I put the rest into a small crock pot with some Salsa to slow cook all day.
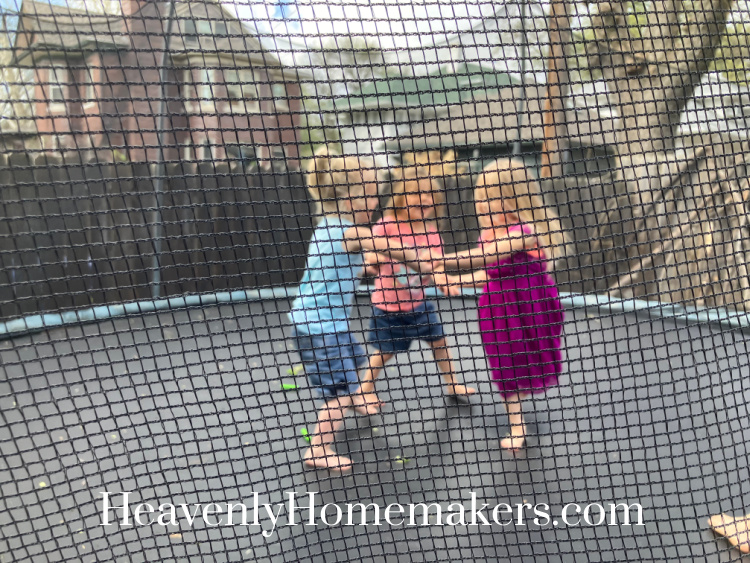
It had rained quite a bit but we were able to go outside later in the morning. Our neighbors are awesome and all of the kids between our house and two other houses play in each other’s yards as if they are our own. That morning, we enjoyed our neighbor’s trampoline. I caught the girls giggling while playing ring-around-the-rosie. Indeed, they did all fall down. :)
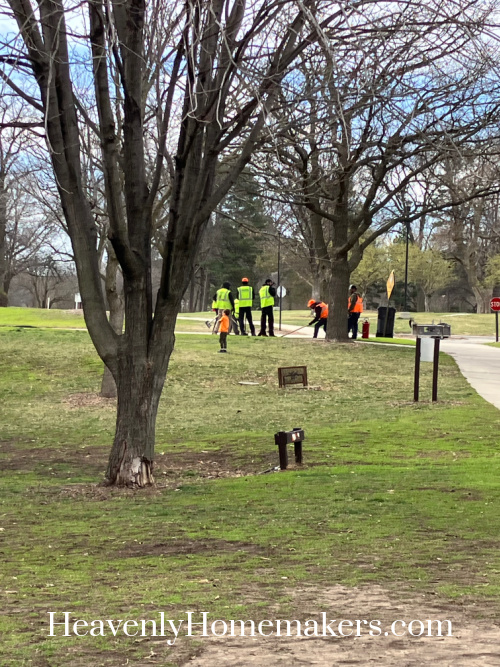
The kids didn’t want to come inside, which was fine by us. While we were playing, a friend we hadn’t seen in a while stopped by for a hug. :) Matt and Keith walked to the corner to watch a tree get removed that had fallen in the night. Late morning I took a tray of snacky-lunch outside to eat before the preschool bus came for Keith and Anna.
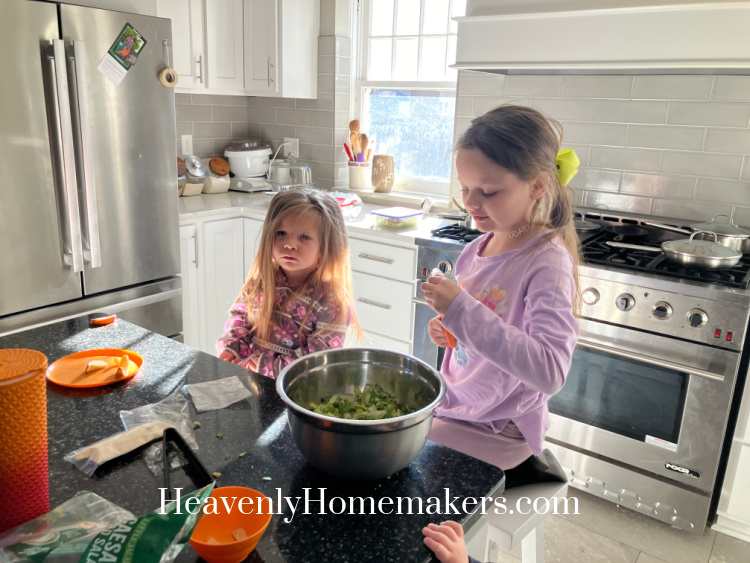
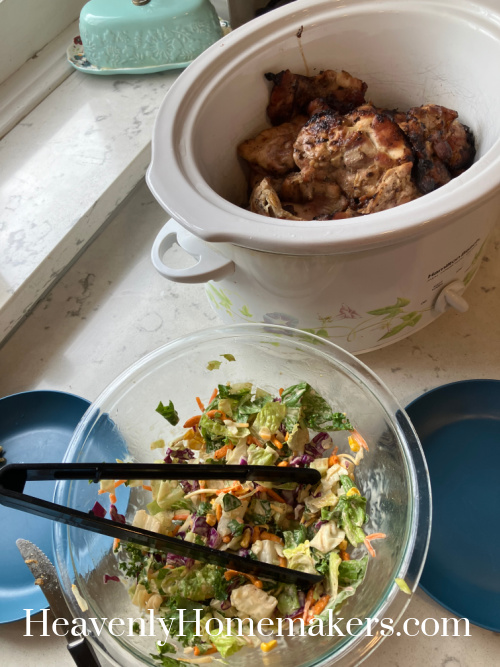
That afternoon I smoked the chicken that I’d marinated in Creamy Italian Dressing. Brayden, Kiya, and I went to hand out food at the Food Distribution site, so at mealtime, Elias made a salad to go with our meat.
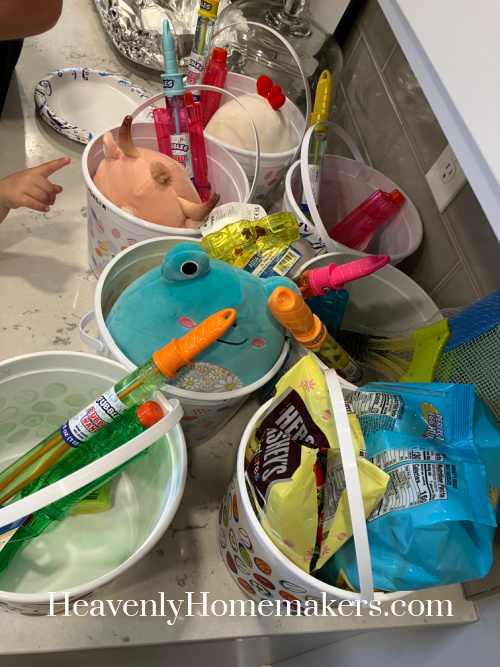
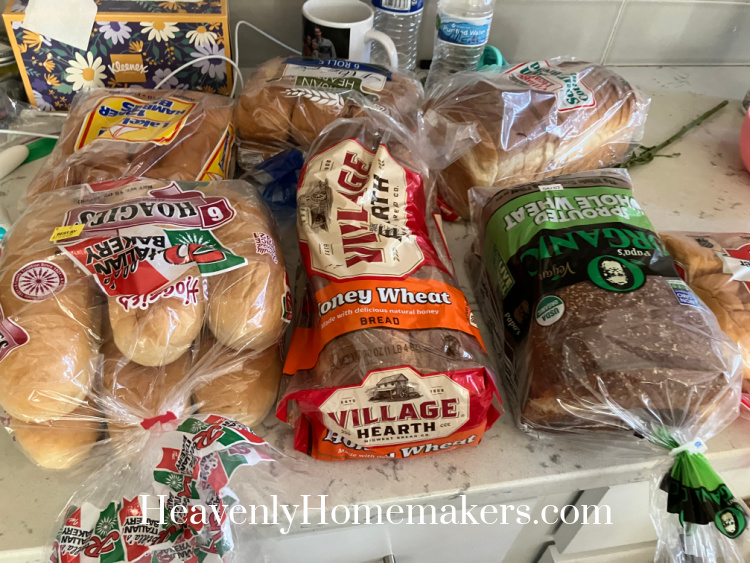
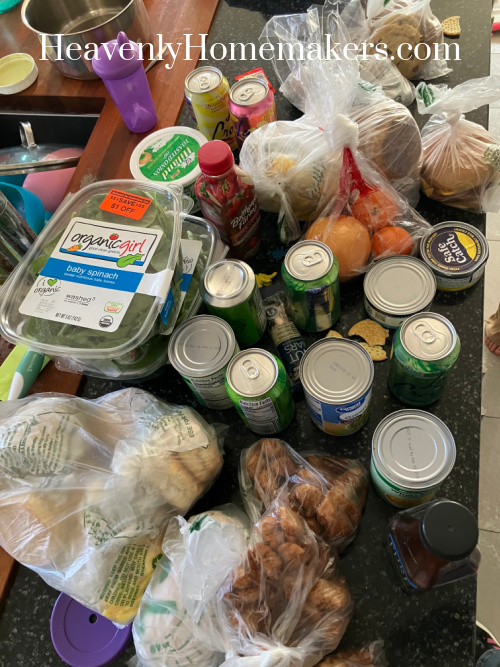
We came home with some treasures from Food Distribution that day.
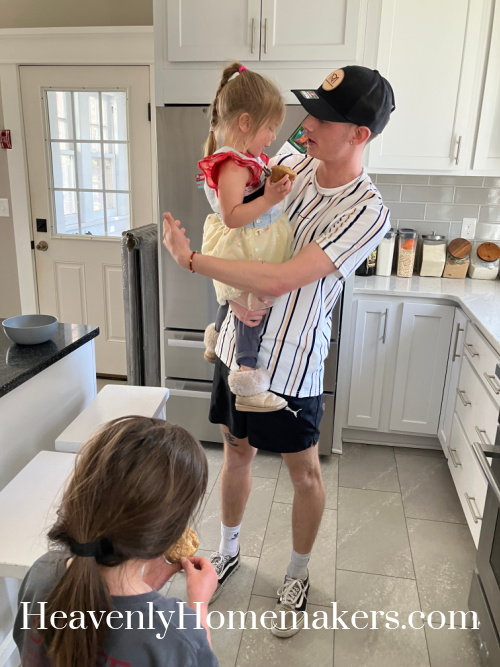
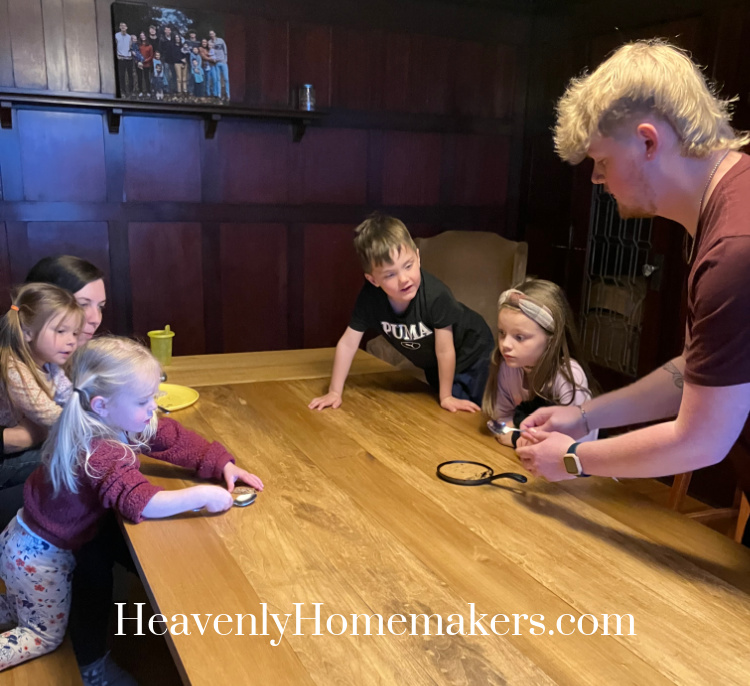
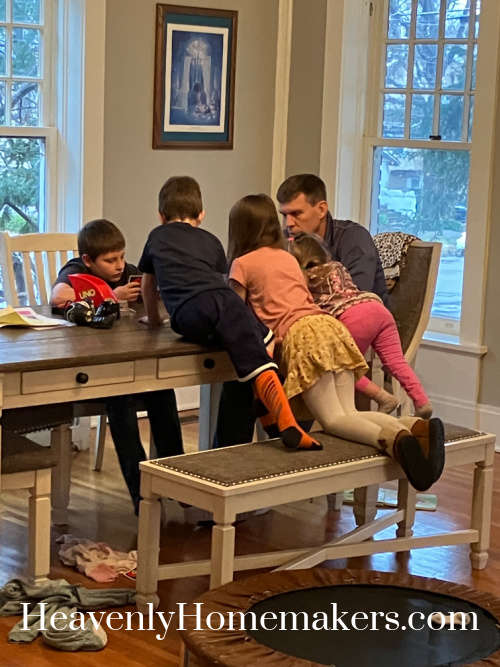
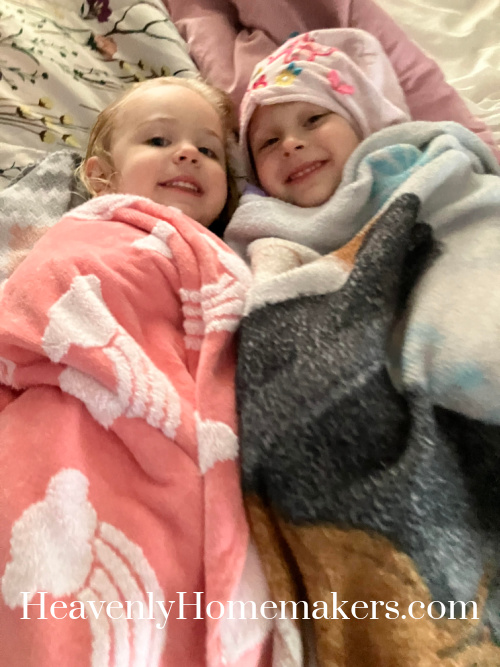
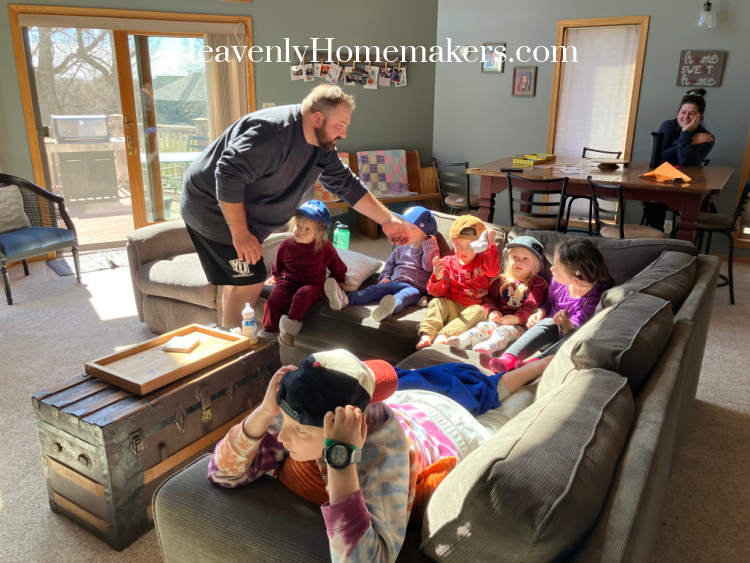
Bedtime is always a loud and crazy ordeal with this many (tired) littles. I loved being able to capture this calm and quiet moment with Daddy and some of the kids after teeth were brushed and Acacia’s brace put in place.
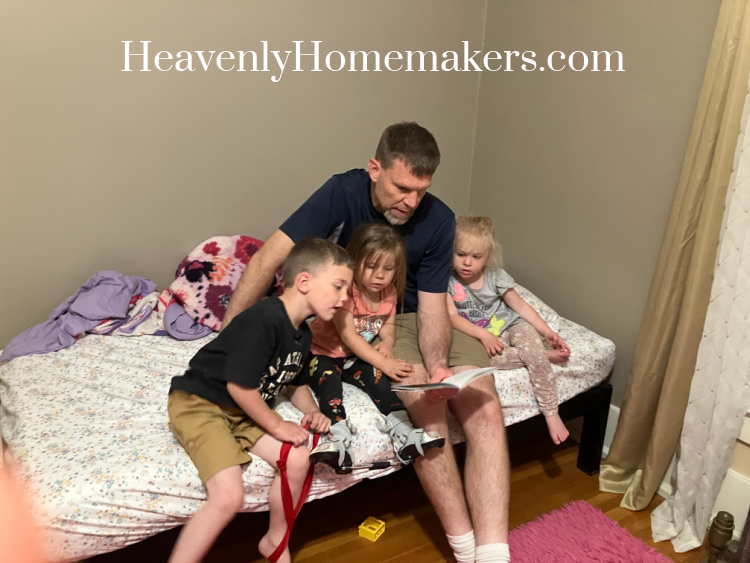
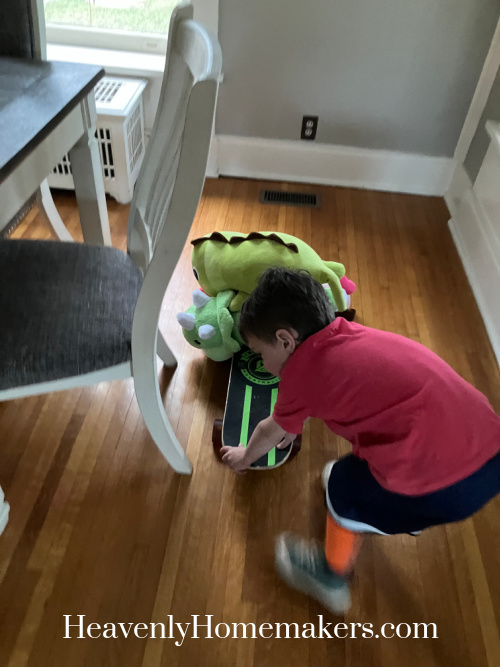
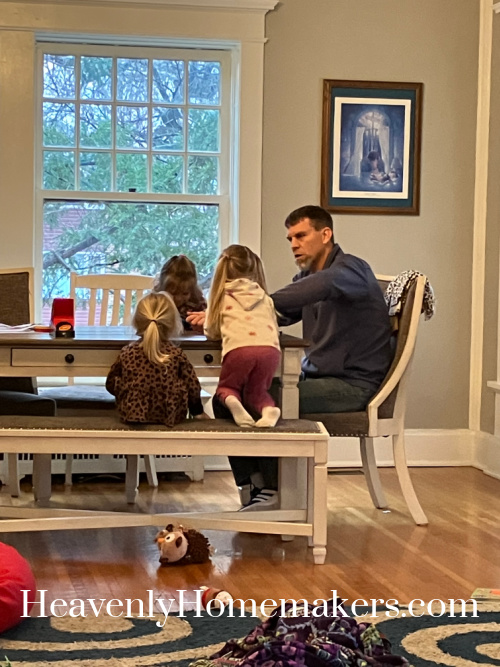
Brayden saw what Daddy did and wanted to get in on the action. So he had an easel set up with his favorite train book to share with Keith when he came in.

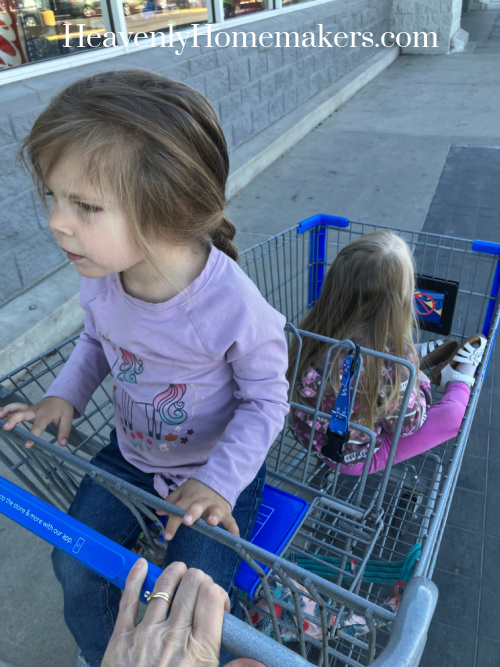
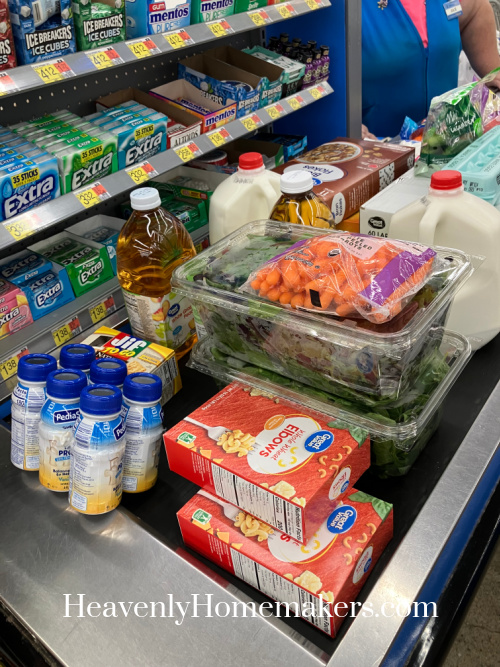
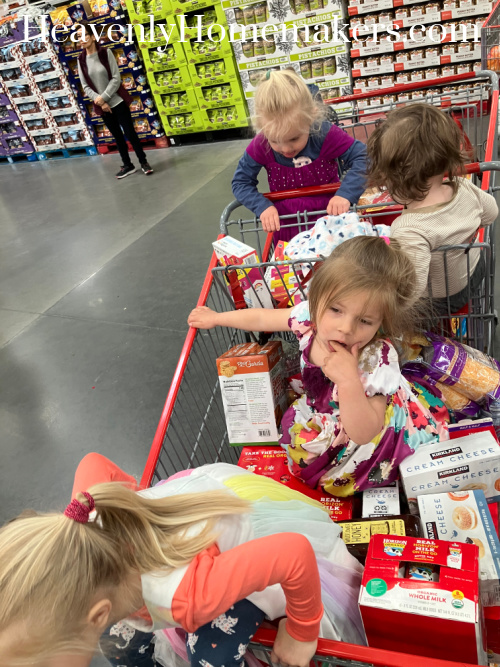
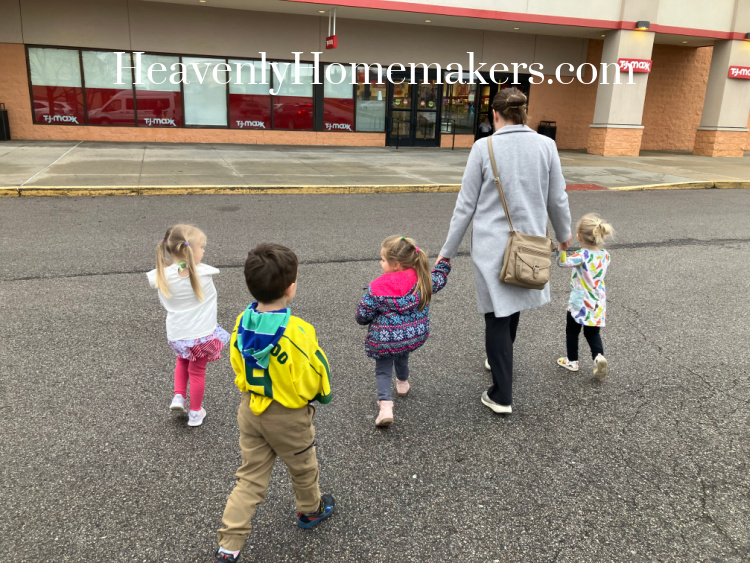
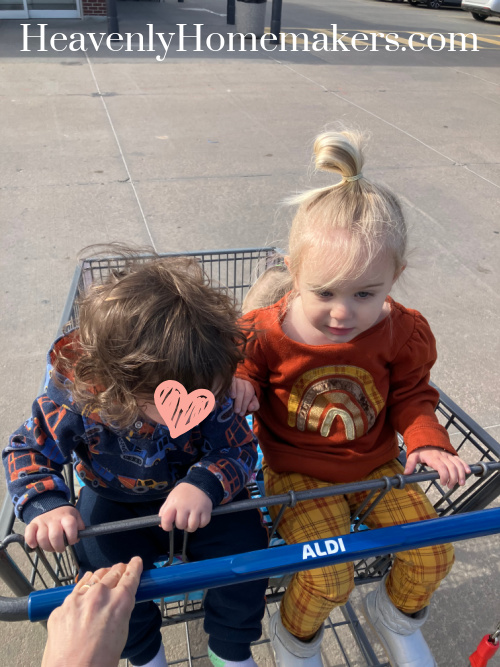
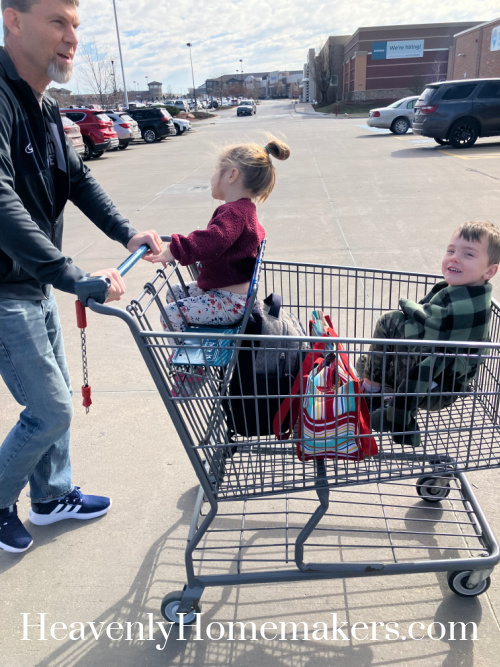
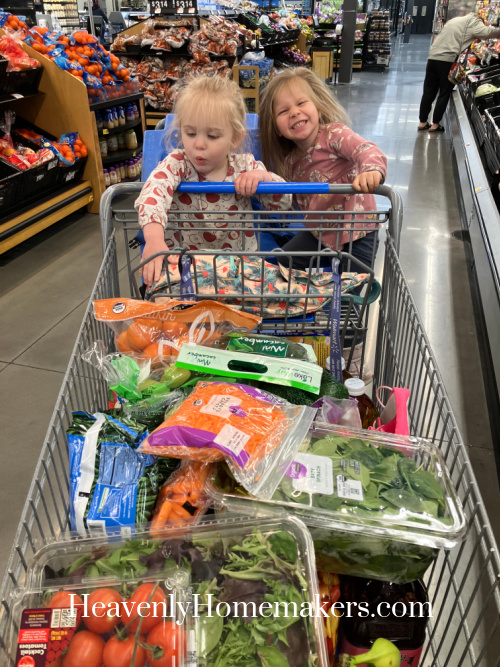
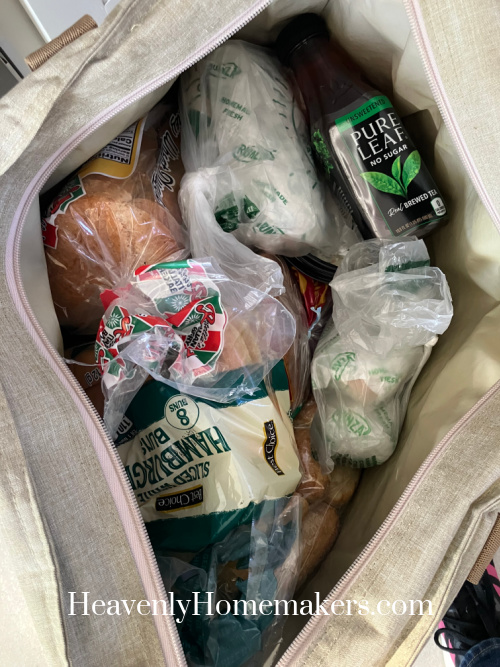
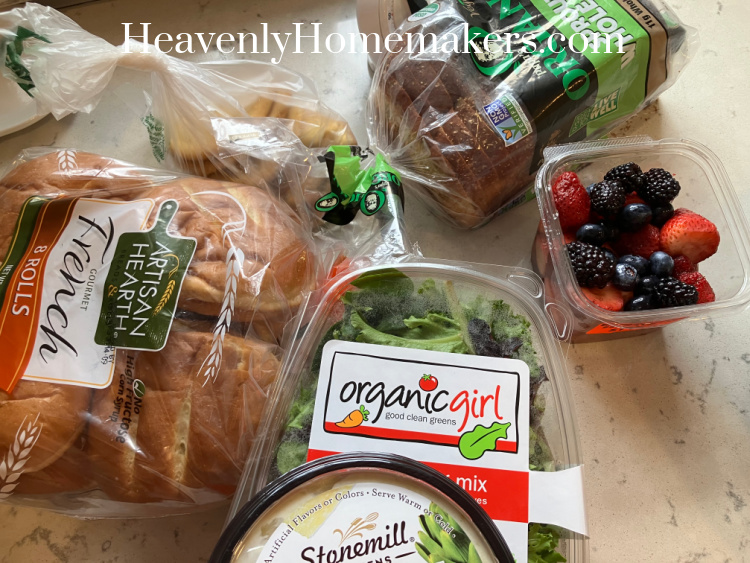
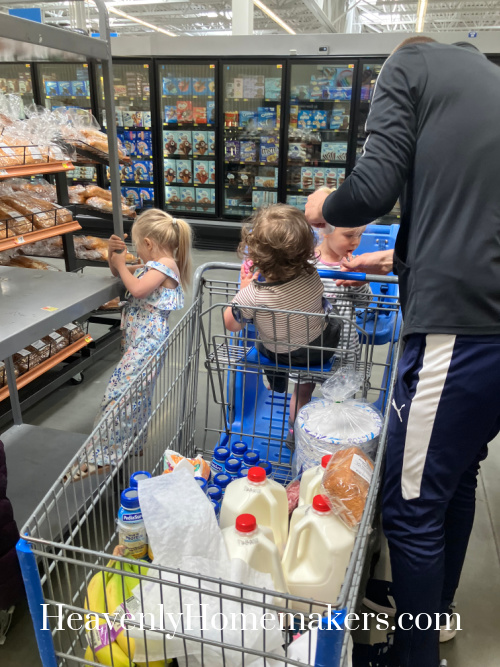
Wednesday morning we took about a hundred years to get our shoes on so that we could go to Walmart to pick up diapers for someone and to get a few items to celebrate Kelsey’s birthday.
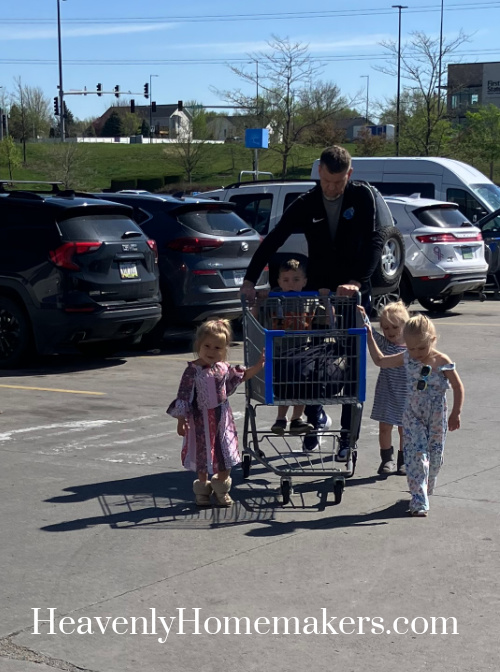
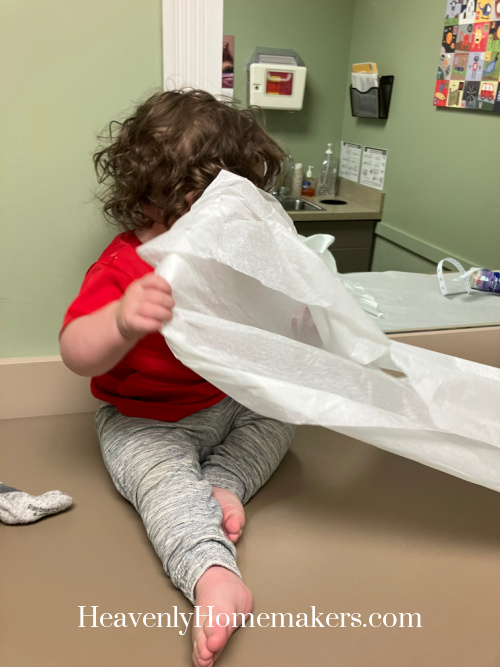
BabyBoy#11 has been making progress with his OT and Speech Pathologist so he hasn’t puked in a while. BUT. When I fed him a little snack that should have dissolved in his mouth while we were shopping, well. Let’s just say we needed a lot of paper towels and baby wipes. Poor guy.
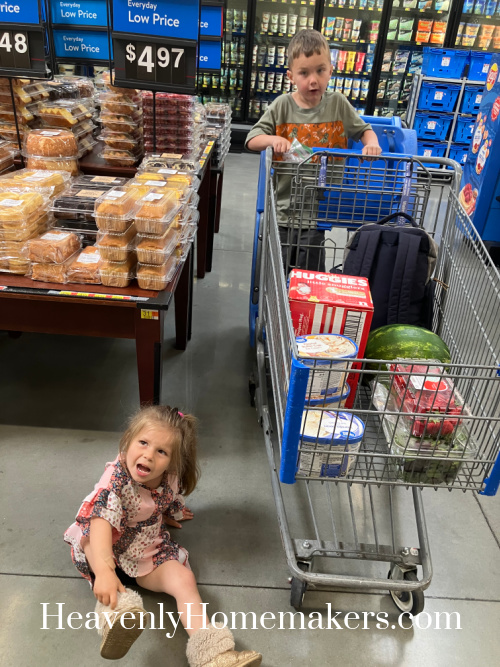
Of course, the other four kids sat calmly in the carts while we were cleaning it up. (bahahaha.)
Anyway, people around us were helpful and we made it to check out and home all in one piece.
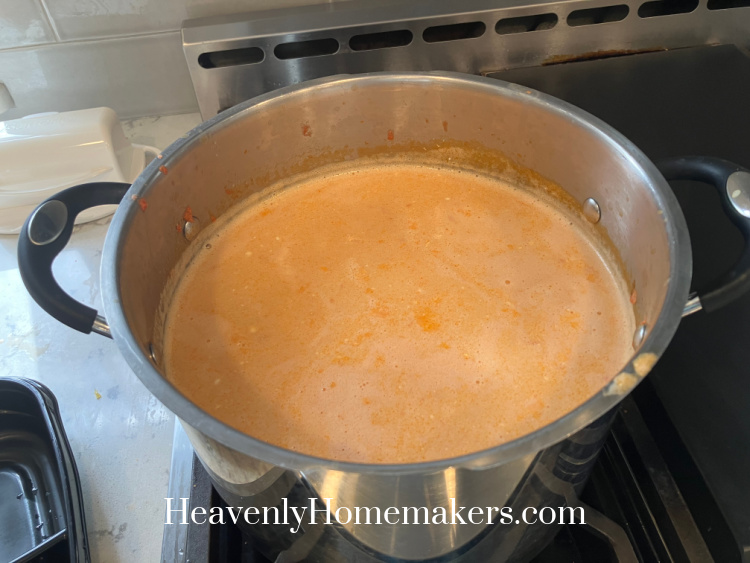
I made a big pot of Ham and Potato Soup for dinner that night (which was supposed to have been started earlier in the day in the crock pot but I could never get around to it).
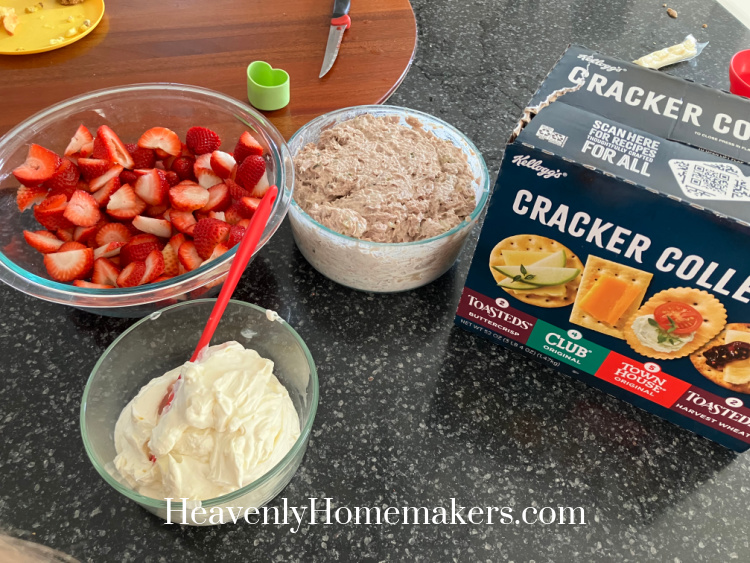
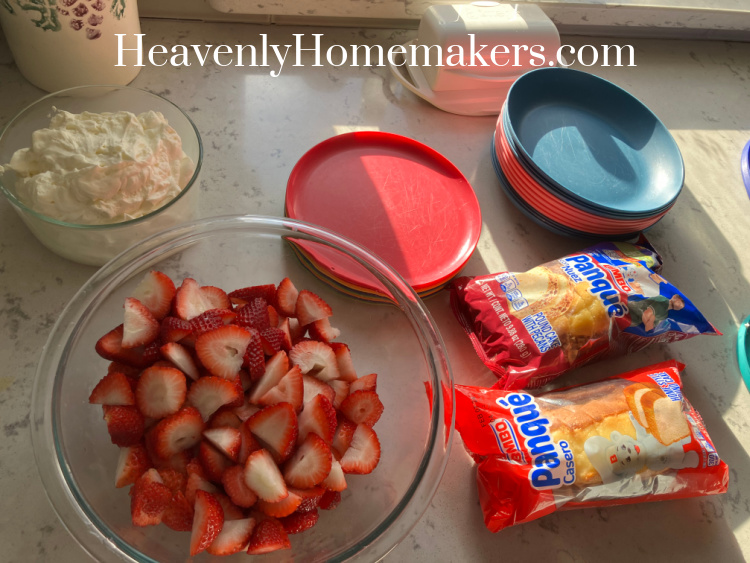
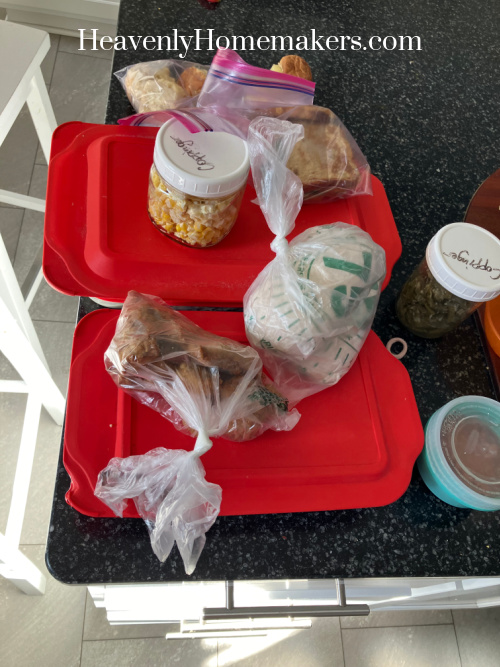
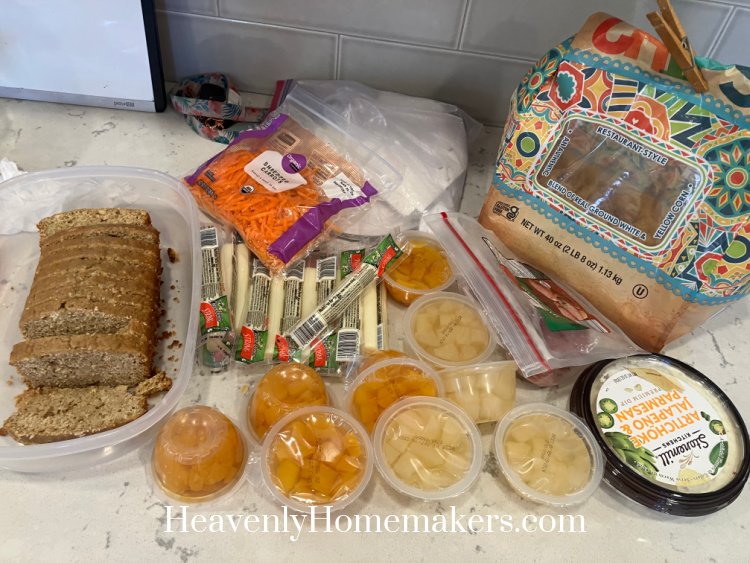
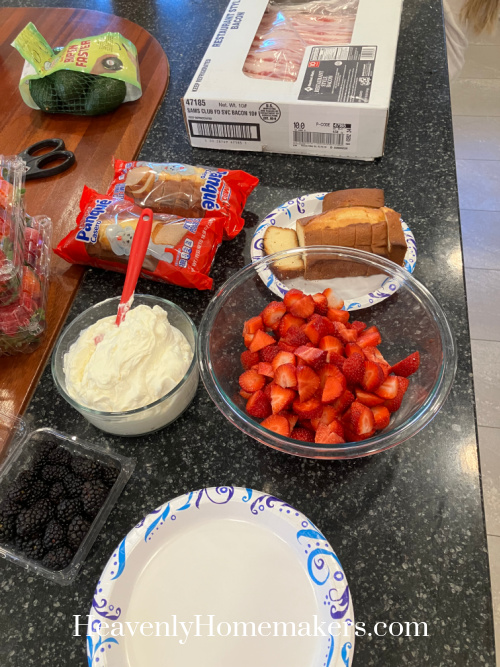
One of our kids had my phone for a Zoom call with the therapist during dinner-prep time so this is the only other picture I was able to take of our food that night. I cut up strawberries and whipped some cream plus cut up a watermelon. Then I packaged up soup and fruit to go deliver to a family with a new baby. :)

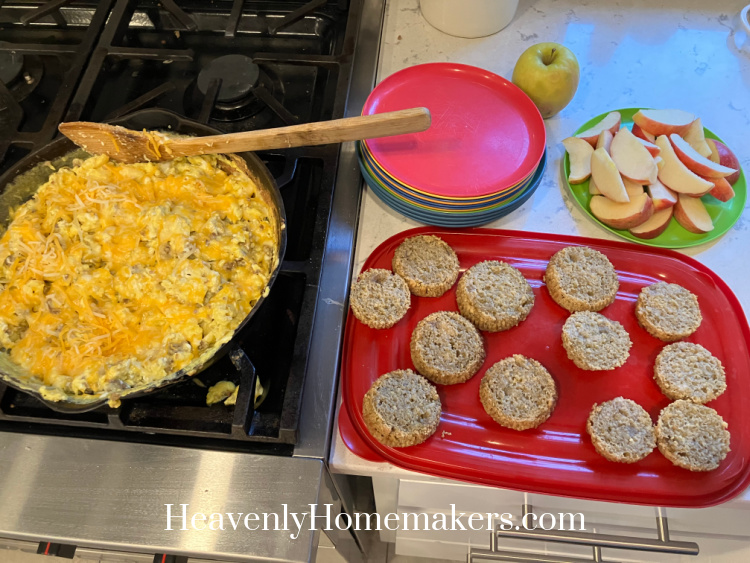
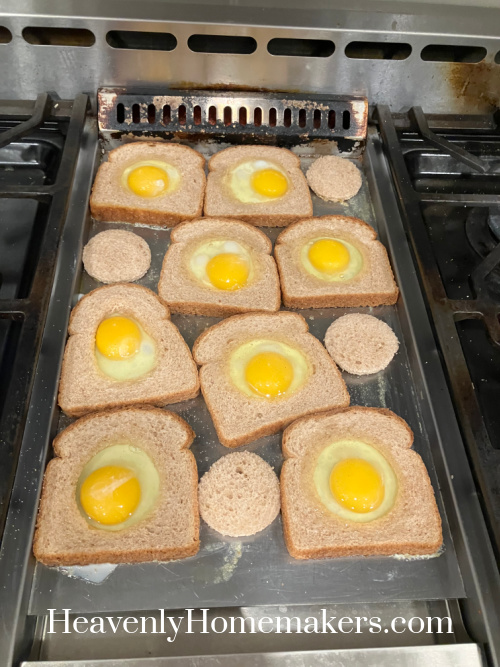
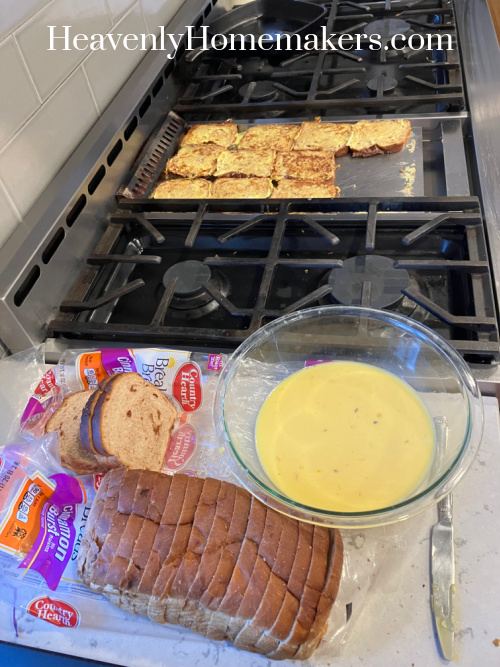
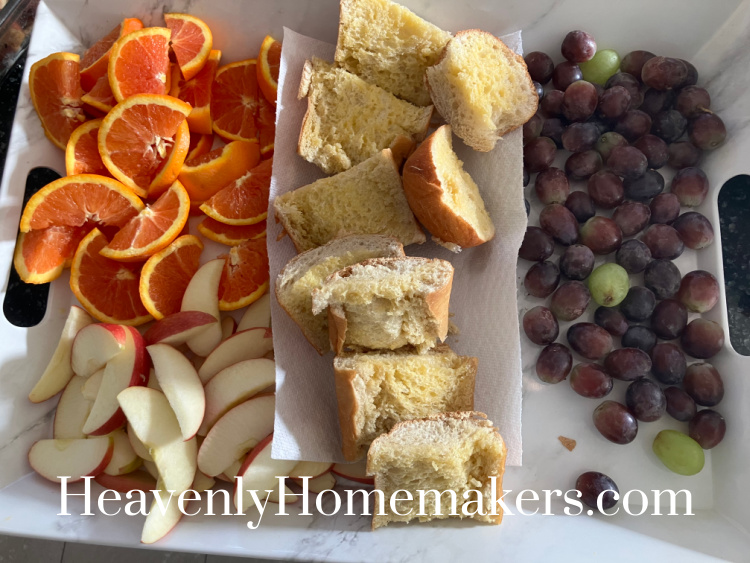
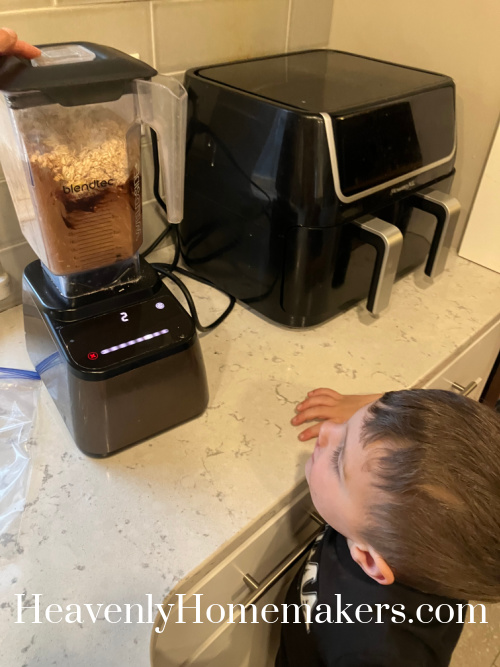
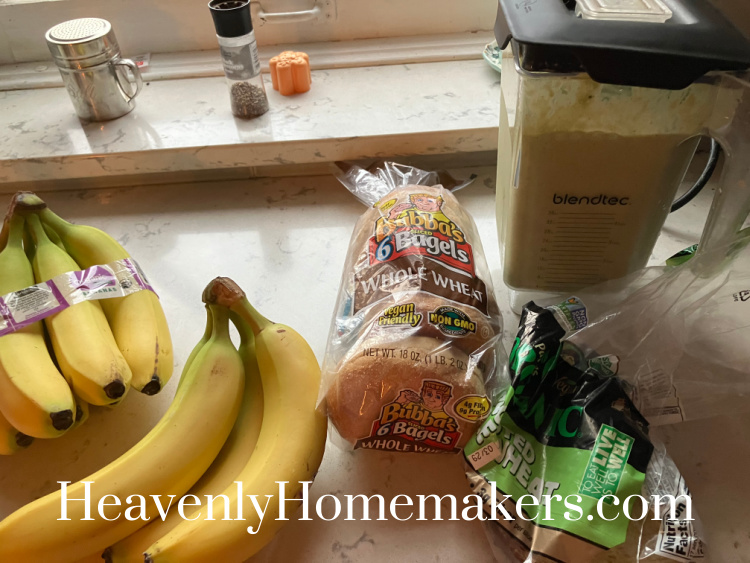
Thursday morning we ate Toasted Bagels or Bread with Bananas. I made a “blender full of salad” for Matt and me. :)
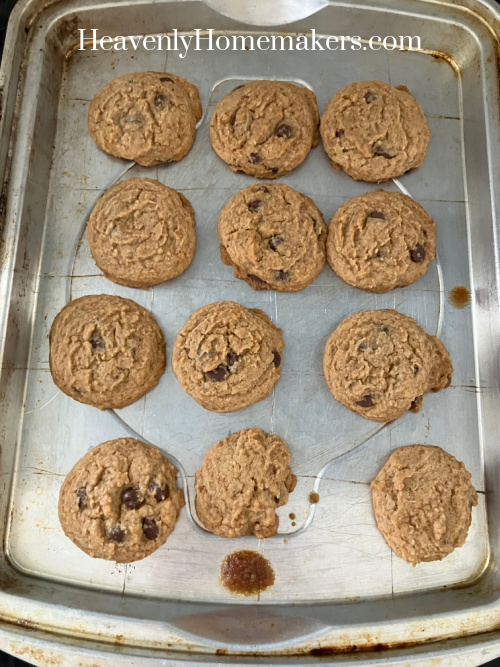
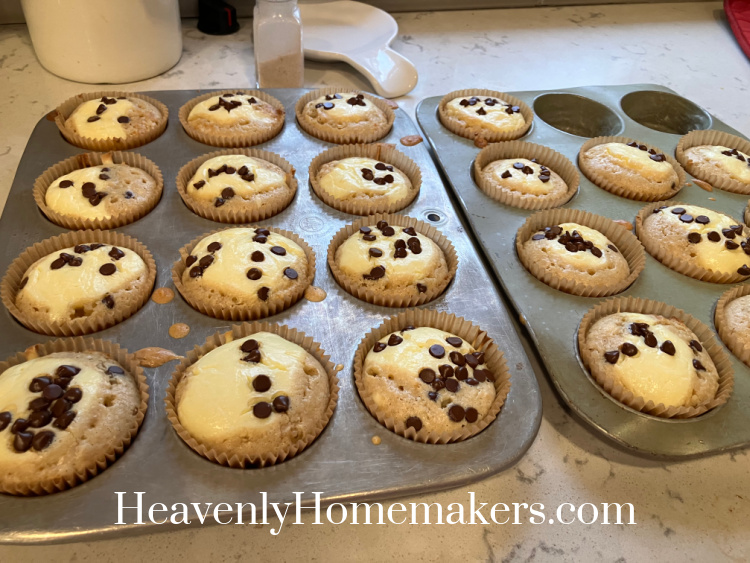
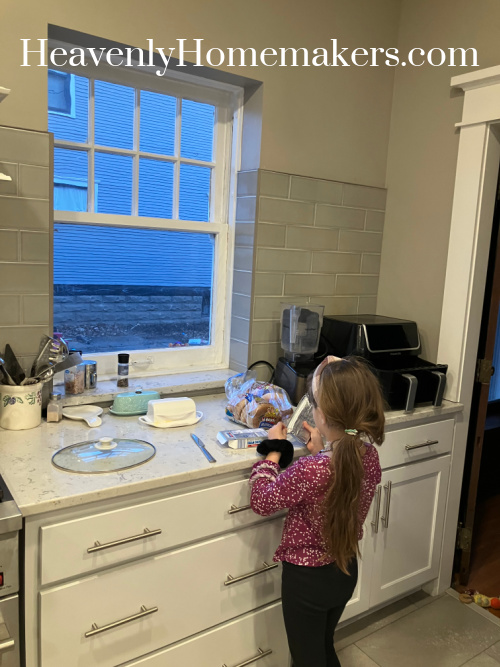
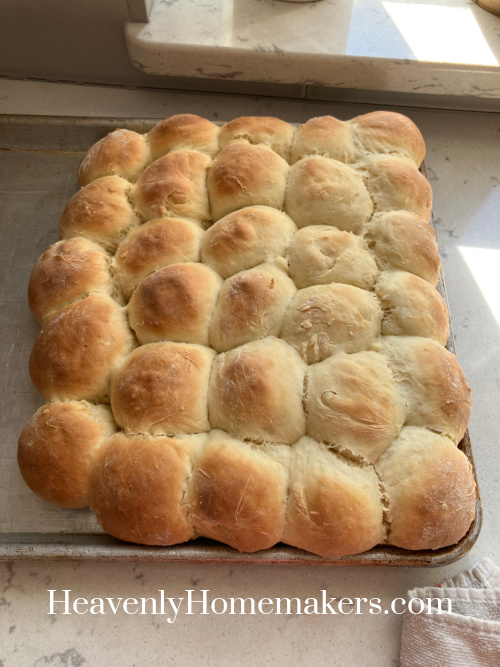
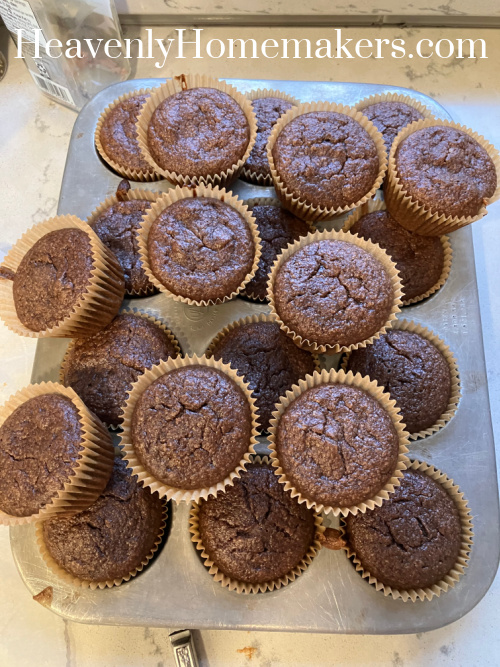
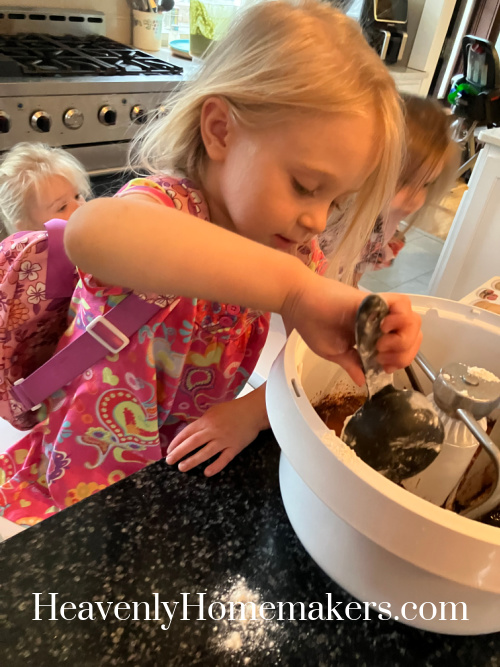
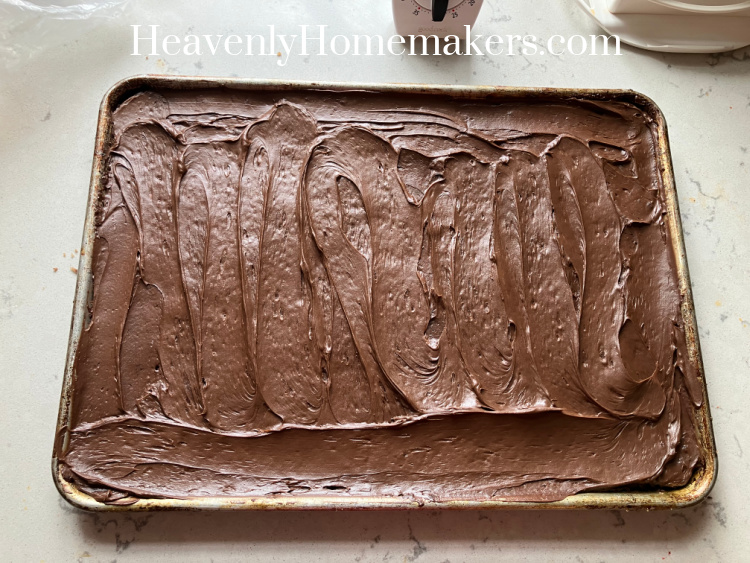
Matt and Malachi headed to York to work for the day, leaving Elias and our friend Malorie here to help me with the kids. We had signed up to take Frosted Brownies to a potluck on Sunday so the girls and I put those together to bake.
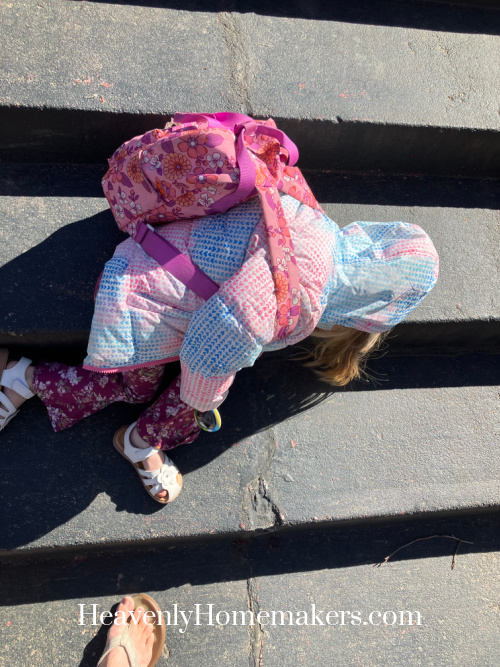
I snapped this shot of Anna getting on the bus at noon. Note that she is wearing her bath robe as a jacket. There was no convincing her to exchange it for an actual jacket. We fight enough actual battles with the kids that I definitely didn’t feel that this was a battle to fight. You want to wear your bathrobe to school? It will be just as warm as a jacket? Alrighty. See you after school!

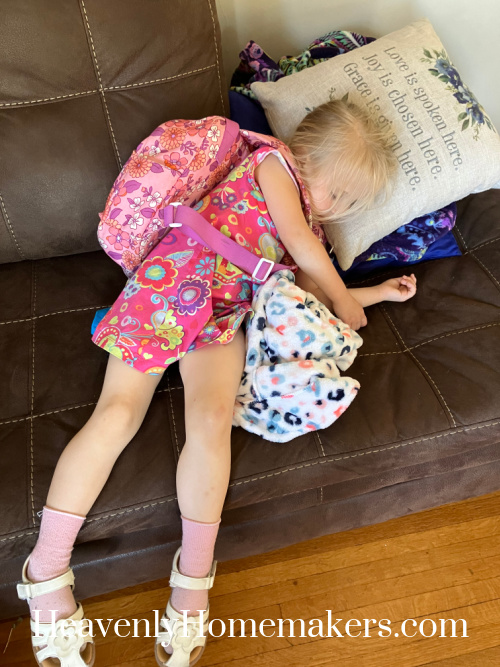
And speaking of after school, she and her bathrobe barely made it off the bus because of the fun and exhaustion. :)
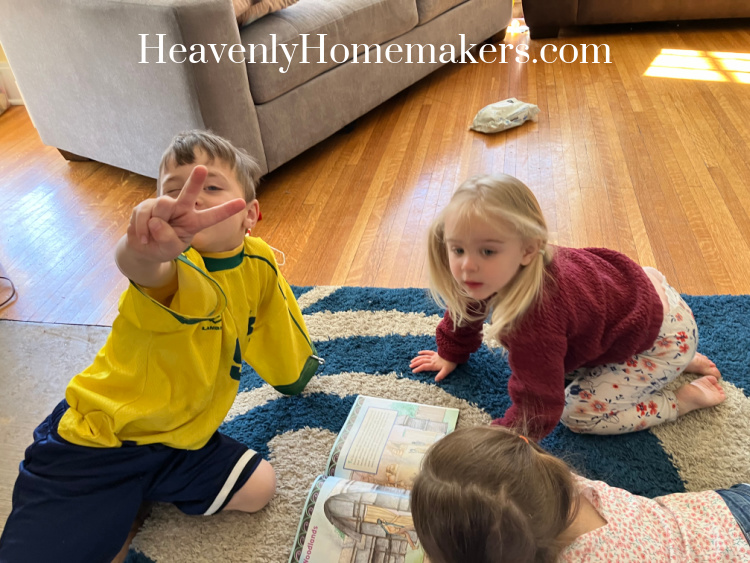
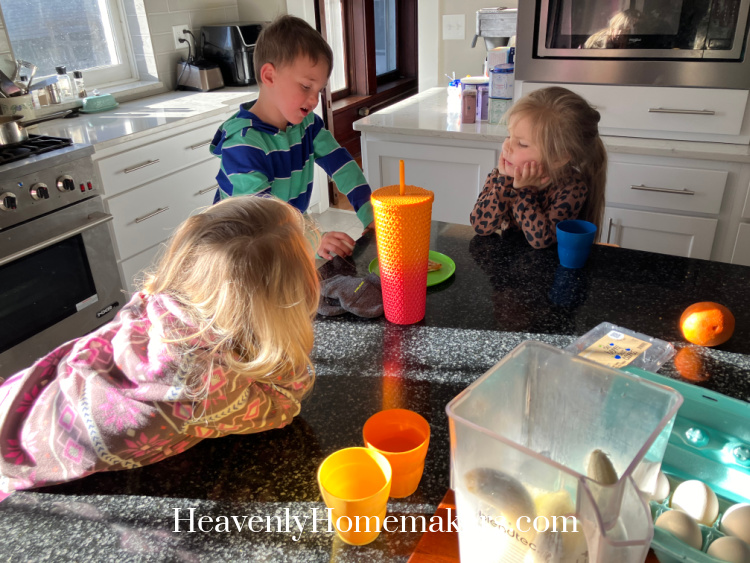
Malorie and the kids spent some time drawing while we waited for dinner to cook.

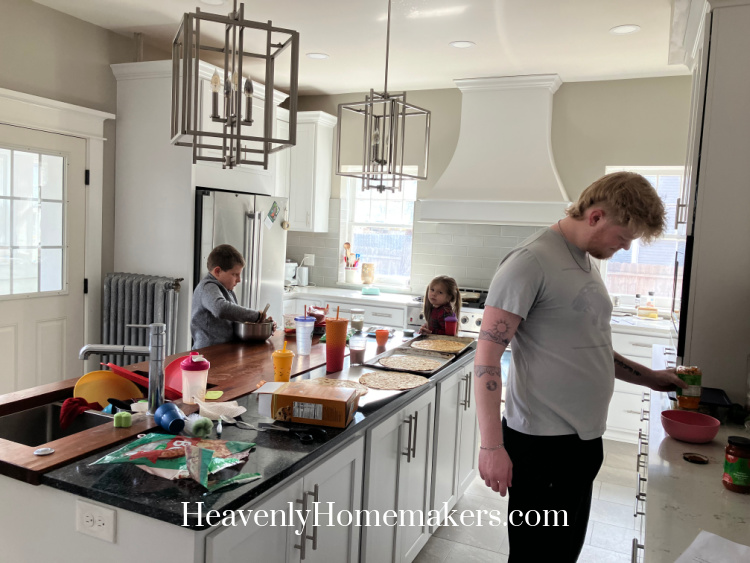
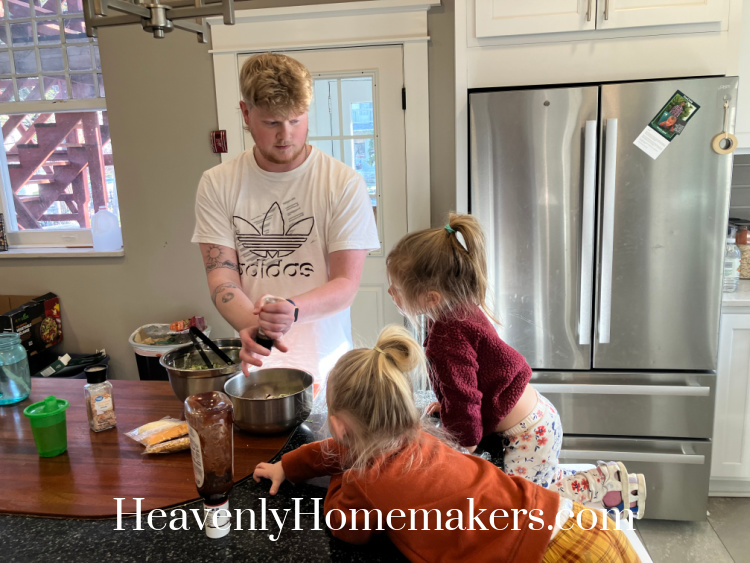
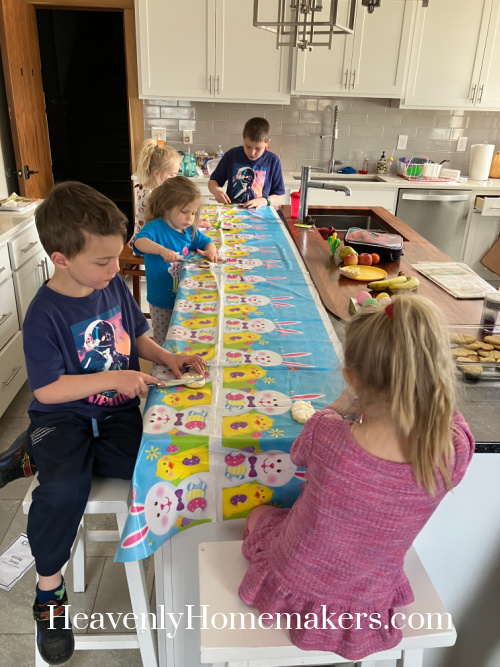
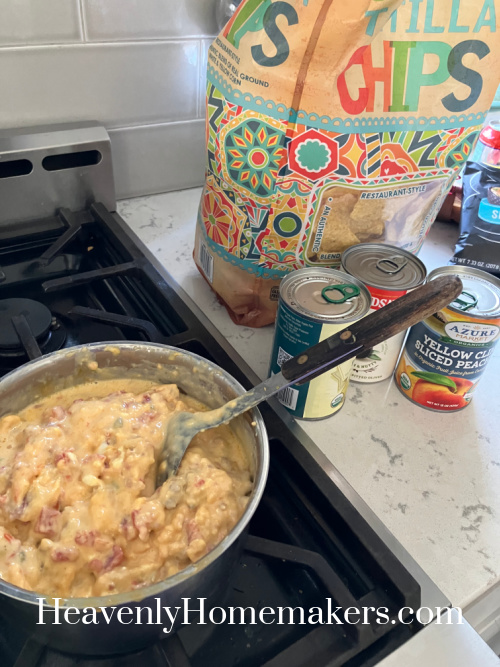
What was dinner, you ask? Elias and Brayden had spent some Bro Time putting together Smoked Queso for us to eat. We ate it with cold watermelon on the side and it was TASTY.

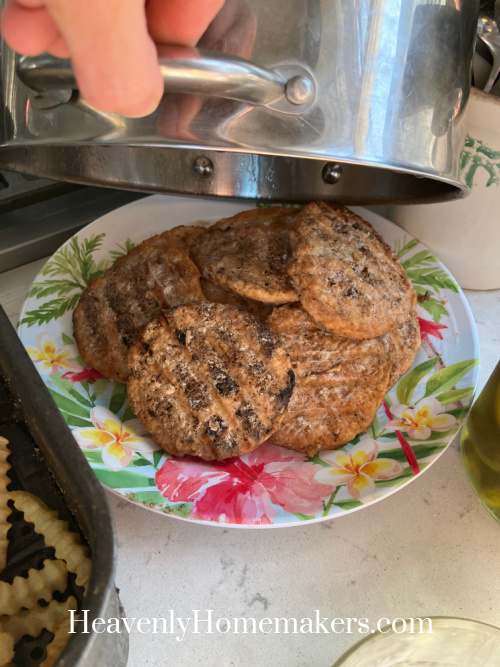
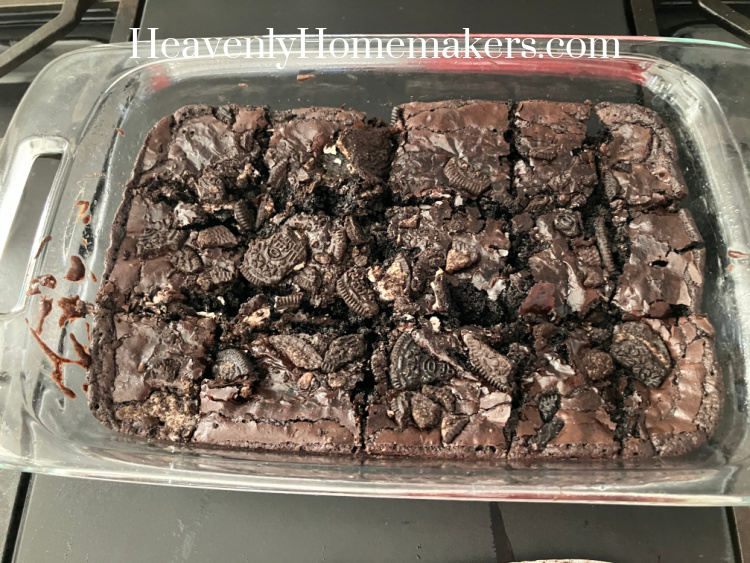
They also made a pan of Oreo Brownies as a treat after dinner.
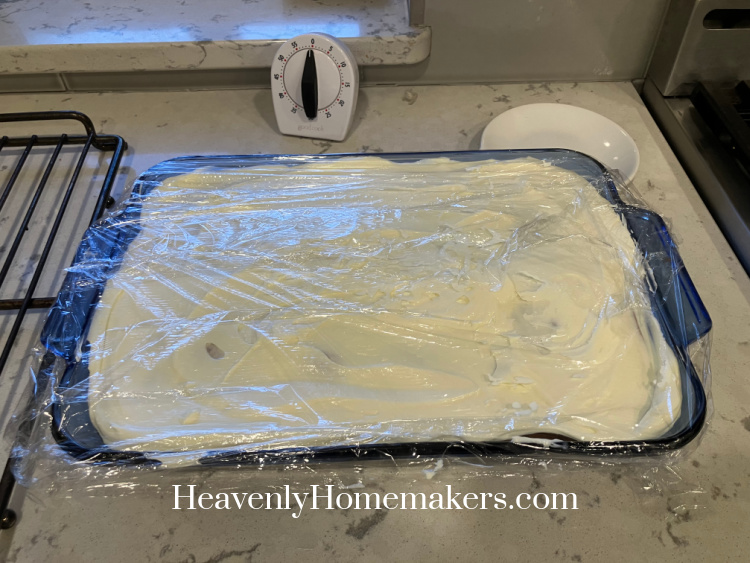
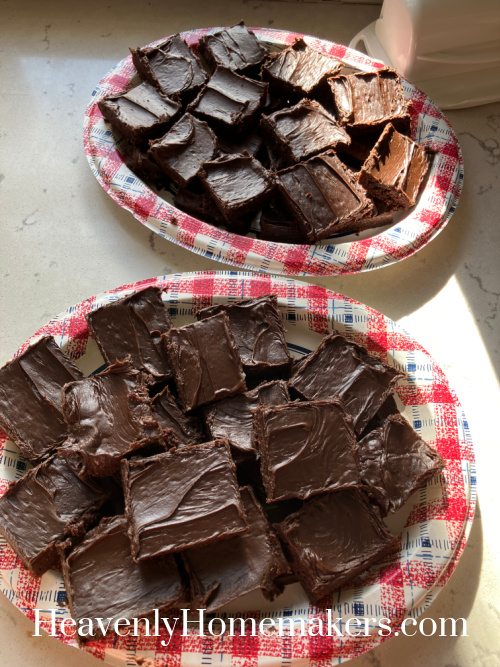
I found a minute to cut the big pan of brownies I’d made earlier in the day to freeze and take to the potluck on Sunday.
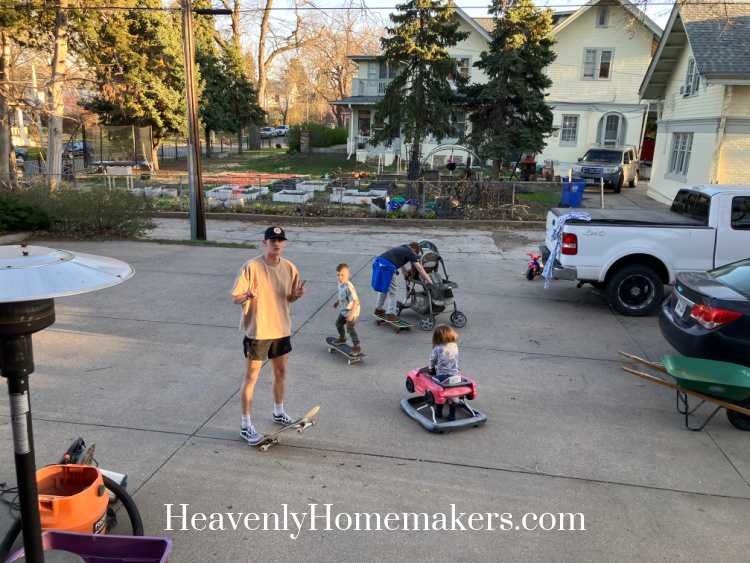
Friday afternoon while we played outside, BabyBoy#11 got some walking practice in.
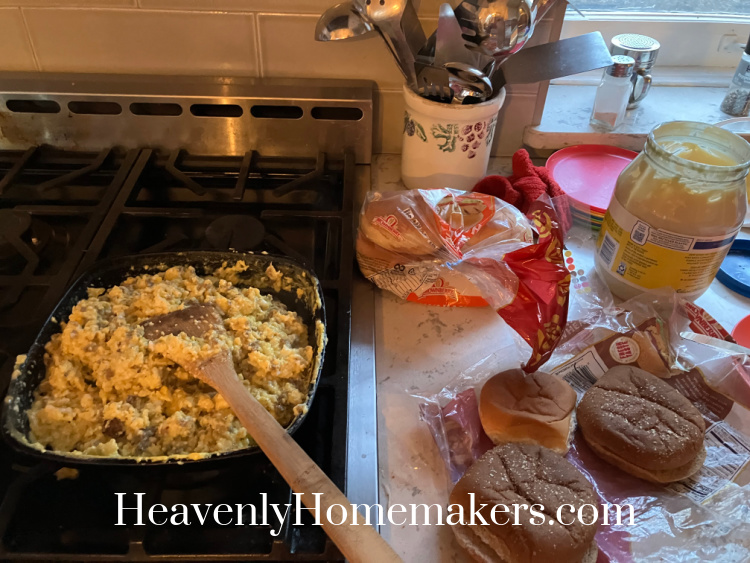
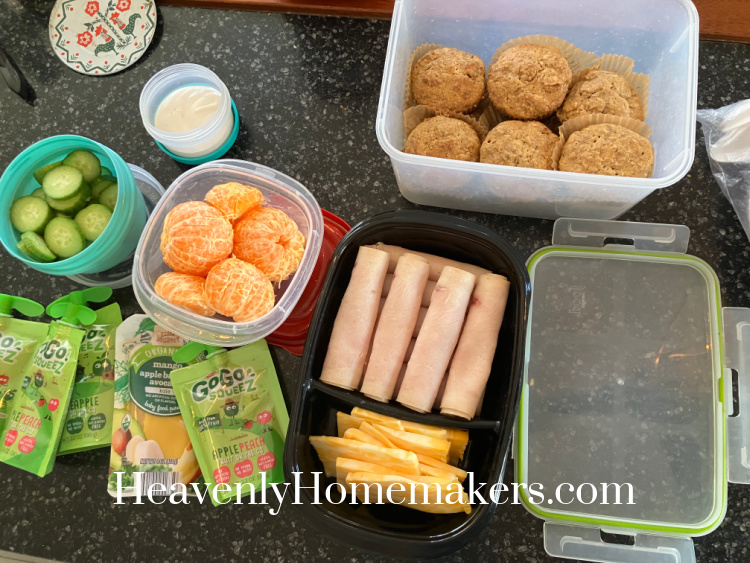
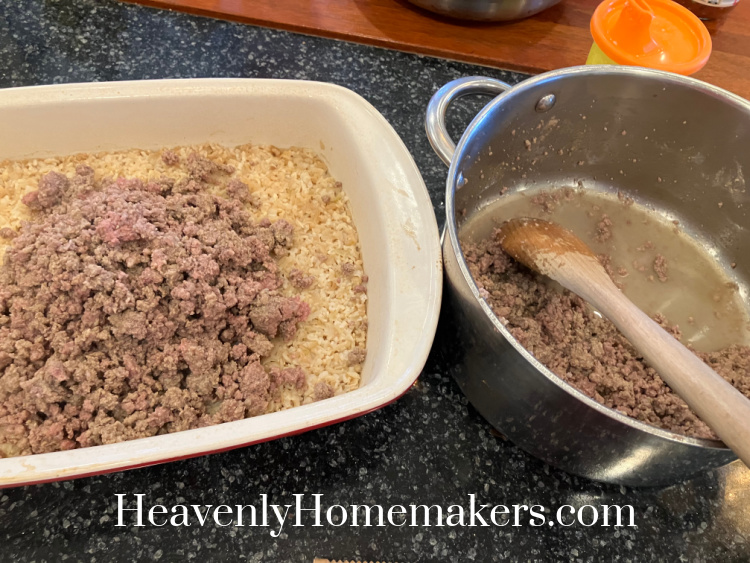
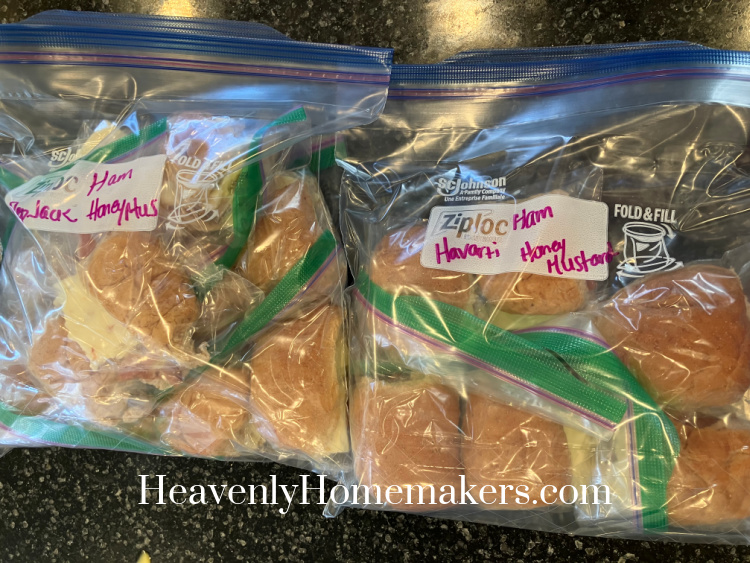
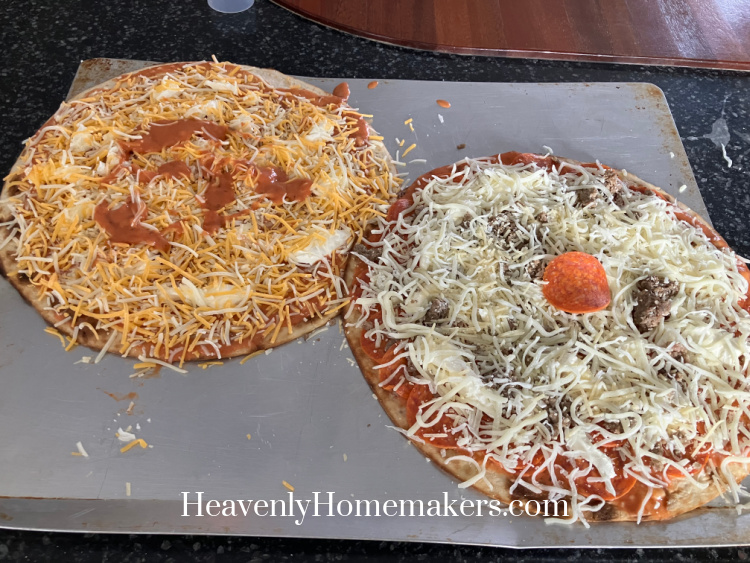
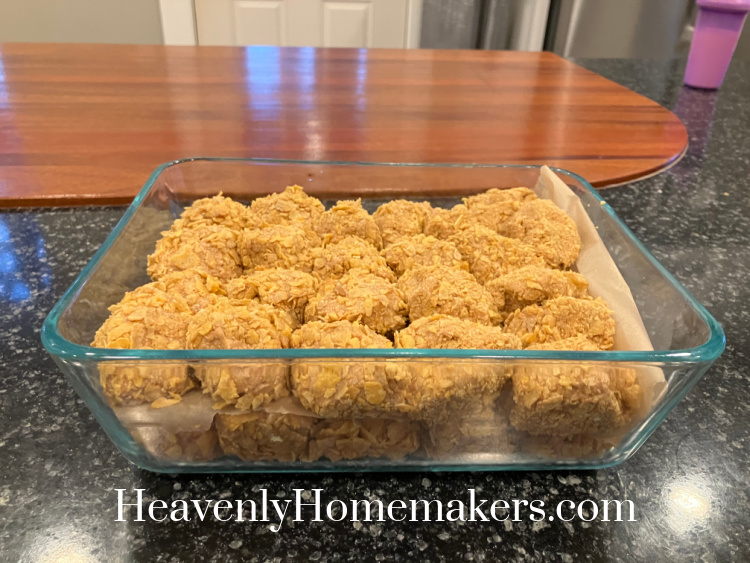
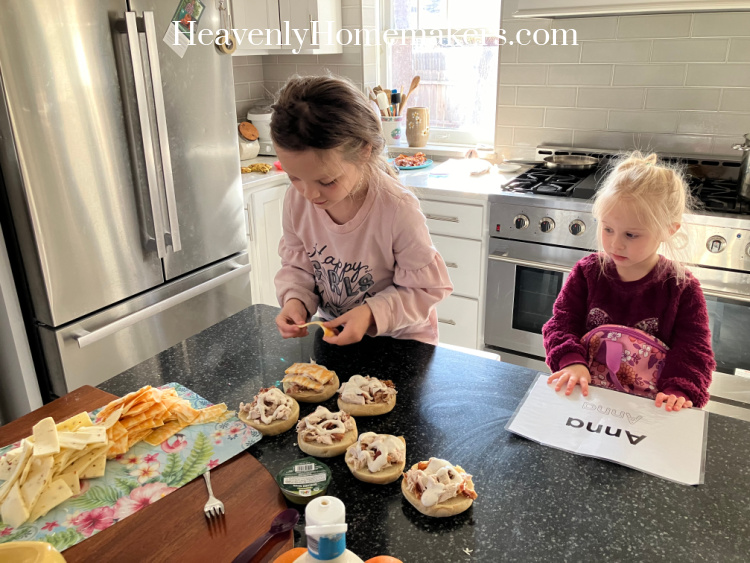
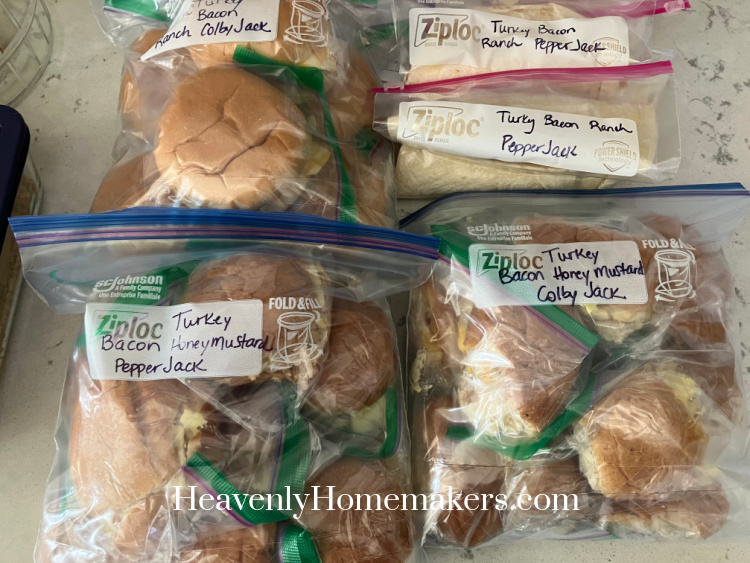
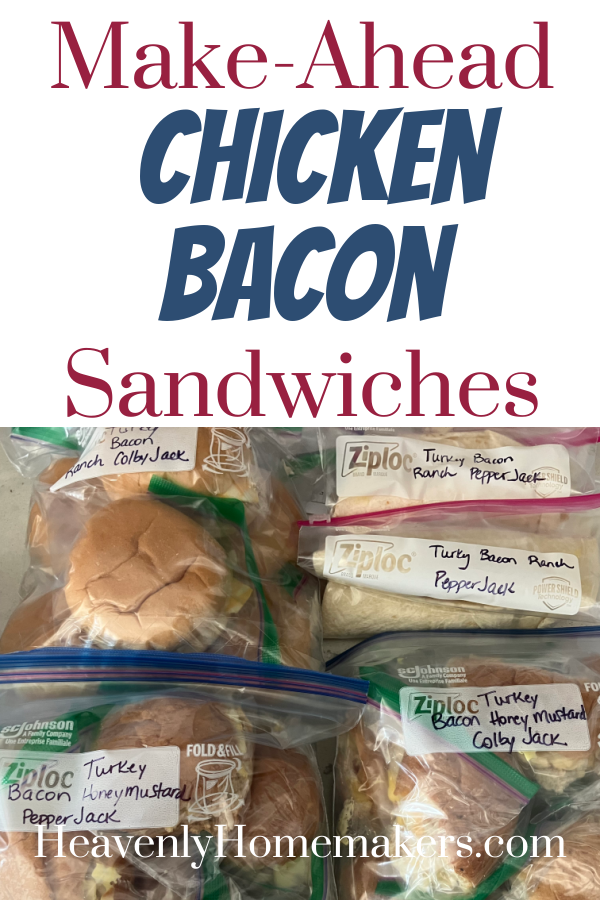
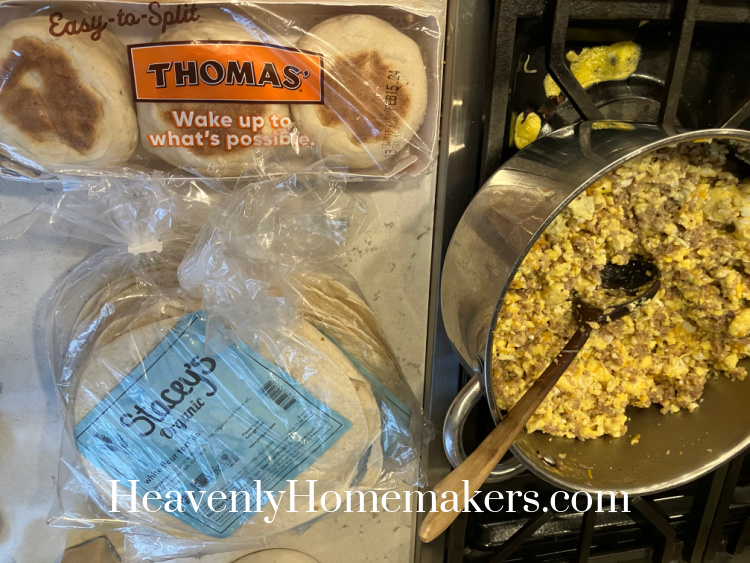
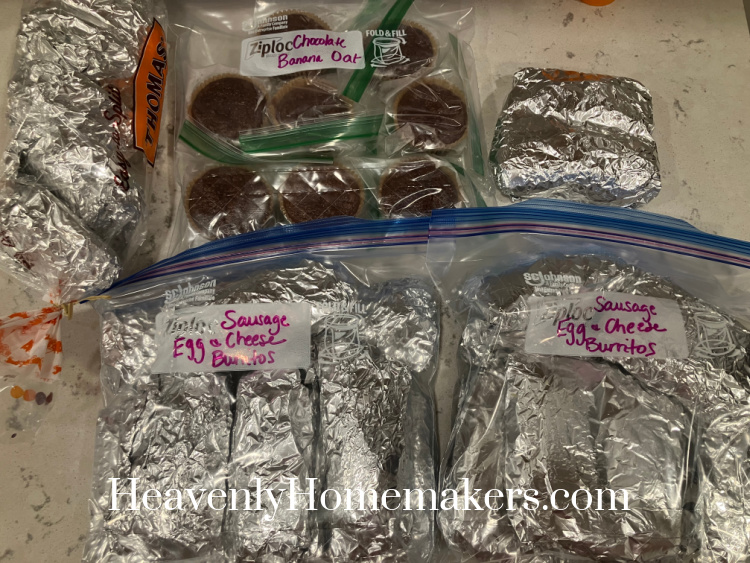
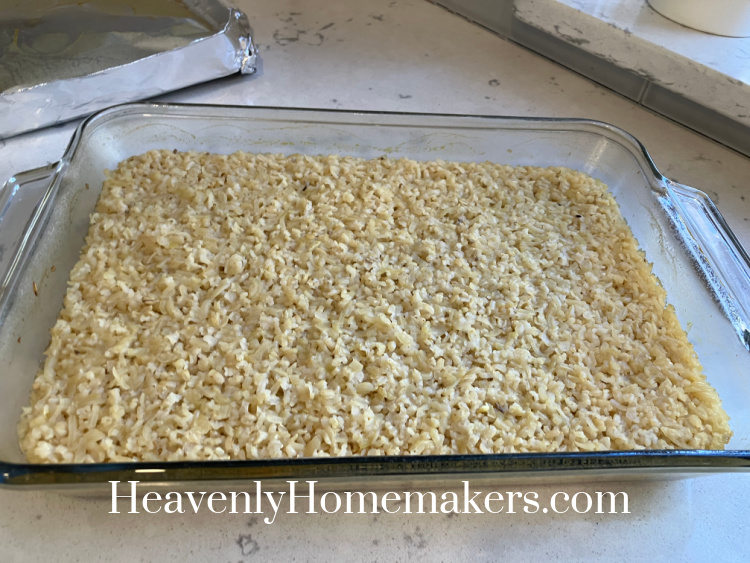
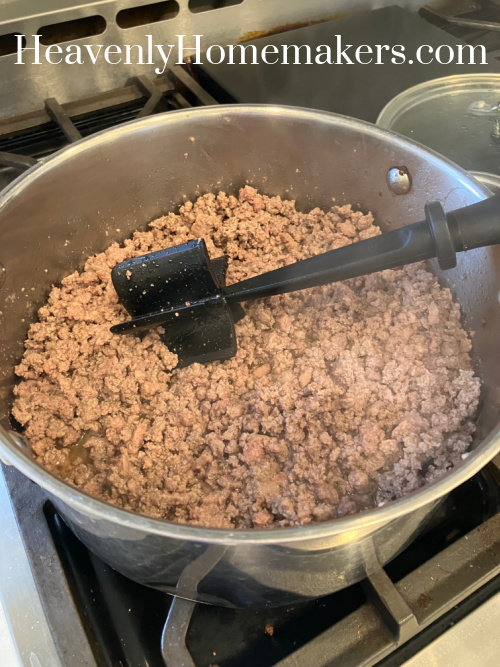
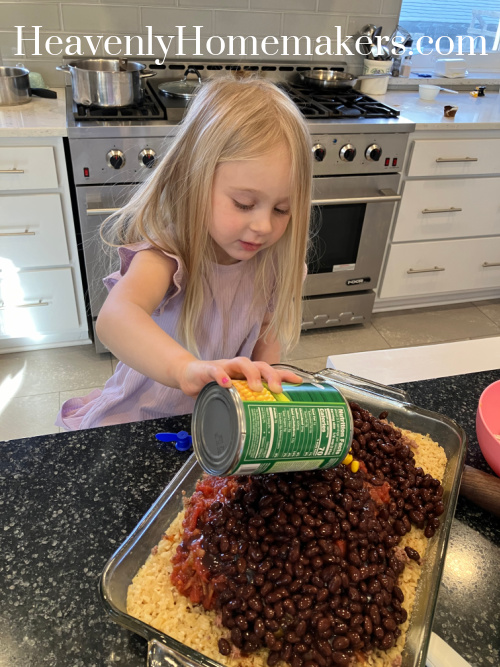
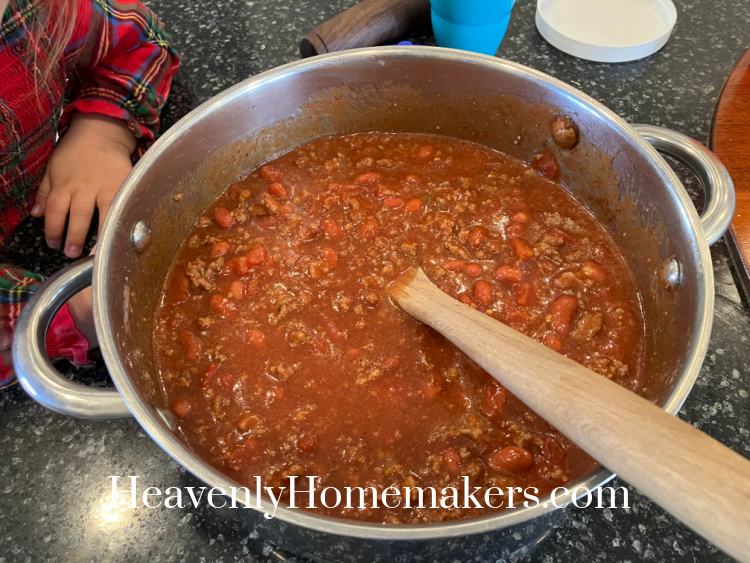
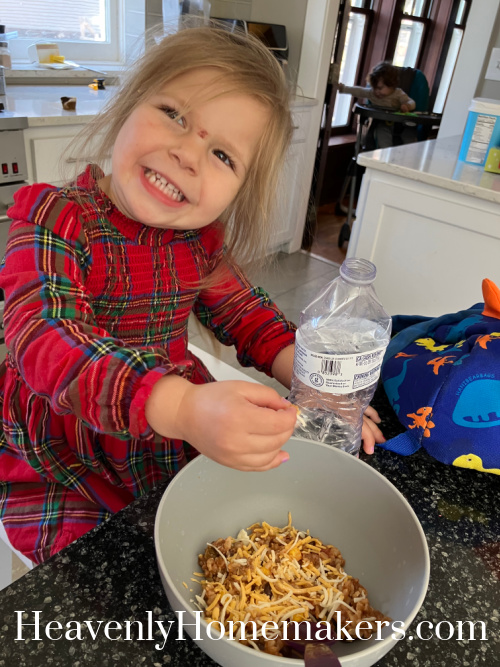
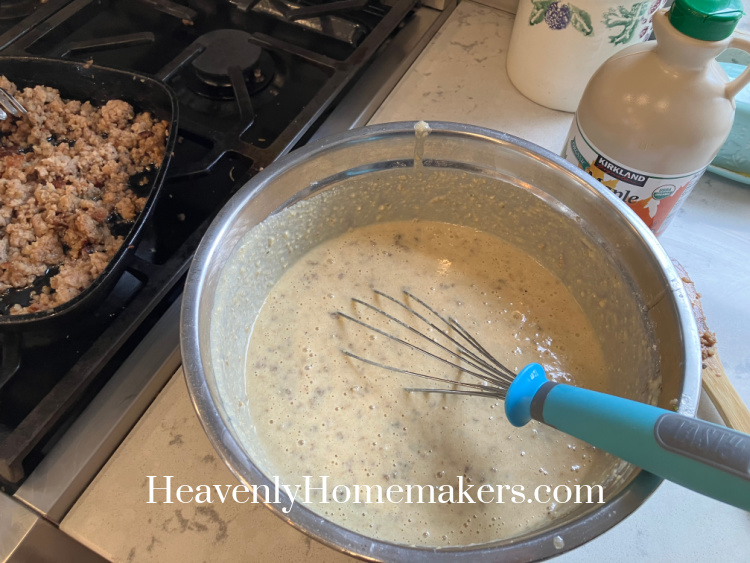
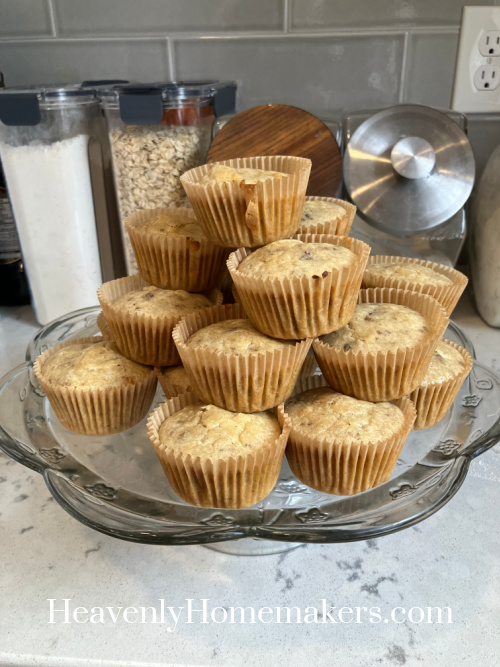
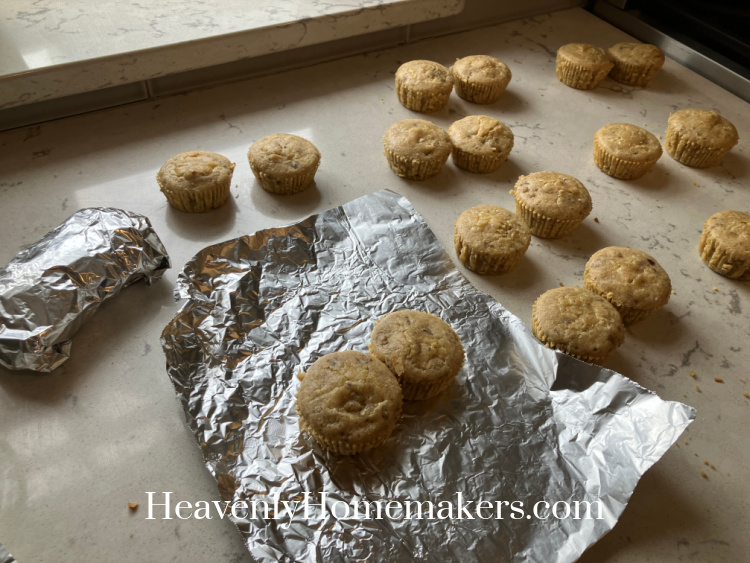
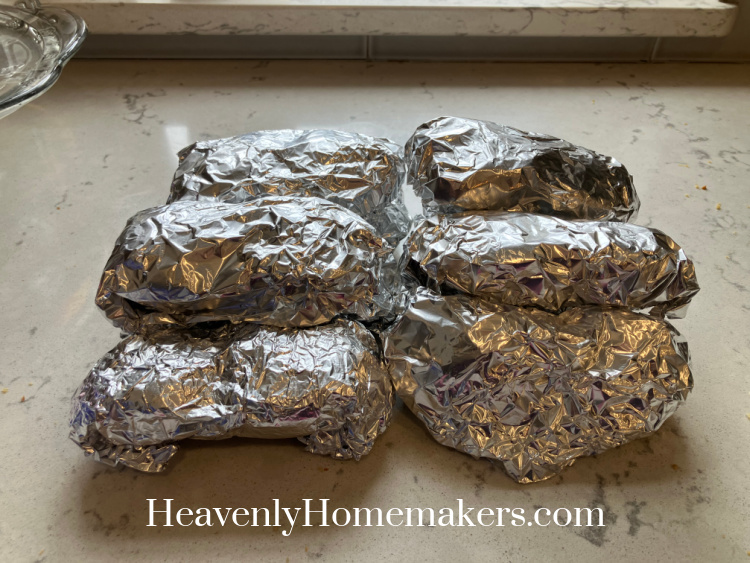
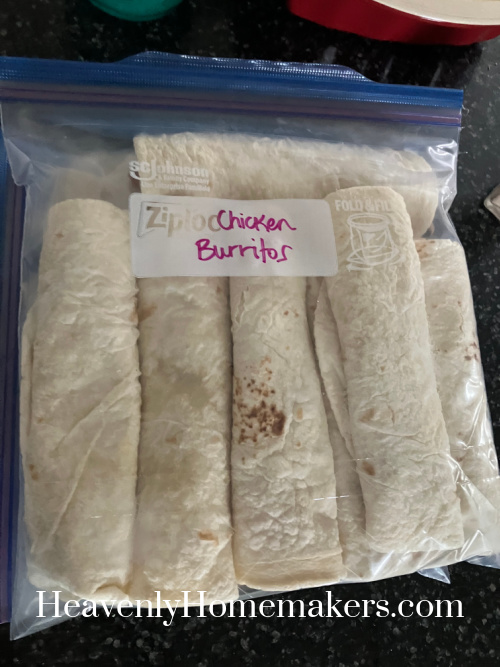
I made a pan of Stick of Butter Rice then got out the Salsa Chicken I’d made earlier in the week to make 24 of these Burritos for the freezer.
We warmed up leftovers for dinner.
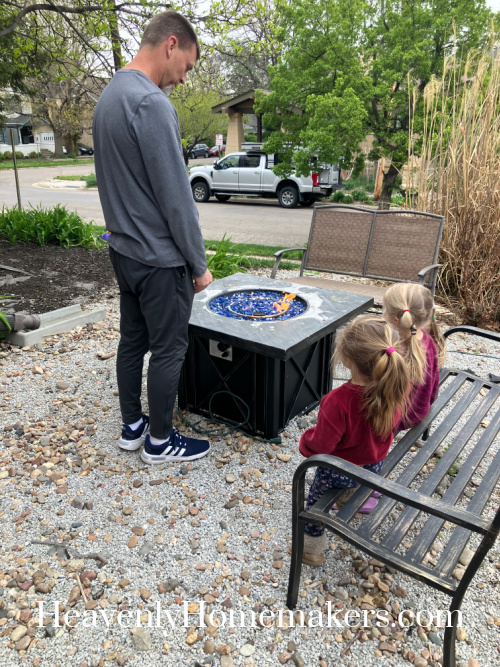
Before bed, we played outside. It got a little bit chilly so Daddy got the fire pit going for a few minutes. Everyone LOVED this.
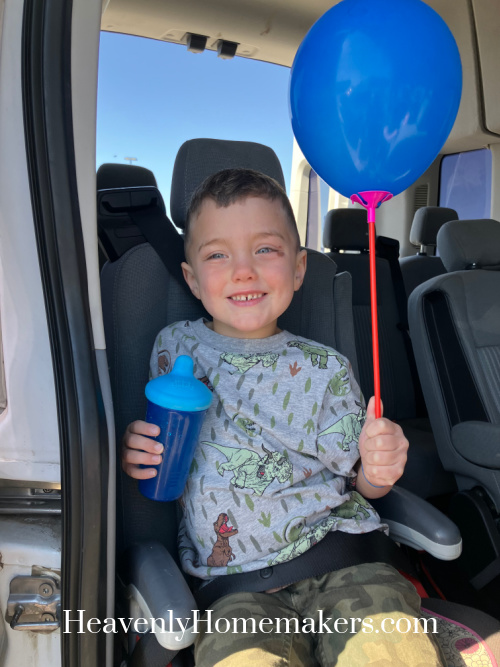
Our Bonus Boy (former foster son and half-sibling to some of our kids) came to visit for the weekend. We all love it when he comes. He and Keith are only 6-weeks apart and BFF.
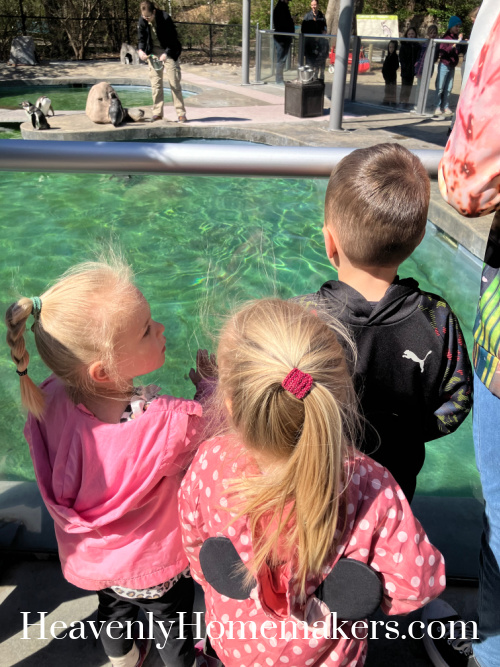
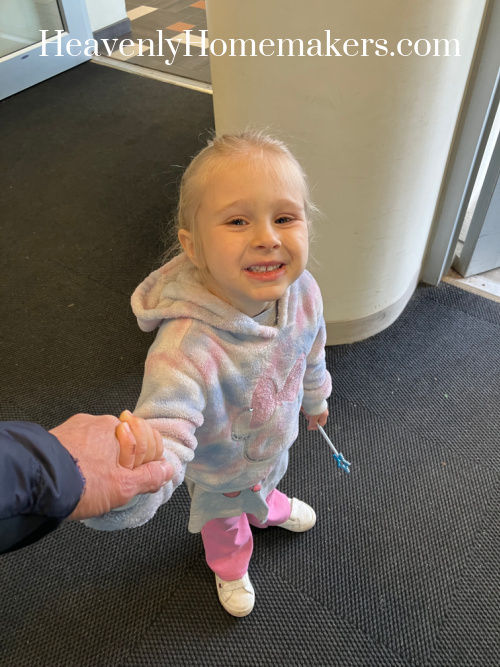
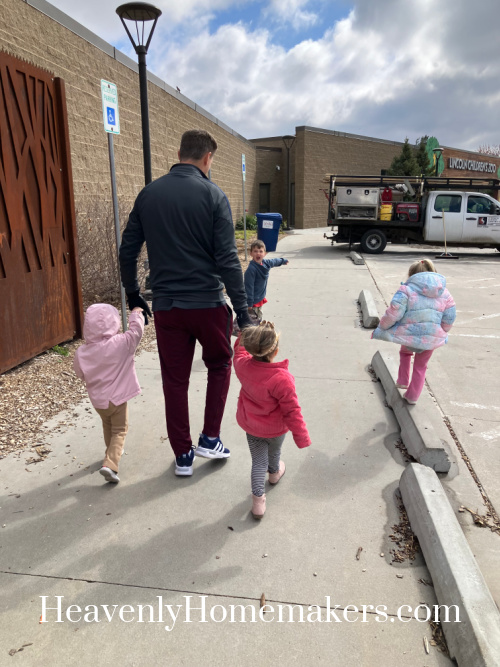
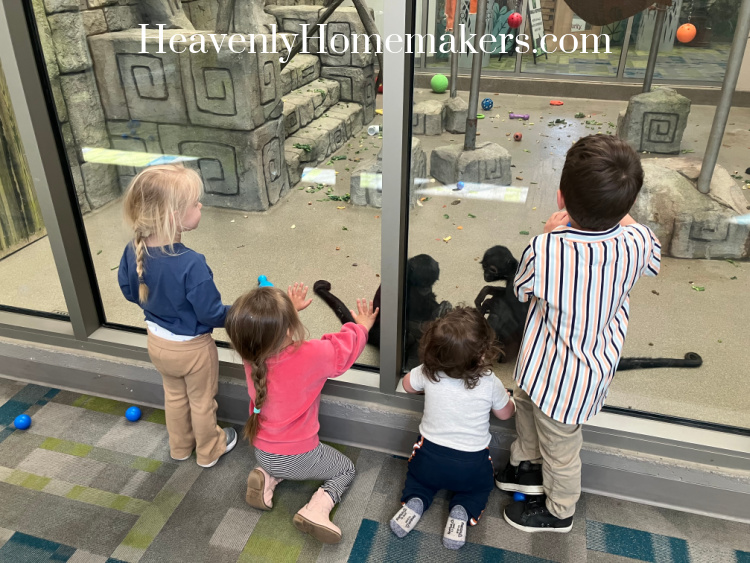
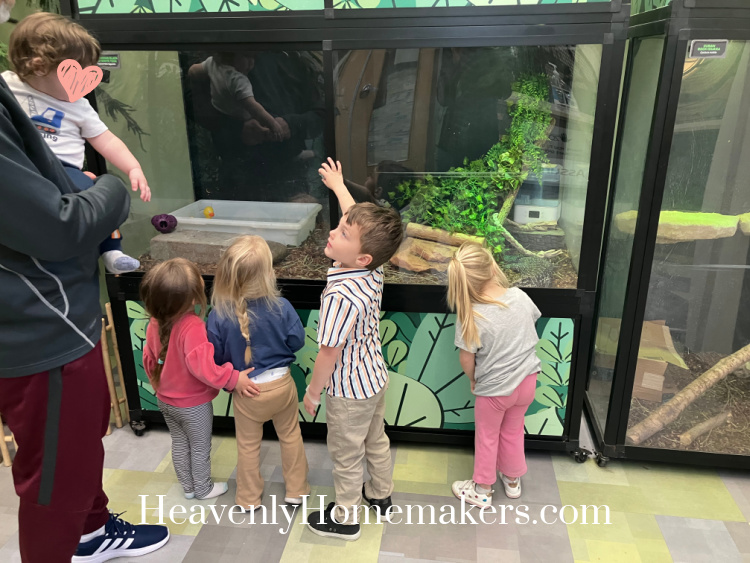
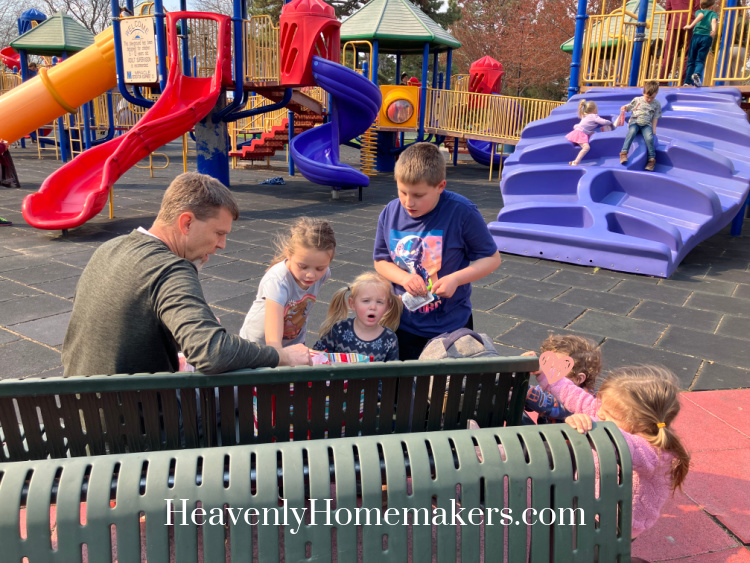
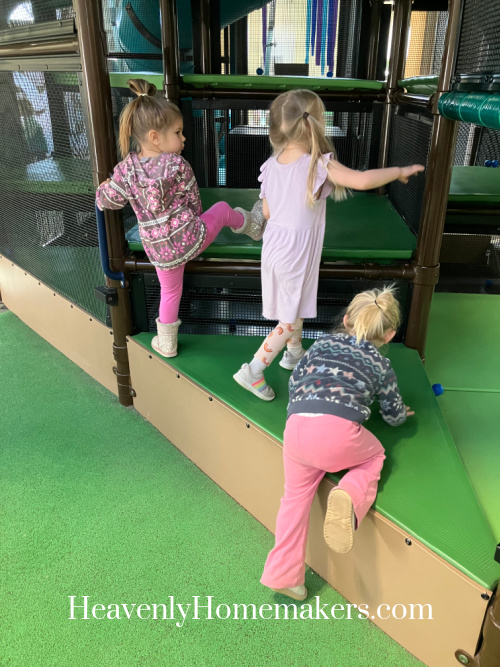
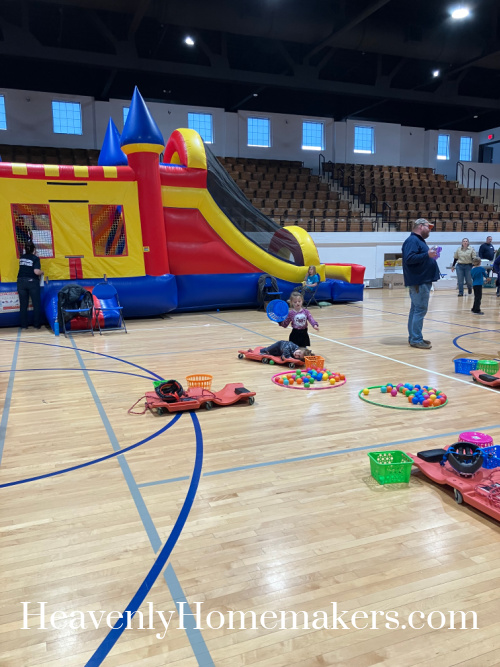
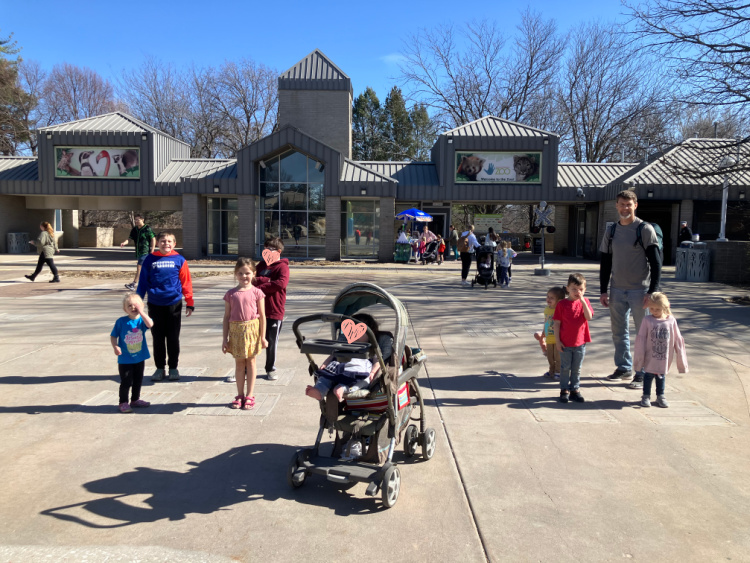
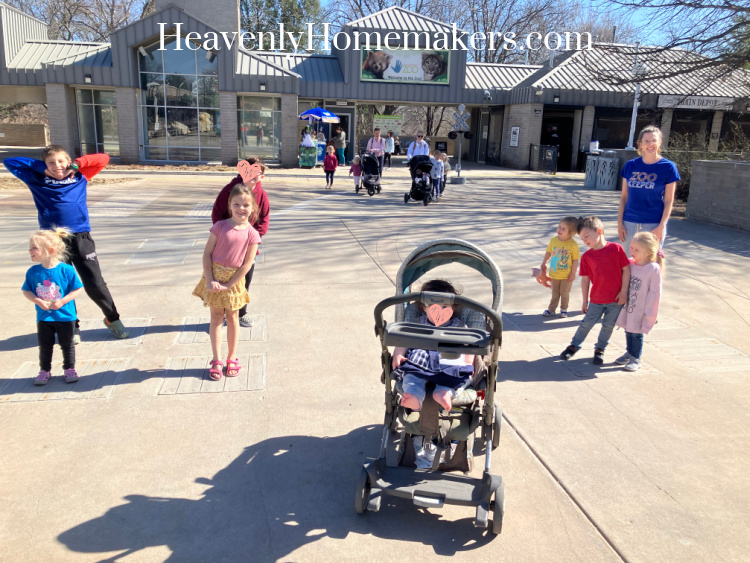
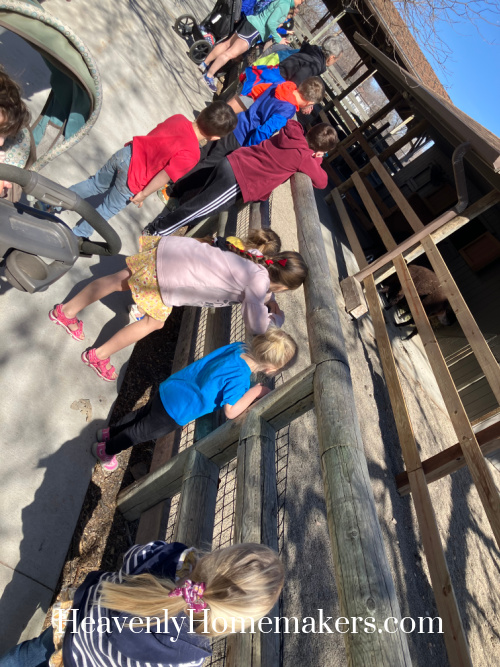
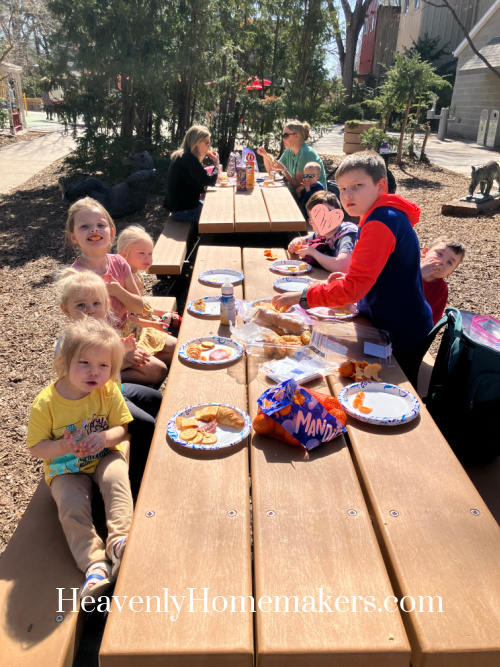
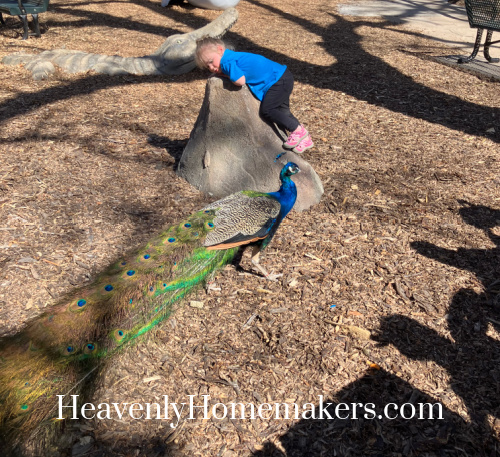
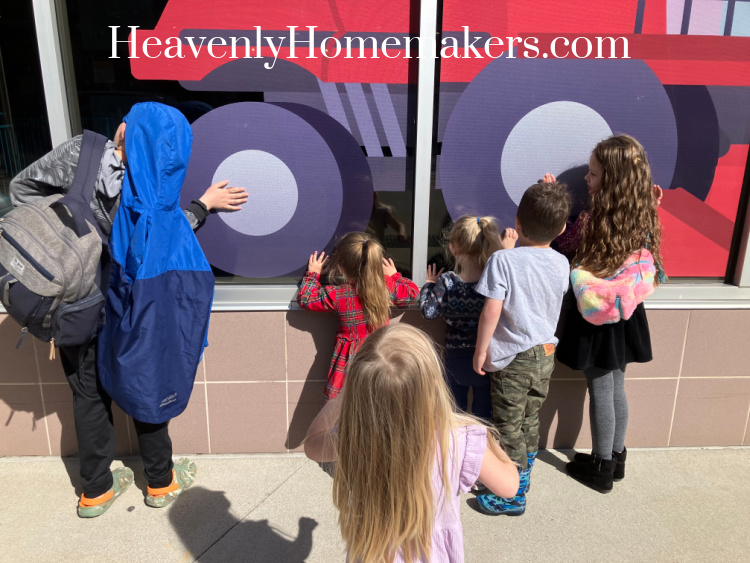
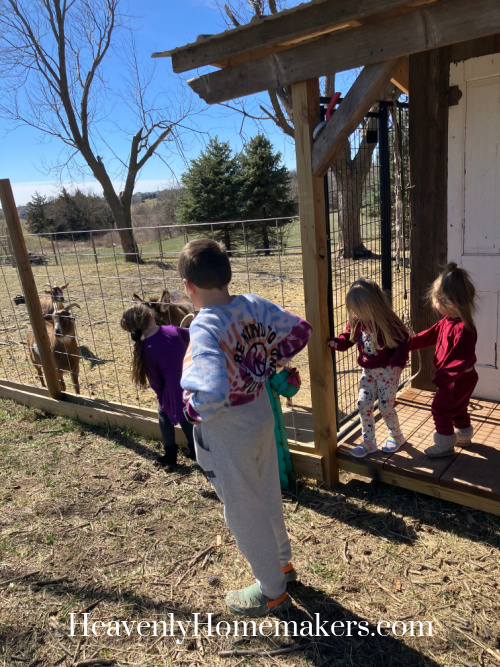
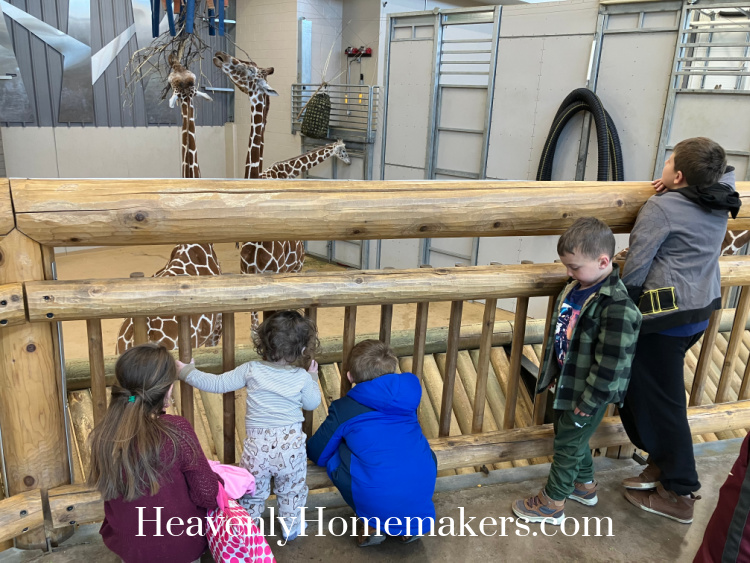
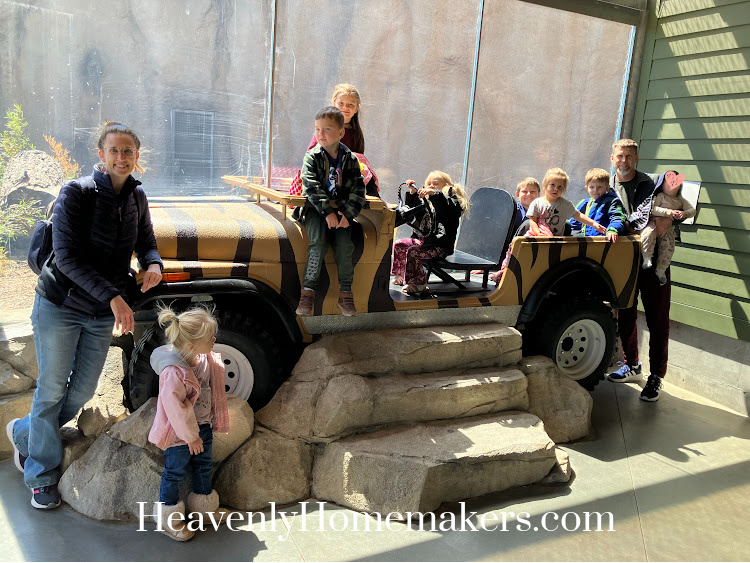
Saturday morning we took all the kids to the zoo for a couple of hours.
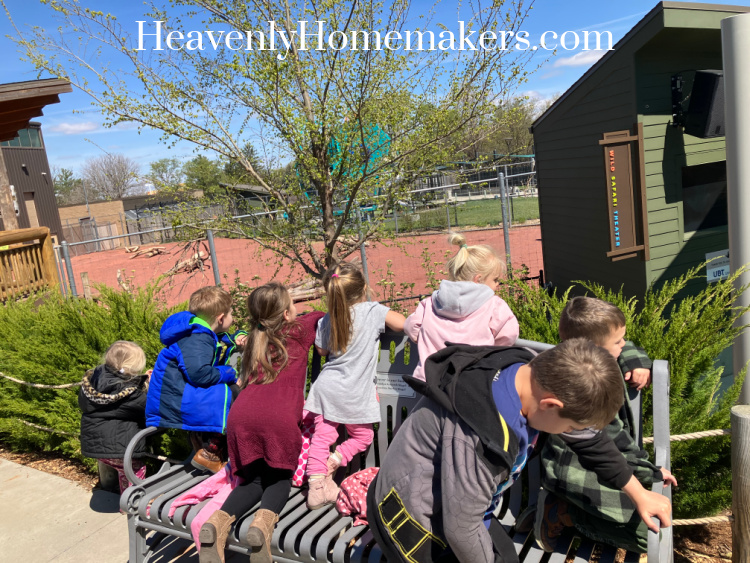
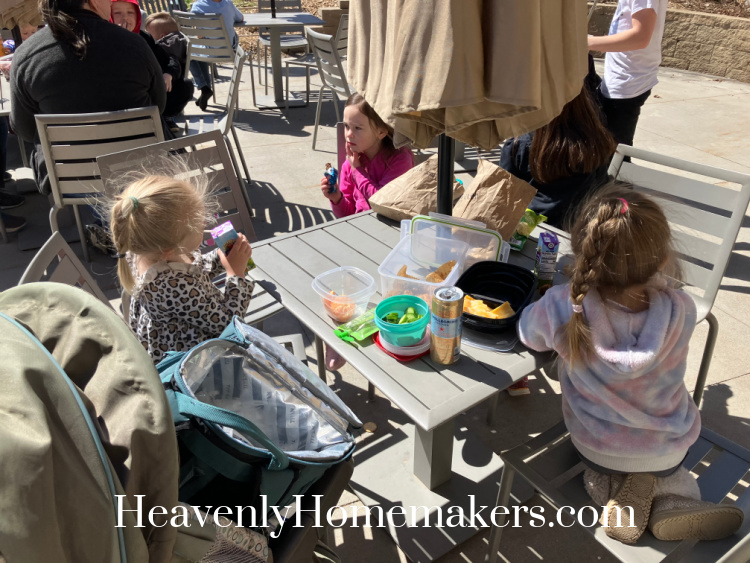
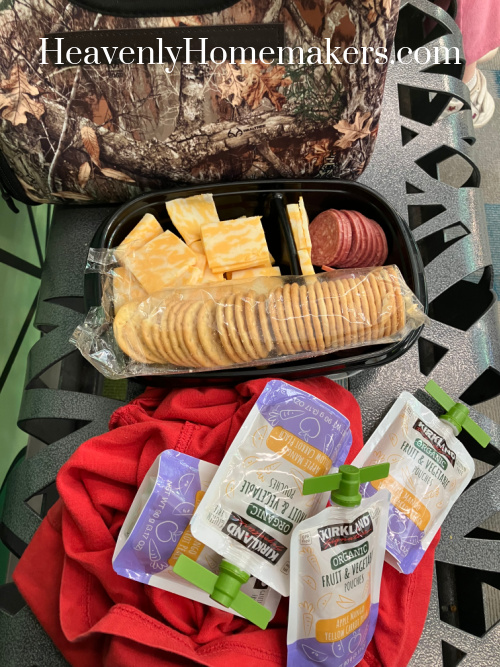
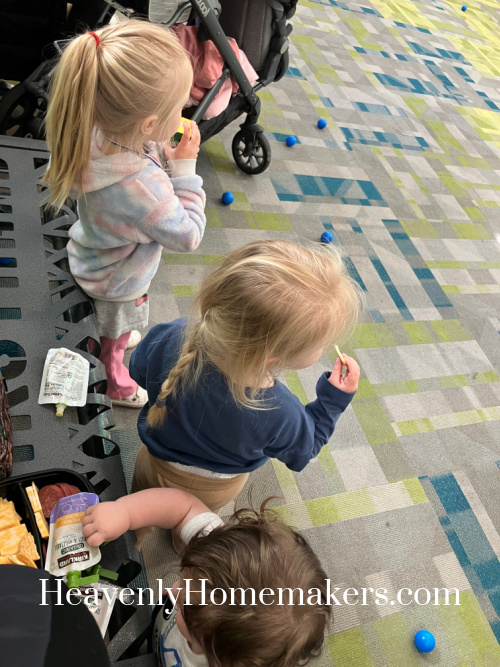
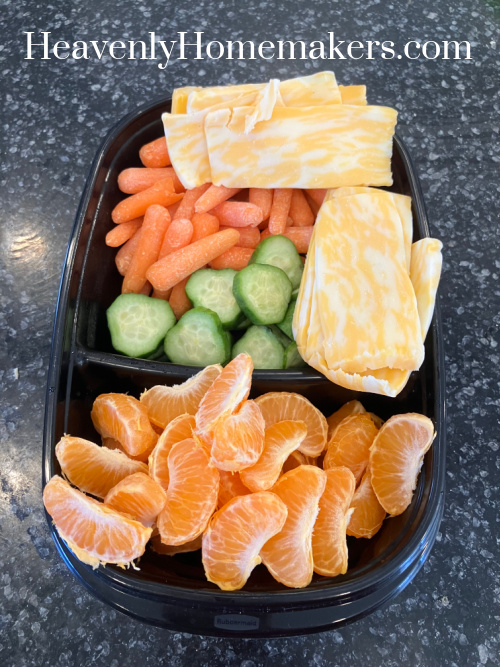
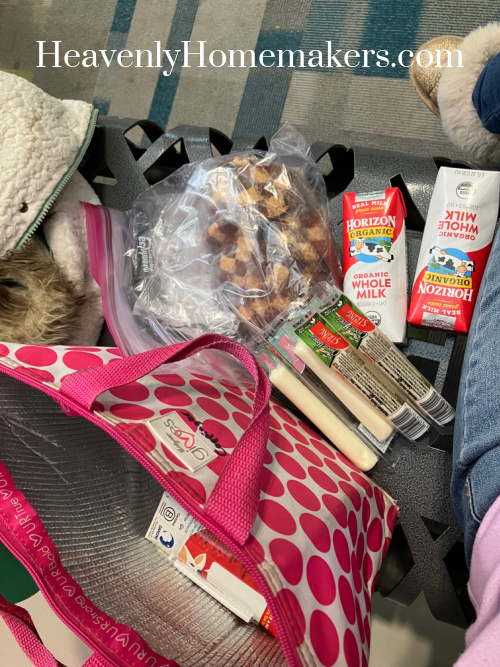
We went during lunch time so I’d given them a snack of applesauce and pretzels before leaving. Then we ate a snack of milk, cookies, and cheese while we were there.
We came home and had a late lunch of leftover Smoked Queso, Olives, and Fruit for lunch.
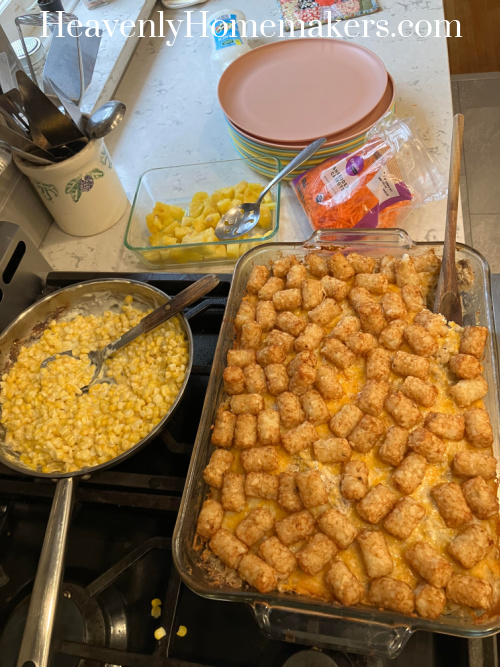
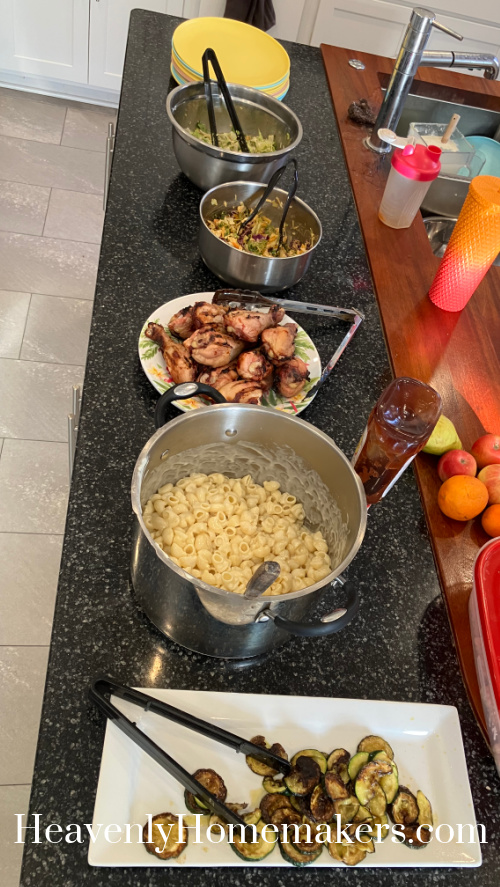
Dinner that night was leftover Smoked Chicken and Smoked Sausages from the week. Plus I made several boxes of Mac and Cheese (one of the only foods Bonus Boy likes) and a bowl of Salad.
And that was our week!