Check out this EASY Baked Spanish Rice recipe!

In an effort to experiment and find an Easy Spanish Rice recipe, I used my Stick of Butter Rice recipe and did a little tweaking. The results are great! It doesn’t get any easier than this!
Baked Spanish Rice
Easy Baked Spanish Rice Recipe
Author: Laura
Serves: 8-10 servings
Ingredients
- 3 cups brown rice
- 32-ounces chicken broth
- 16-ounces salsa
- 1 cup water
- Sea salt to taste
Instructions
- Stir all ingredients into a 9x13 inch baking dish.
- Cover and bake in a 350 degree oven for 1 hour and 15 minutes.
- Stir and serve!
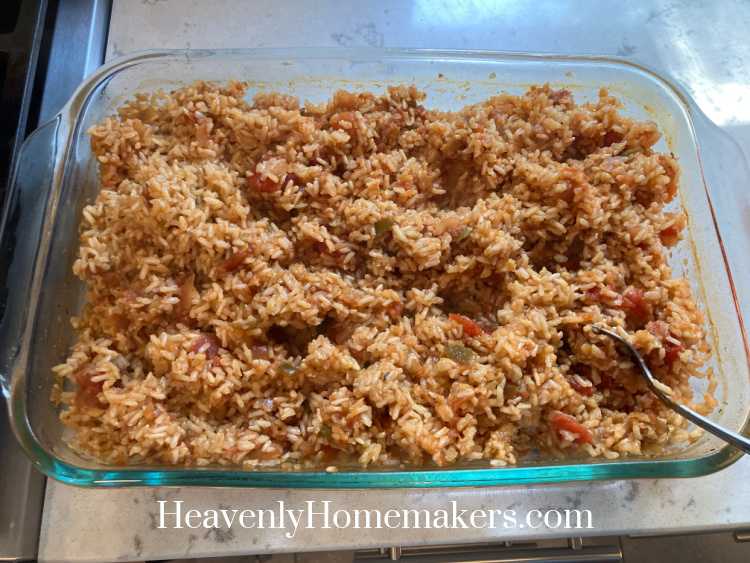
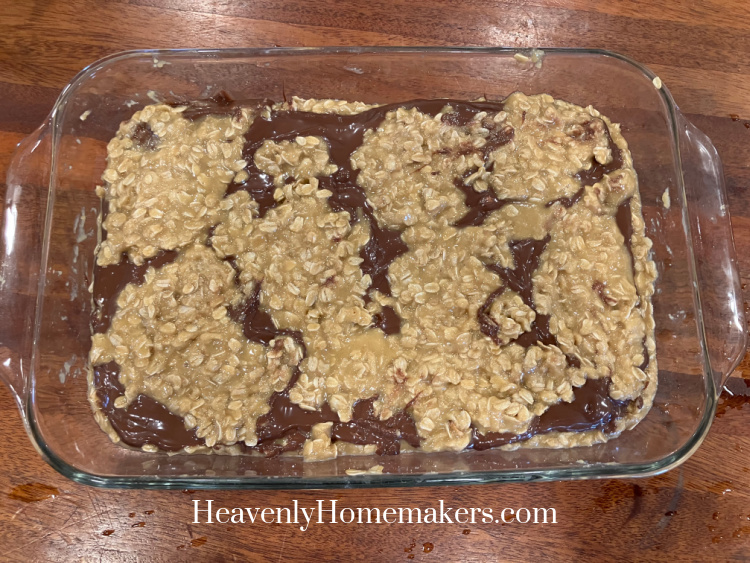
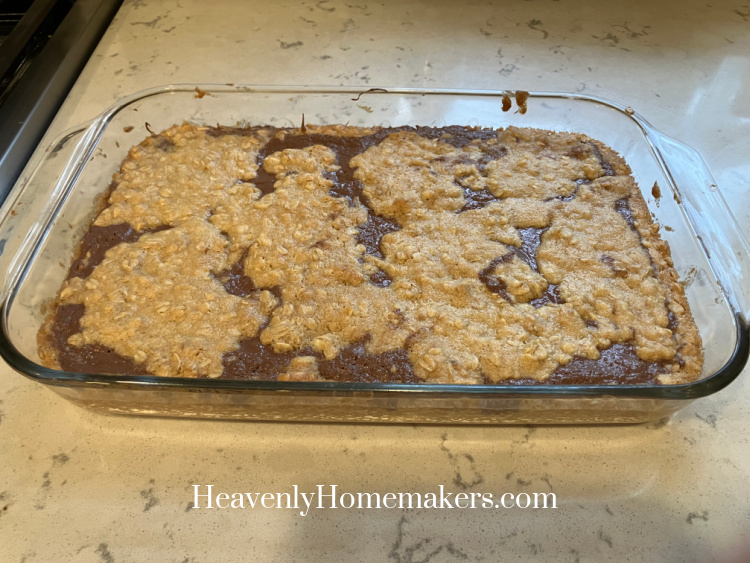
Right out of the oven, you’ll find that the salsa has created a layer on top of the rice.
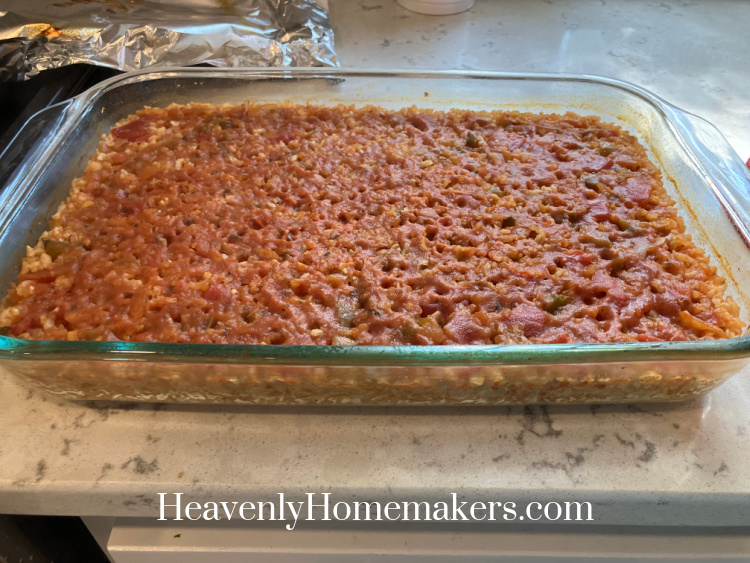
Simply stir it in and your rice is complete!